26 Control 2802 Logic Pro Automation & Control Surface Manual
Analogue Fader & CUT Automation
Preparing for Analogue Automation
Conguration
The analogue automation works by setting up 8 “dummy”
audio channels in your DAW - blank channels that contain no
audio. Then using these to write and replay automation to the 8
analogue faders and CUTs of Control 2802.
See page 10 for details on conguration.
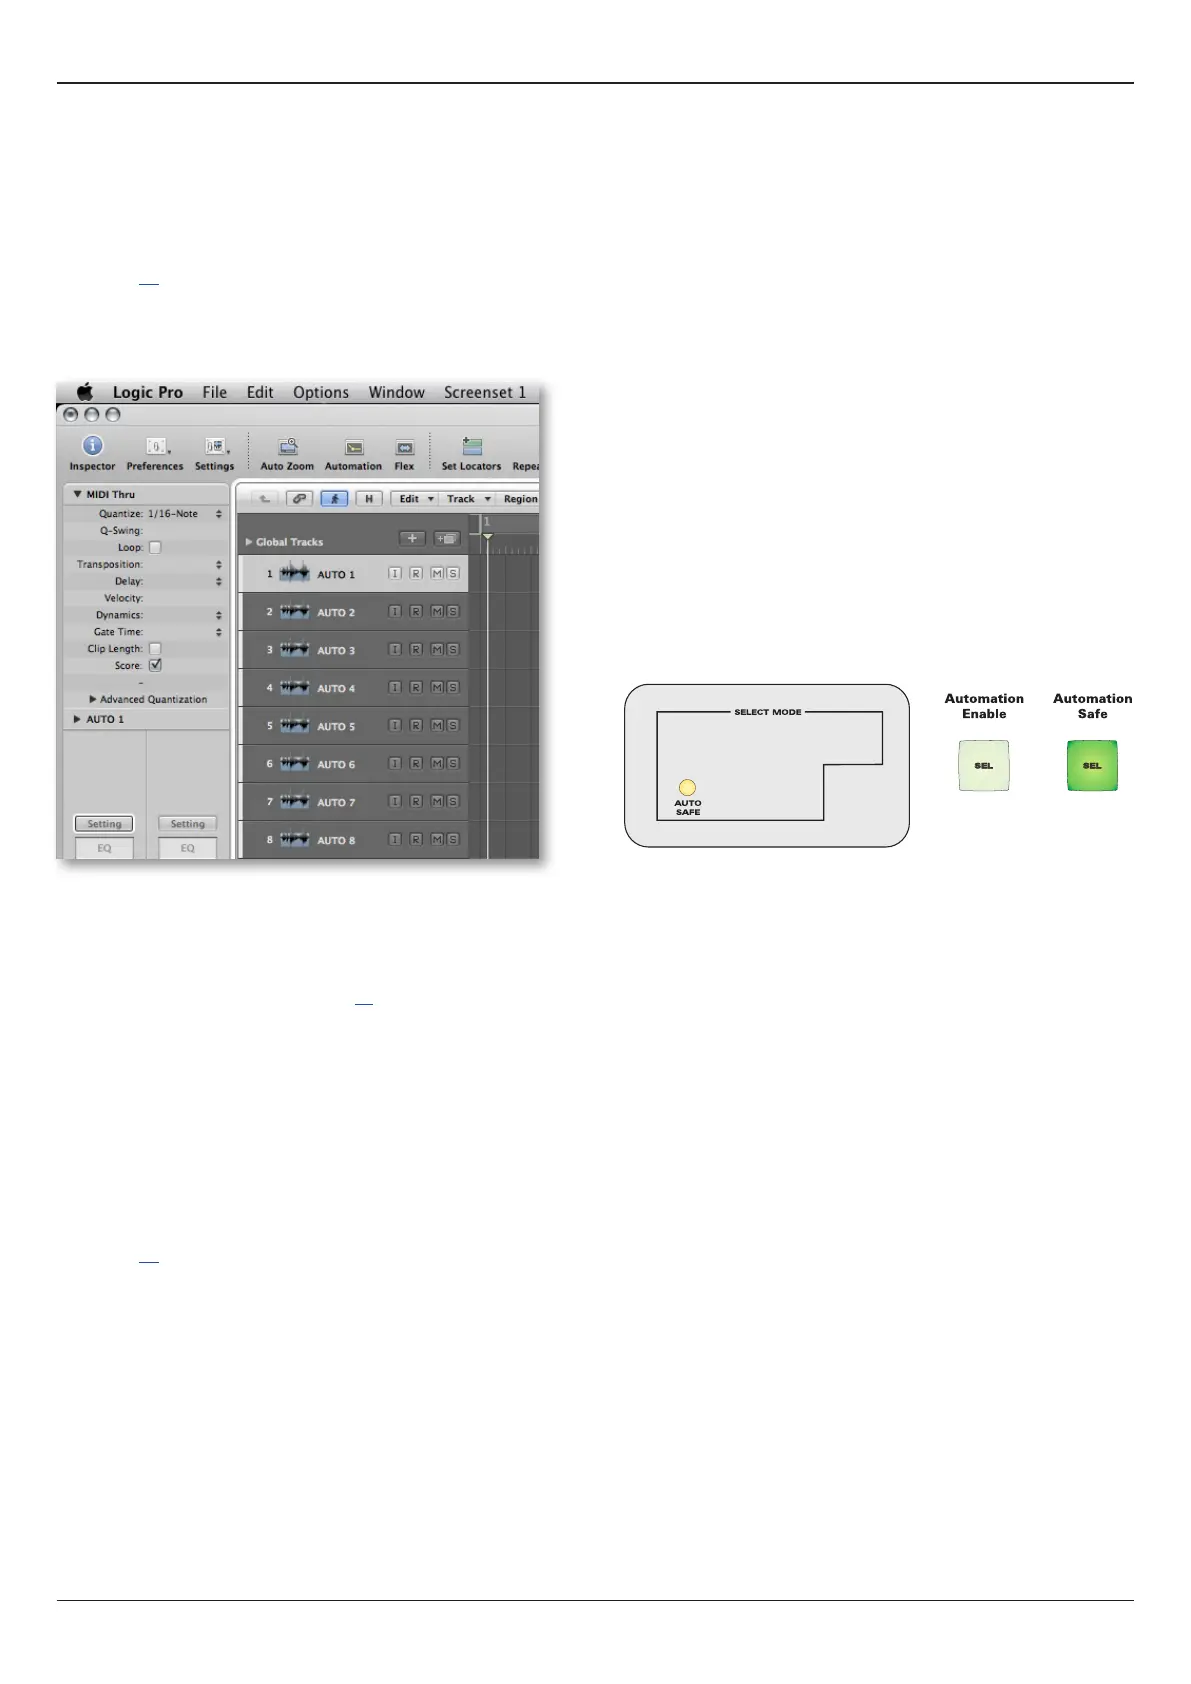
If the setup is correct, then the 8 “dummy” tracks appear at the
beginning of the Logic session. They are indicated by a white
marker in the track header (the default colour):
Note: if your analogue channels are not in AUTO SAFE, then
controlling the “dummy” track faders and mutes from the DAW
layer will affect your analogue channel levels!
If you nd this confusing, you can hide these tracks using
Logic’s ‘Hide’ functionality, see page 27. Note, however, that
you will need to control the tracks from the DAW layer in order
to set the automation mode from the console (see below).
Setting the Automation Mode
Use the DAW layer switch (on the Control Surface Panel) to ip
the Fader Strips to the DAW fader layer, and navigate to the 8
“dummy” tracks.
By controlling the 8 tracks in the DAW layer, you can set the
AUTO MODE for each channel. This will determine how the
faders and CUTs write (and replay) automation within Logic.
See page 16 for details on automation modes.
Enabling Automation (turn off AUTO SAFE)
AUTO SAFE is a SELECT MODE, used in the analogue
layer to isolate channels from automation - it prevents HUI
TM
controller / MIDI automation from adjusting the analogue
channel level.
Please note that AUTO SAFE is turned ON across ALL channels
by factory default. Therefore, to automate a channel, you must turn
AUTO SAFE off.
The status of AUTO SAFE is then stored, if you exit the mode or
power down. This means that when you re-enter AUTO SAFE,
your last used settings are recalled.
To enable the analogue channels for automation:
1. Use the DAW switch to ip the Fader Strips back to the
analogue fader layer. (AUTO SAFE can only be selected
when controlling the analogue layer).
2. Press the AUTO SAFE SELECT MODE switch on the
Control Surface Panel.
3. Then press the SEL switches, on the Fader Strips, to
enable or isolate the analogue channels:
● SEL switch LED on = channel is isolated.
● SEL switch LED off = channel is enabled for automation.
If automation is already written for the analogue layer, AUTO
SAFE can be used to isolate the channels to prevent moves
playing back. This is ideal for trying out fader rides before
writing a new automation pass, without “ghting” existing
automation data.
Writing and Replaying Analogue Automation
Having prepared your channels, you can now use the console’s
TRANSPORT panel to control the DAW playback, and write/
replay automation for the analogue layer.
Just treat the analogue fader and CUT automation like any
other channel in your DAW mix:
● Use the DAW layer switch (on the Control Surface Panel) to
ip the Fader Strips between the DAW and analogue layers.
● View your analogue automation on the rst 8 “dummy”
tracks of your Logic session.