165
GPI/TLY :SEL :PIN/TRG: INPUT FUNCTION : 2/3
GPI IN : =1 : =02Neg: =BKGD AUTO TRANS :
(3)Turn F1, F2 and F3 to set as shown below to assign the function for Example 2.
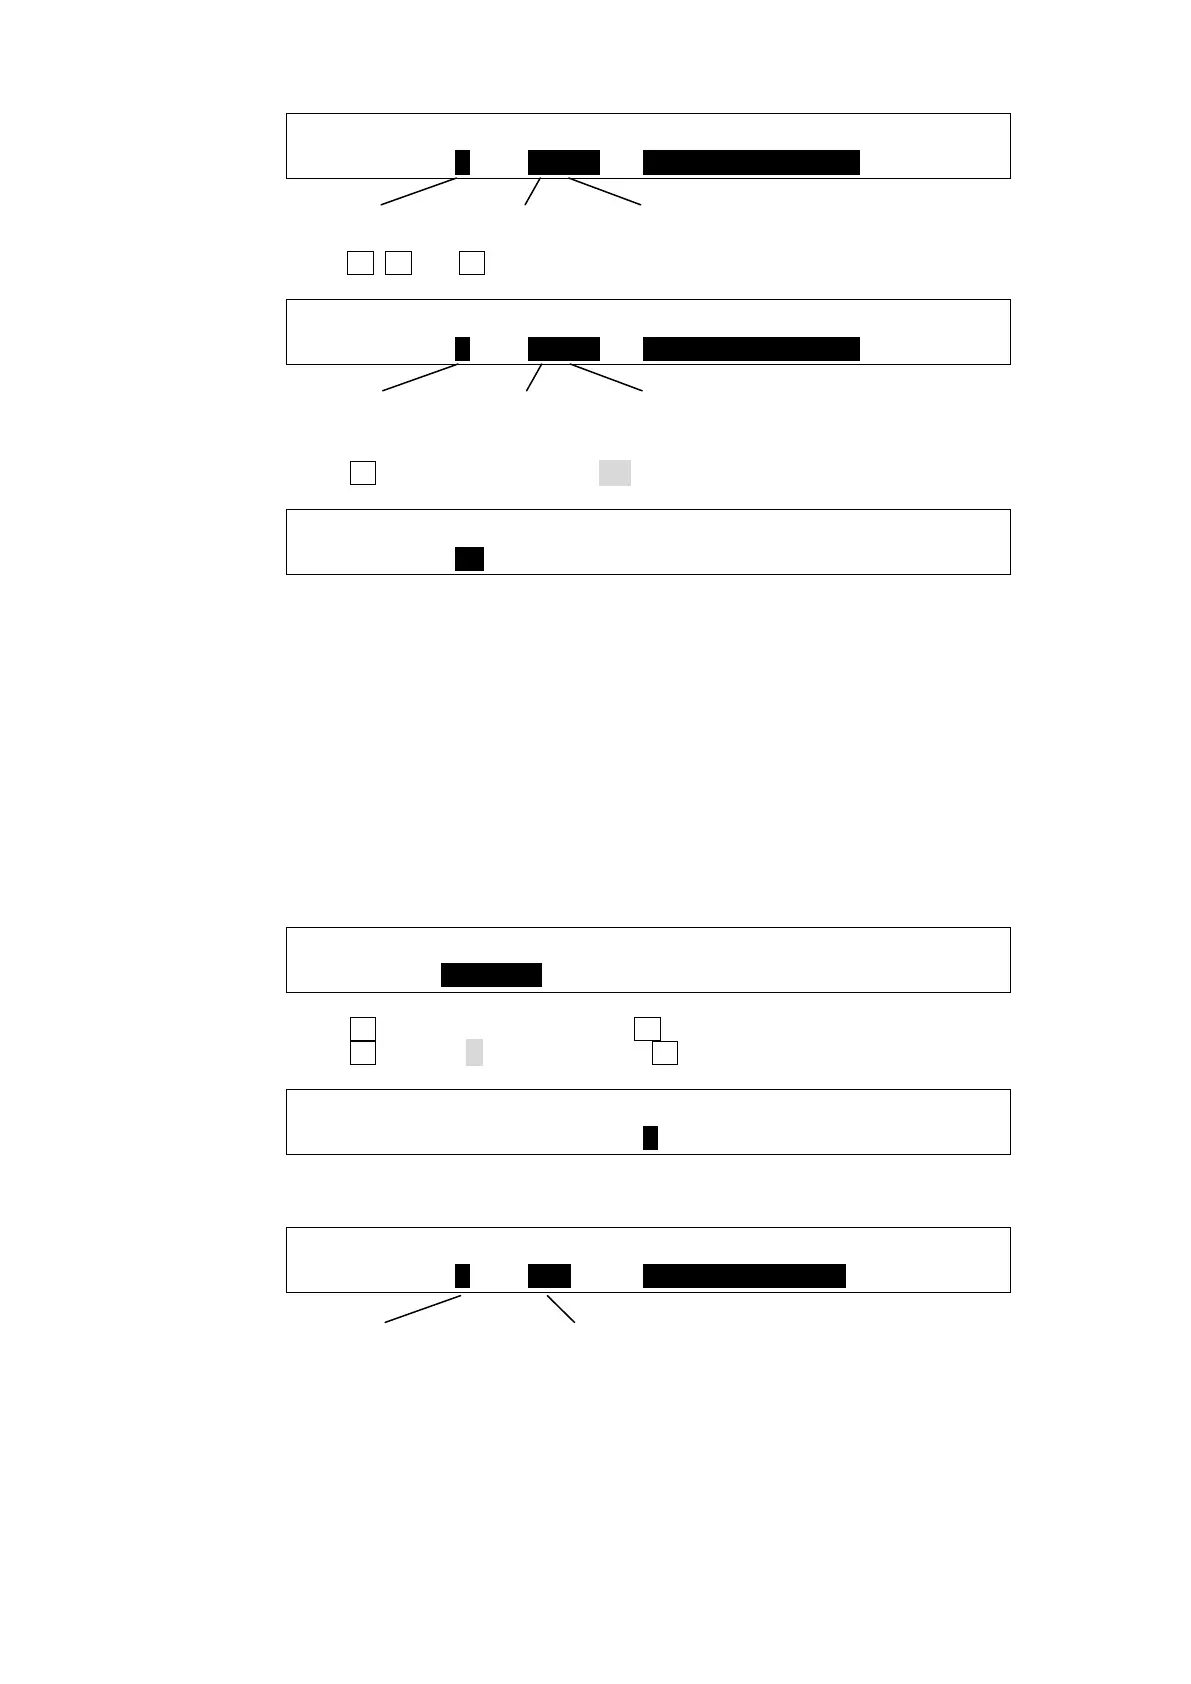
GPI/TLY :SEL :PIN/TRG: INPUT FUNCTION : 2/3
GPI IN : =2 : =02Neg: =DSK1 AUTO TRANS :
(4) Go back to PAGE 1.
(5) Turn F1 to set all GPI inputs to ON.
GPI/TLY :GPIIN:<- I/O ASSIGN(F2) ->:1/3
GPI I/O : =ON :IIIIIIII IIIIIIII IIIIIIII:
The GPI IN ENABLE function can be assigned to a USER button. Once this function is
assigned, pressing the USER button repeatedly toggles between GPI IN ON (lit orange)
and GPI IN OFF (lit white). Double-pressing the USER button opens the GPI I/O menu.
See section 14. "USER Button" for details on how to assign the function to the USER
button.
GPI Outputs
Ex. 3: Outputs GPI signals from PIN 9 while BKGD transitions are being performed
To set the above GPI OUT example, proceed as follows.
(1) Open PAGE 1 in the [SETUP - GPI/TLY - GPI I/O] menu.
SETUP :>SYSTEM >INPUT >OUTPUT >PANEL
MENU :>GPI/TLY >FUNCTION>EXT I/F >STATUS
(2) Turn F2 to select PIN 9, then press F2.
(3) Turn F2 to select O (Out), then press F2.
GPI/TLY :GPIIN:<- I/O ASSIGN(F2) ->:1/3
GPI I/O : =ON :IIIIIIII OIIIIIII IIIIIIII:
(4) Press the page down button twice to go to PAGE 3. Set the menu as shown below.
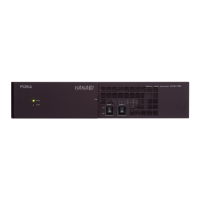
GPI/TLY :P_NO: STS : OUTPUT FUNCTION : 3/3
GPI OUT : =9 : =LOW : =BKGD TRANS STS :
02: Pin No, Neg: Negative edge
02: Pin No, Neg: Negative edge