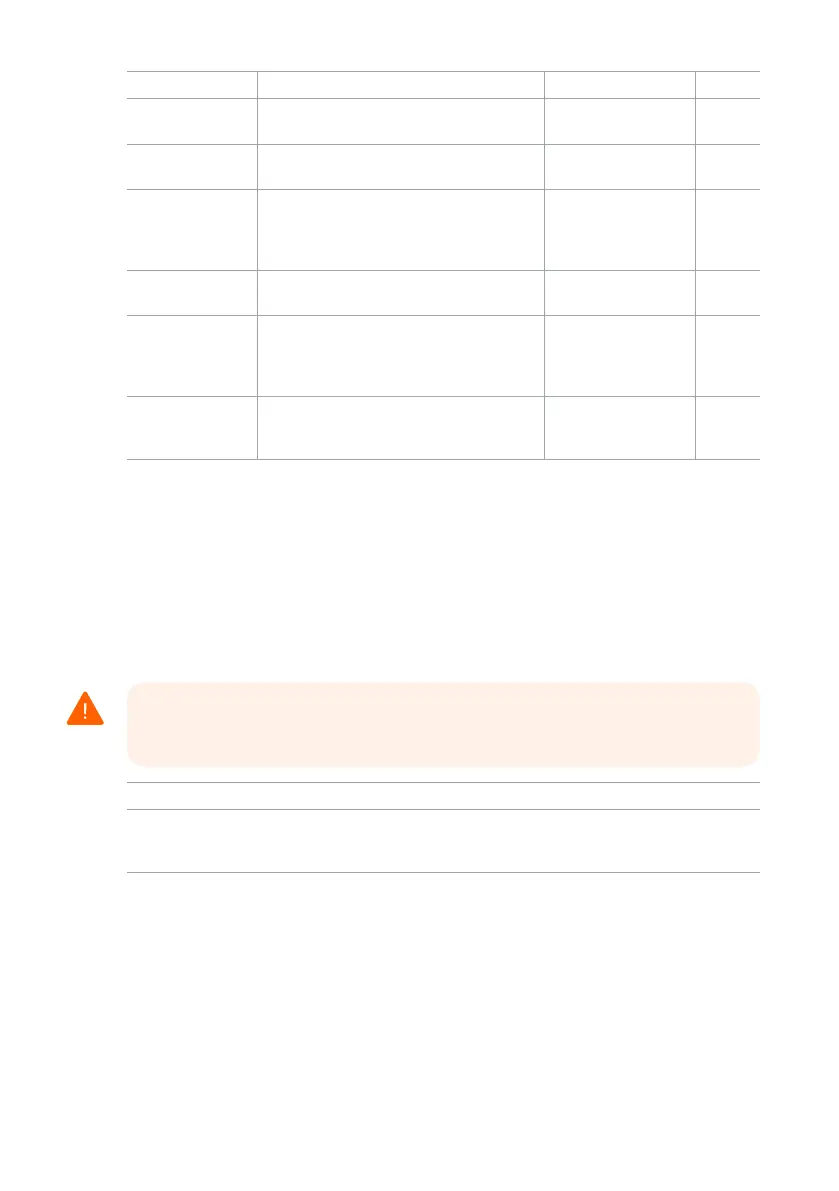
Maintenance | 35
Task Frequency Refer to Section
Filtering the resin When a cleaning sheet does not suciently
remove particles from the resin tank.
Filtering the resin 6.6.2
Replacing the resin
cartridge
When the resin cartridge is empty, after 1 liter
of printing.
Replacing the resin
cartridge
6.6.3
Cleaning the rear
mesh filter
When the printer indicates that the rear
mesh filter should be cleaned.
When the printer indicates that the heater
or resin has exceeded its target temperature.
Cleaning the rear
mesh filter
6.6.4
Cleaning the LPU
release texture
When the LPU release texture is smudged
or contaminated.
Cleaning the LPU
release texture
6.6.5
Replacing the resin
tank
When wear on the bottom of the resin tank
begins to aect print quality.
When the printer indicates that the resin tank
has reached the end of its usable lifetime.
Replacing the resin
tank
6.7.3
Lubricating the
Z-axis screw
Every 12 months, if the build platform mount
does not move smoothly, or emit intermittent
noises when printing.
Maintaining the Z-axis
screw
6.5.5
6.6.1 Updating the firmware
Formlabs regularly releases updated firmware to fix bugs and improve functionality. Review
the PreForm and firmware release notes to learn more about the improvements that come with
each version’s release. For detailed guidance and visual assistance, visit support.formlabs.
com.
6.6.2 Filtering the resin
Filter resin to remove contamination and very small particulates of partially cured resin. For
detailed guidance and visual assistance, visit support.formlabs.com.
Skin irritant: Resin and solvent may cause skin irritation or an allergic skin reaction.
Wear gloves when handling liquid resin, resin-coated surfaces, or solvent. Wash skin
with plenty of soap and water.
Required supplies
Non-reactive nitrile gloves
Opaque container suitable for storing resin
Paint or oil filters (“fine” or 190 micron mesh size)
To filter the resin:
1. Put on a new, clean pair of nitrile gloves.
2.
Suspend the paint or oil filter (with a “fine” or 190 micron mesh size) above an opaque
container suitable for storing resin. Use a ring stand to reduce the risk of spilling resin.
3. Remove the resin tank and mixer. Place the mixer aside on a protected surface.
4. Hold the edge of the resin tank, taking care not to touch the resin tank’s underside.
5. Tilt the resin tank with the tank spout aligned directly above the filter.
6. Pour the resin through the filter, into the opaque plastic container.
WARNING