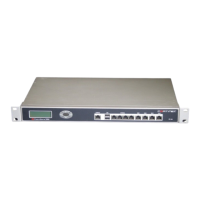
Installing the FortiGate unit LCD front control buttons
FortiGate-200A, FortiGate-300A, FortiGate-400A, and FortiGate-500A FortiOS 3.0 MR4 Install Guide
01-30004-0268-20070712 25
Using the front control buttons and LCD
When the LCD displays the main menu, you can begin to configure the IP
addresses, netmasks, default gateways, and if required, change the operating
mode. Use the following procedures as a guide when configuring your FortiGate
unit in “Configuring the FortiGate unit” on page 31.
To enter an IP address
1 Press Enter to select the interfaces.
2 Press the up and down buttons to highlight the interface you want to configure an
IP address for, and then press Enter.
3 Press Enter for the IP address.
4 Press the up and down buttons to increase or decrease the number.
5 Press Enter to select the number.
6 Repeat steps 4 and 5 for all numbers of the IP address.
Use the above steps to configure netmasks and default gateways.
To change the operating mode
1 Make sure the LCD displays the main menu setting.
2 Press Enter to select the interfaces.
3 Press the up and down buttons to highlight the menu To Bridge Mode.
4 Press Enter to change to Transparent mode.
The FortiGate unit changes to Transparent mode. This may take a few minutes.
5 The LCD should display the following:
Figure 7: LCD main menu setting for Transparent mode
To reset to factory defaults
1 Make sure the LCD displays the main menu setting.
2 Press Enter to go to the interfaces.
3 Press the up and down arrows to highlight the menu Restore Defaults.
4 Press Enter.
The FortiGate unit resets to factory default settings. This may take a few minutes.
Up Allows you to increase the number for an IP address, default gateway address
or netmask.
Down Allows you to decrease the number for an IP address, default gateway
address or netmask.
Menu [ Fortigat -> ]
Transparent, Standalone
 Loading...