Do you have a question about the Framery Q and is the answer not in the manual?
Details key risks during installation, maintenance, disassembly, and use.
Outlines safety precautions for installing, maintaining, and disassembling the product.
Details input voltage, maximum load, and electrical safety warnings.
Provides information on fire load and safety warnings related to fire hazards.
Lists and illustrates the tools and accessories required for installation and maintenance.
Instructions on how to adjust the leveling screws to ensure the floor module is level.
Guide to attaching the wall modules to the floor base.
Instructions for joining the roof modules together.
Steps for lifting and securing the roof onto the assembled wall modules.
Guide for attaching the front side frames to the pod structure.
Steps for fitting the front glass panels into the frame.
Guide for attaching the top and bottom frames to the main structure.
Steps for attaching the rear side frames to the pod.
Steps for mounting the electrical box and its components.
Steps for installing the main power unit and checking its configuration.
Guide for mounting the control unit and its bracket.
Steps for detaching and preparing the door hinges for installation.
Instructions for attaching the door handles to the door.
Detailed steps for installing the optional smart lock mechanism and handles.
| Frame Material | Steel |
|---|---|
| Lighting | LED lighting |
| Materials | Steel |
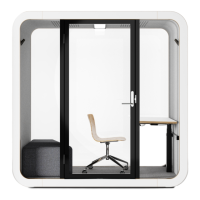
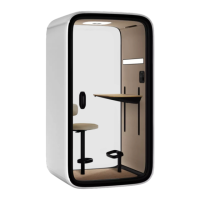
| Capacity | 1-2 persons |
| Door Type | Hinged door |
| Color Options | Various colors available (customizable) |