Home
Framery
Office Equipment
Q
Page 22 (Prepare the Acoustic Panel)
Framery Q - Prepare the Acoustic Panel
148 pages
Manual
Save Page as PDF
To Next Page
To Next Page
To Previous Page
To Previous Page
Loading...
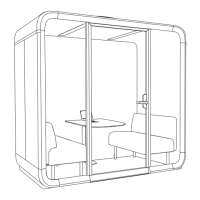
Framery Q (UL) Meeting Maggie
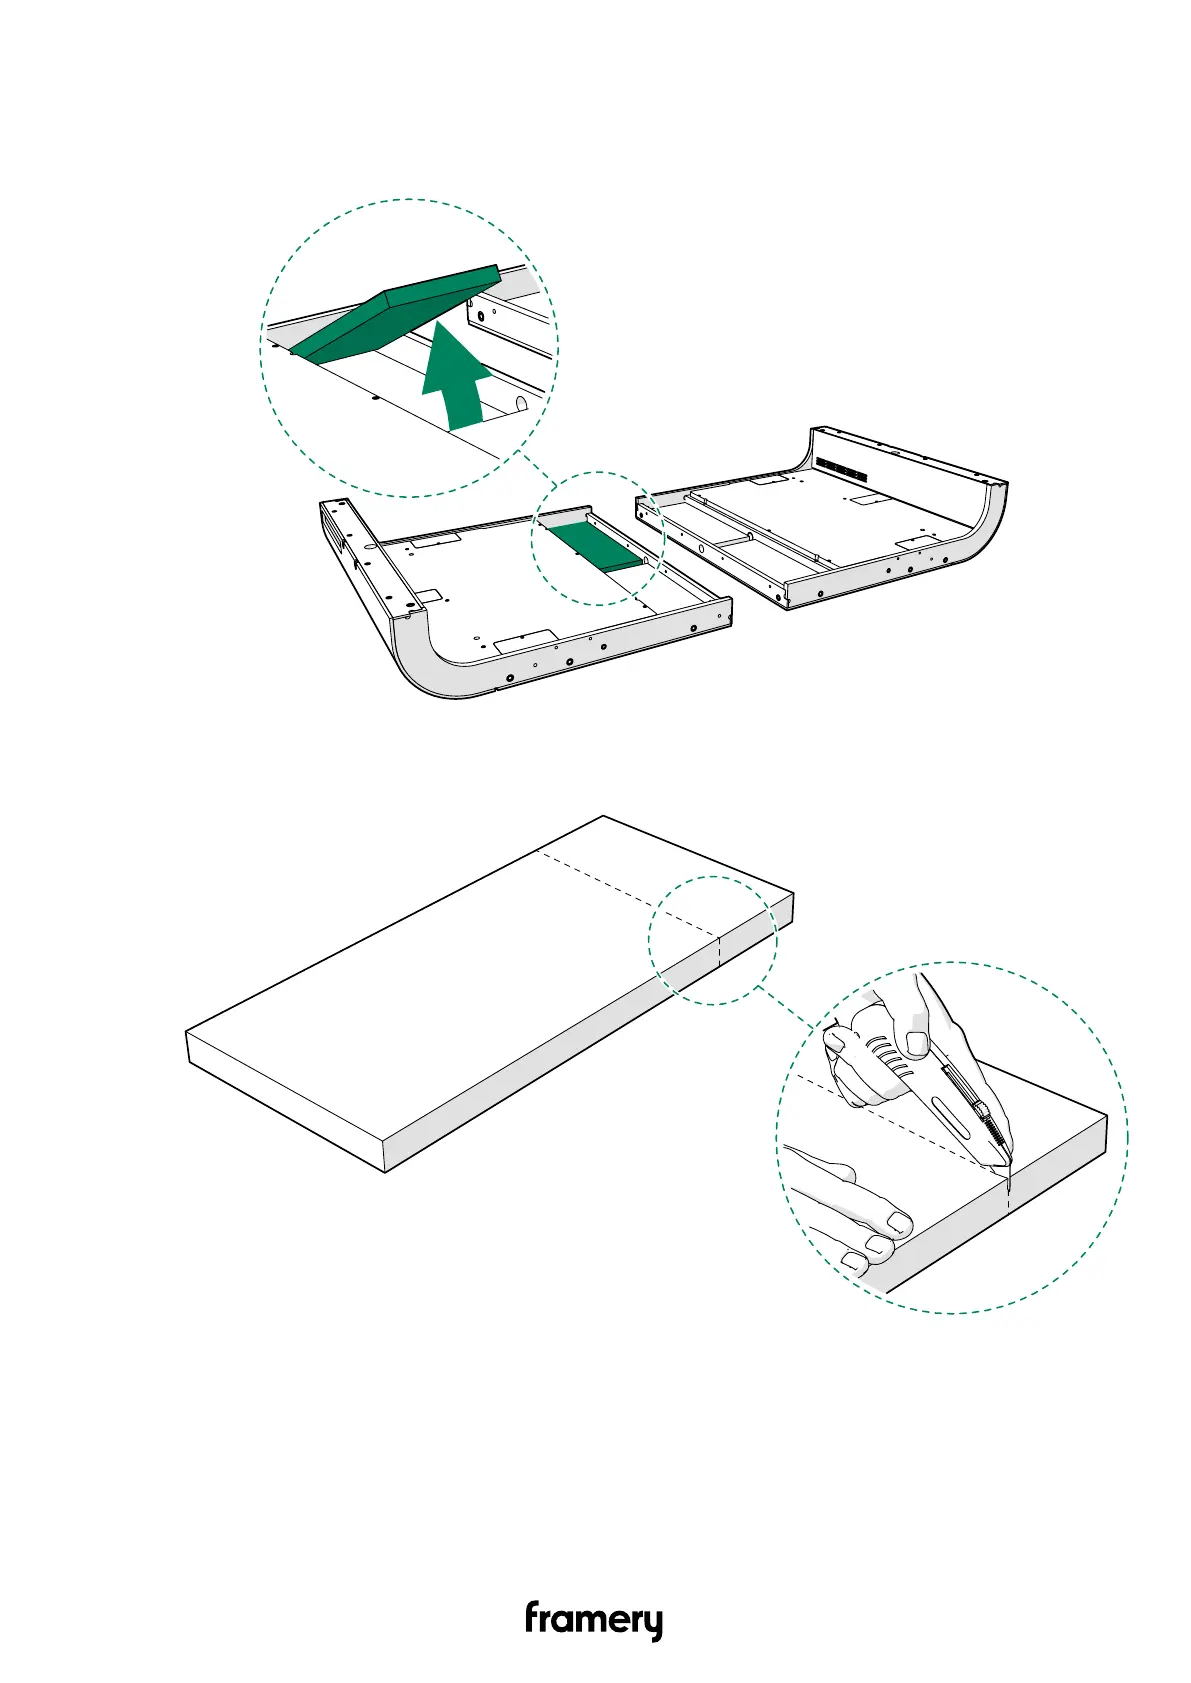
4.2 Prepare the acoustic panel
1.
Remove one of the acoustic panels out of the floor
.
2.
Cut the acoustic panel at the pre-cut line.
22
Installation instructions
info@frameryacoustics.com
21
23
Table of Contents
Main Page
Table of Contents
3
Warranty Checklist
7
Important Safety and Product Instructions
8
Preface
8
Product Information
8
Copyright
8
Manual Contents
8
Intended Use
8
Non-Conventional Use
9
Ambient Conditions for Use
9
Warning, Information, and Safety Symbols in this Manual
9
Main Safety Risks Related to the Installation, Maintenance, Disassembly, and Use of the Product
10
Installation, Maintenance, and Disassembly
10
Electrical Safety
10
Fire Safety
11
Use
12
Moving the Product on Casters (Optional)
13
Location of Product Markings
14
Installation Requirements
17
Tools and Accessories
17
Main Dimensions
18
Installation Space
18
Operating Space
19
Seismic Anchoring Requirements
20
Floor
21
Install the Casters (Optional)
21
Prepare the Acoustic Panel
22
Connect the Floor Modules
23
Level the Floor
28
Install the Wall Modules
30
Remove the Wall Cover Panels
30
Connect the Wall Modules to the Floor
31
Roof
34
Connect the Roof Modules
34
Install the Roof
37
Front Frames and Glasses
40
Install the Side Frames (Front)
40
Install the Control Panel (Optional)
44
Install the Front Glasses
48
Install the Upper and Lower Frames
53
Install the Booking System Bracket (Optional)
55
Back Frames and Glasses
63
Install the Side Frames (Back)
63
Install the Lower Frame
66
Install the Back Glasses
67
Install the Upper Frame
69
Install the Seals
71
Install the Cover Panels and Plates
73
Install the Electrical Equipment
75
Install the Metal Box with Electrics
75
Install the DC Extension Cord
79
Install the LAN Cord (Optional)
82
Power Unit
83
Install the Power Unit
83
Install the Floor Cover Board
84
Install the Control Unit
86
Install the Control Panel Cord
89
Install the Motion Detector and Light
91
Install the Interior
95
Assemble the Table
95
Install the Table
98
Install the LAN Data Cartridge (Optional)
101
Install the Power Outlet
102
Install the Carpet and Floor Grid
108
Install the Door
110
Install the Floor Threshold
110
Install the Ceiling Threshold
112
Install the Door
114
Install the Door Handle
116
Install the Smart Lock Handle (Optional)
119
Install the Coat Hooks
131
Assemble the Seats
132
Install the Body Covers
133
Install the Roof Cover Panel
133
Install the Bottom Body Covers
134
Install the Roof Body Covers
136
Install the Wall Body Covers
138
Finish the Installation
140
Moving the Pod (Optional)
142
Other manuals for Framery Q
Maintenance Instructions
64 pages
Related product manuals
Framery Q Working with PAL
106 pages
Framery One
51 pages
Framery Four
70 pages