Franka Emika GmbH © October 2018
96
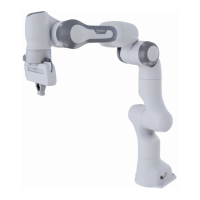
Mounng of gripper The following materials are included in the scope of delivery of the Hand:
• 2 x DIN7984 M6X12 ST 8.8 screw
• 1 x ISO2338B 6X10 H8 A2 cylindrical pin
Have an Hex key size 4 ready for use.
Mounng:
• If desired, insert the cylindrical pin in the H7 t of the ange of the Hand.
• Posion the Hand with its ange on the end eector ange on the Arm.
Should you not use the cylindrical pin, make sure that the side of the Hand
with the cable is aached on the side of the grip where the connector port
is located.
• Aach the Hand with 2 x M6x12 screws (do not use other types of
screws!)
• with the above noted screws the screw depth is 8mm. This must not be
exceeded!
Noce: x the hand with the 2 x M6x12 screws (never use any other type of
screw!) and use 5Nm of torque
Noce: using the above-menoned screws, the screw-in depth is 8mm. This
should never be exceeded!
Cauon. Please ensure that the tool (hex key) does not remain inserted on
the robot! This could become a projecle during later movements of the Arm
and lead to injuries.
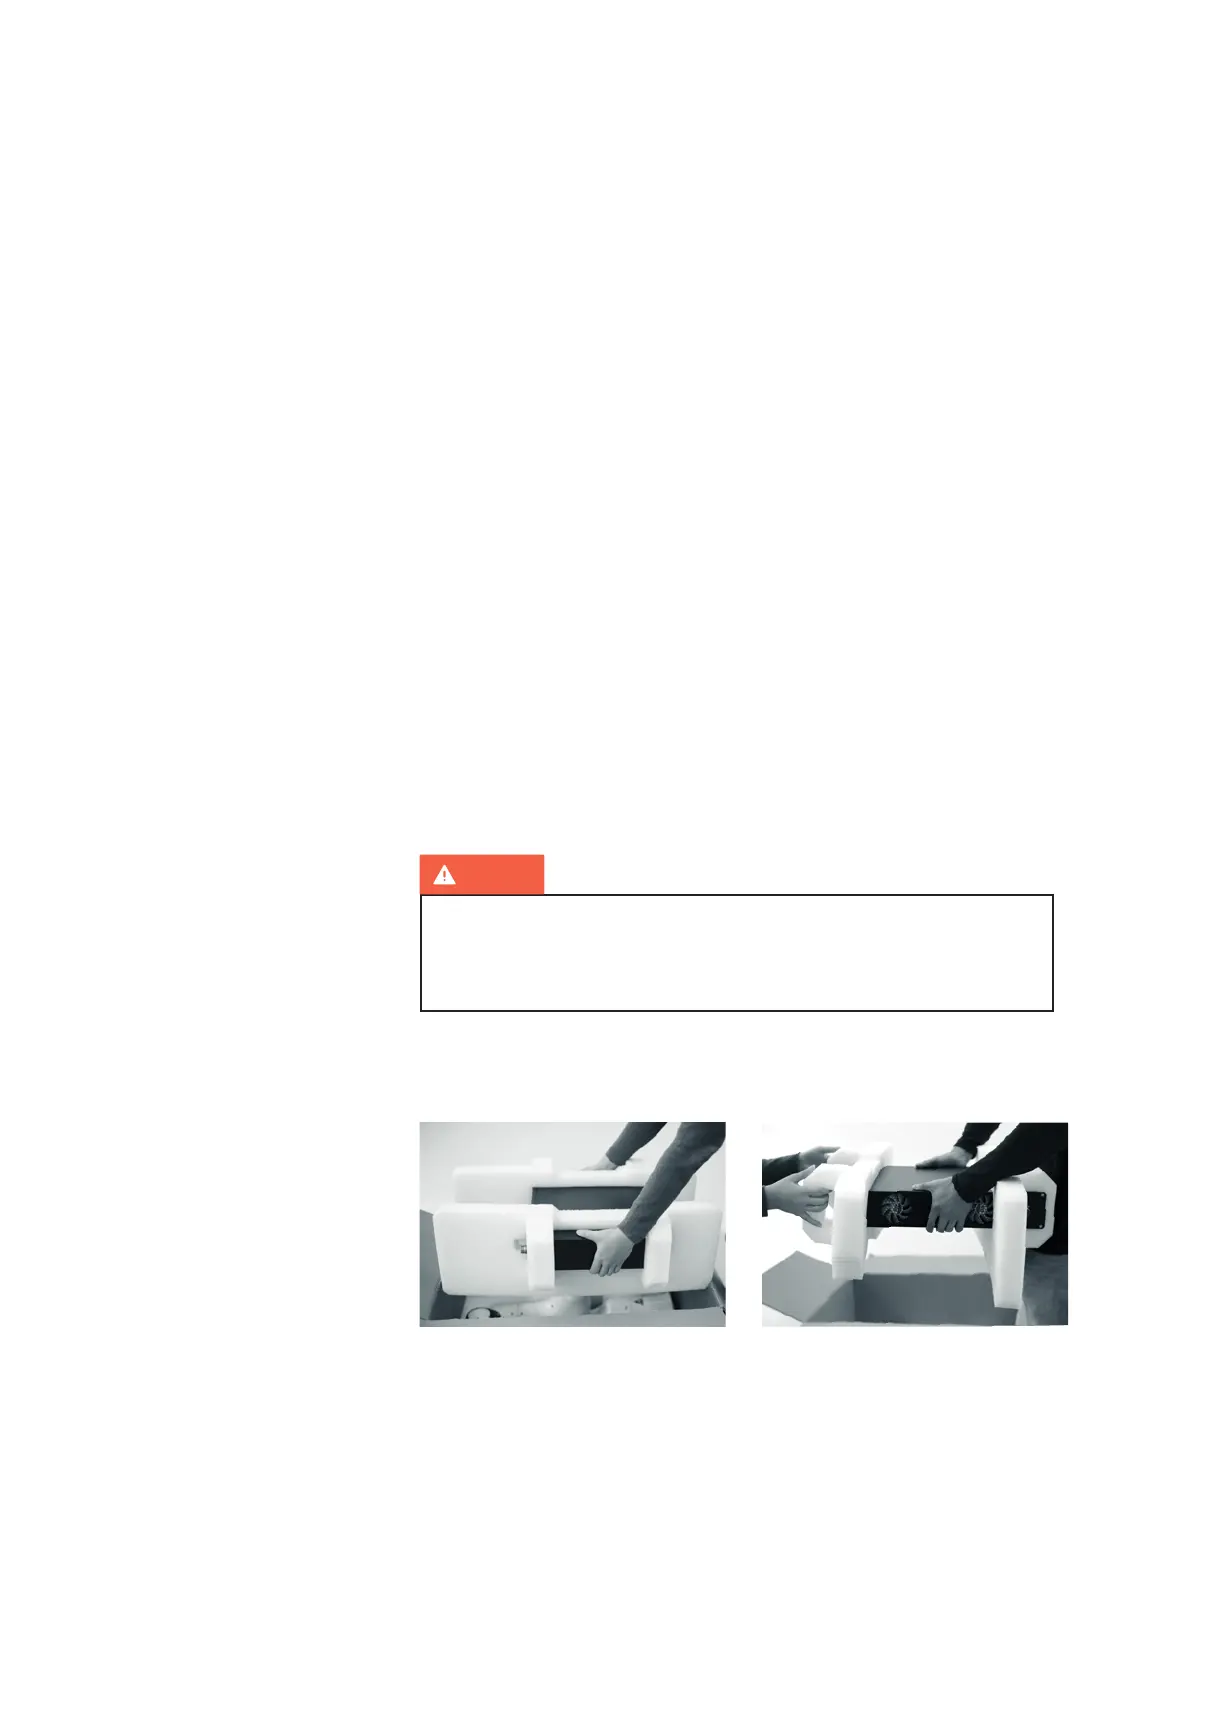
Unwrapping
• Work in twos to remove the foam packaging of the Control, one person holding
the Control and the other removing the foam packaging.
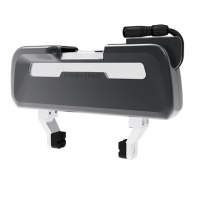
• Place the Control in its designated posion or aach it in a rack designed for
19 inch units (the control has 2 HUs - hight units)
• Note that the standard length of the connecon cable is 2.5m!
Posioning
WARNING
MOUNTING & INSTALLATION