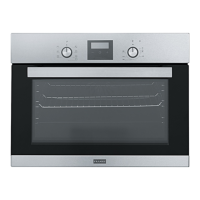
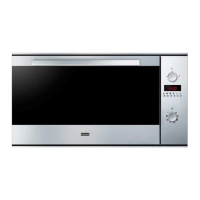
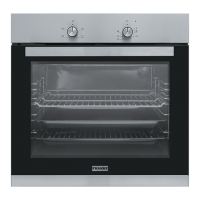
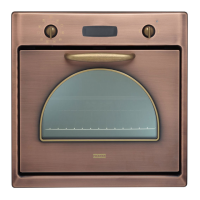
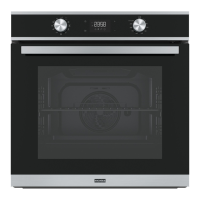
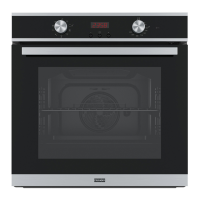
FMO 45 GN 81 / FMO 45 GN 86
– 12 –
EN
OPERATION
First Use ofOven
Here are thethings you must do at first use
ofyour oven after making its necessary
connections as per instructions:
Remove labels oraccessories
attached inside theoven. Ifany, take
out theprotective folio on front side
oftheappliance.
Remove dust and package residues by
wiping inside oftheoven with adamp cloth.
Inside ofoven must beempty. Plug thecable
ofappliance into theelectrical socket.
Set thethermostat knob tothehighest
temperature (240 Max.°C) and run
theoven for 30minutes with its door
closed. Meanwhile aslight smoke and
smell might occur and that’s anormal
situation.
Wipe inside oftheoven with aslightly
warm water with detergent after it
becomes cold and then dry with aclean
cloth. Now you can use your oven.
Normal Use ofOven
Adjust thermostat knob tothetemperature
at which you want tocook thefood tostart
cooking.
You can set cooking time toany desired
time by using theknob on models with
mechanical timer. Timer will de-energize
automatically theoven when time expired
and provide warning beep as ringing.
Timer turns automatically theoven off and
provides audible signal when cooking time
expires inline with theinformation entered
inthemodels with digital timer.
Cooling system oftheappliance will
continue tooperate after cooking
iscompleted. Do not cut thepower
ofappliance as it requires tocool down.
System will shut down automatically after
cooling iscompleted.
Using theGrill Function
When you place thefood on thetop rack,
it shall not touch thegrill resistance.
You can preheat theoven for 5 minutes
when you use thegrill function.
If necessary, you may turn thefood
upside down.
Food shall bein thecenter ofthegrill
toprovide maximum air flow through
theoven and anuniform cooking.
To turn on thegrill function
Turn thefunction knob tothegrill symbol.
Then, set thedesired temperature.
To turn thegrill off
Set thefunction knob totheoff position.
WARNING: Keep theoven door closed while
grilling.
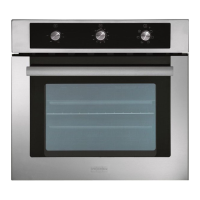
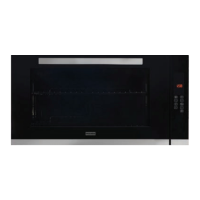
Using theDigital Timer* (FMO 45 GN 86)
1
3
2
1. Minus button
2. Timer/ Timer adjustment button
3. Plus button