This writes the given value to the supplied analog pin. You will need to register additional analog modules
to enable this function for devices.
This returns the value read on the supplied analog input pin. You will need to register additional analog
modules to enable this function for devices.
For more detailed instructions about PCF8591 of wiringPi, please refer to:
http://wiringpi.com/extensiones/i2c-pcf8591/
Python Code 7.1.1 ADC
First install a smbus module, and the command is as follows:
sudo apt-get install python-smbus
After the installation is completed, operate according to the following steps. Observe the project result, and
then analyze the code.
1. Use cd command to enter 07.1.1_ADC directory of Python code.
cd ~/Freenove_Ultimate_Starter_Kit_for_Raspberry_Pi/Code/Python_Code/07.1.1_ADC
2. Use the python command to execute the Python code “ADC.py”.
python ADC.py
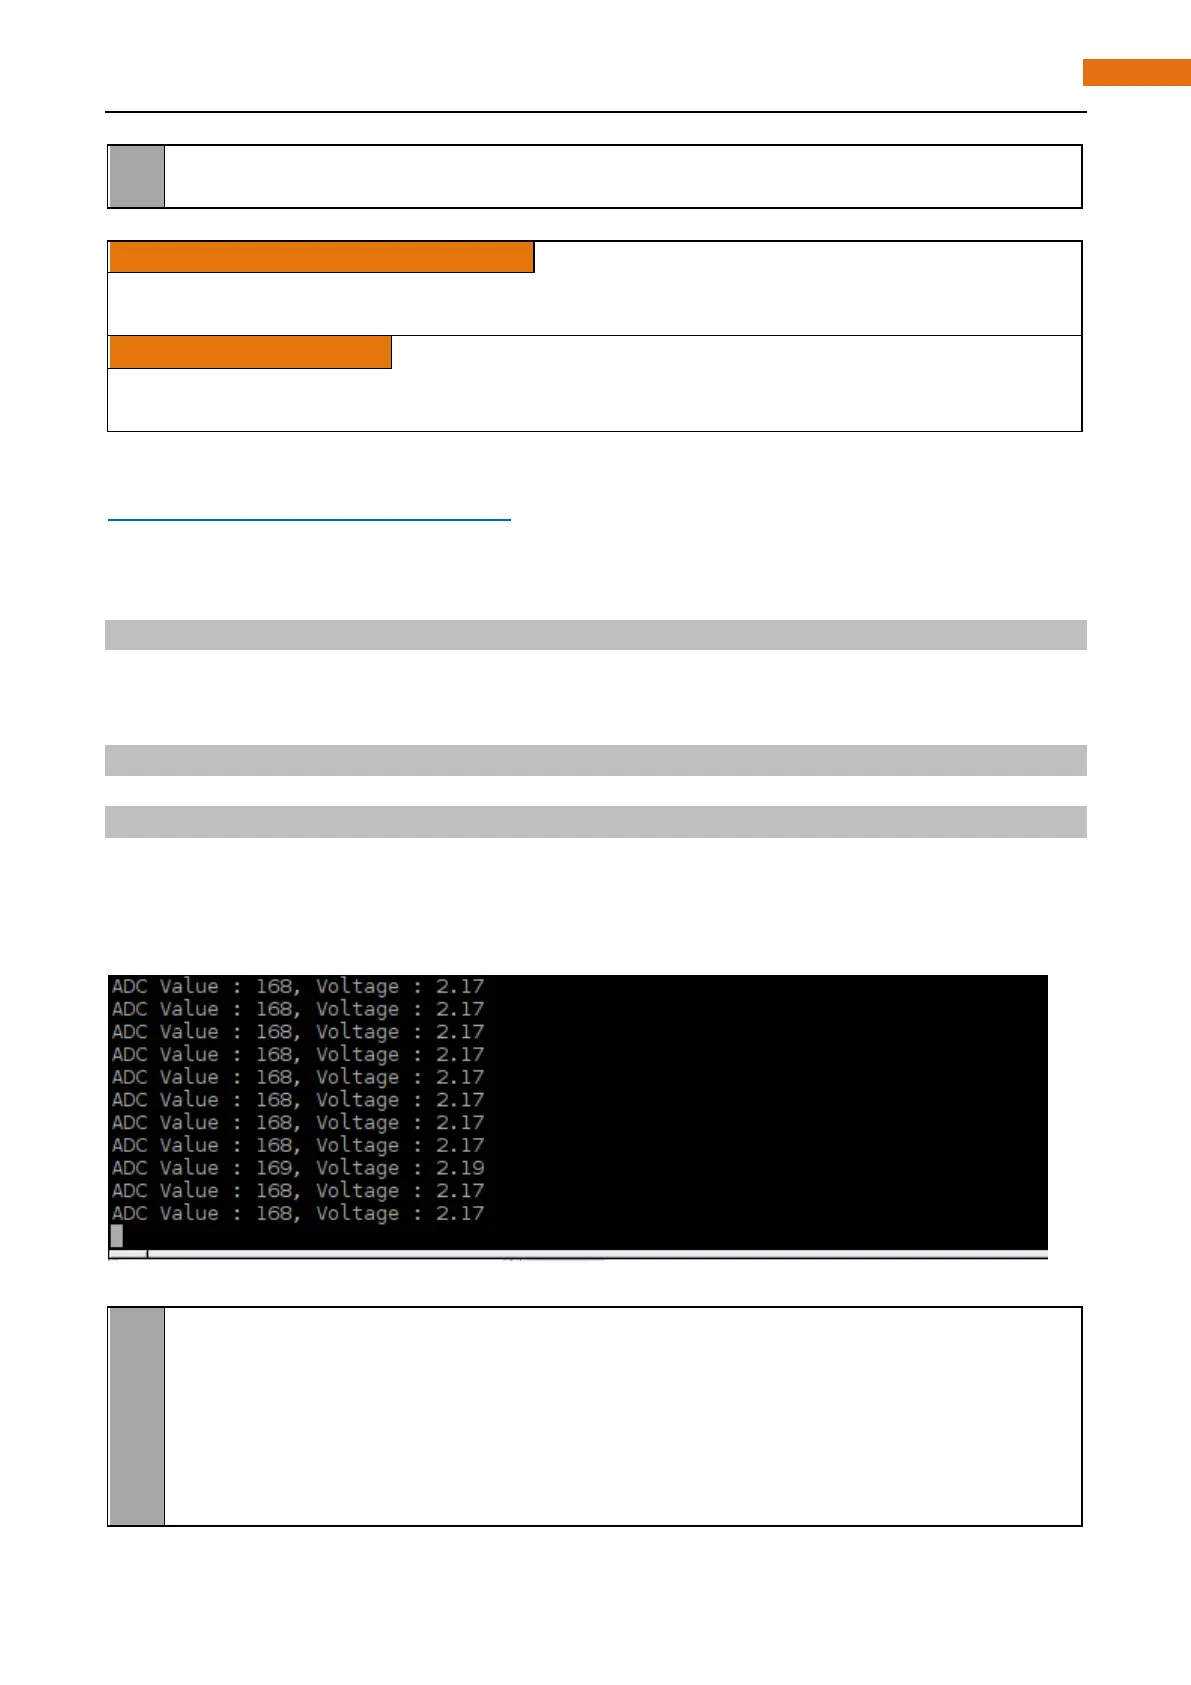
After the program is executed, shift the potentiometer, then the terminal will print out the potentiometer
voltage value and the converted digital content. When the voltage is greater than 1.6V (voltage need to turn
on red LED), LED starts emitting light. If you continue to increase the output voltage, the LED will become
more bright gradually.
The following is the code: