Chapter 4 Analog & PWM
In previous study, we have known that one button has two states: pressed and released, and LED has light-
on/off state, then how to enter a middle state? How to output an intermediate state to let LED "semi bright"?
That's what we're going to learn.
First, let’s learn how to control the brightness of a LED.
Project 4.1 Breathing LED
Breathing light, that is, LED is turned from off to on gradually, gradually from on to off, just like "breathing".
So, how to control the brightness of a LED? We will use PWM to achieve this target.
Component List
Circuit knowledge
Analog & Digital
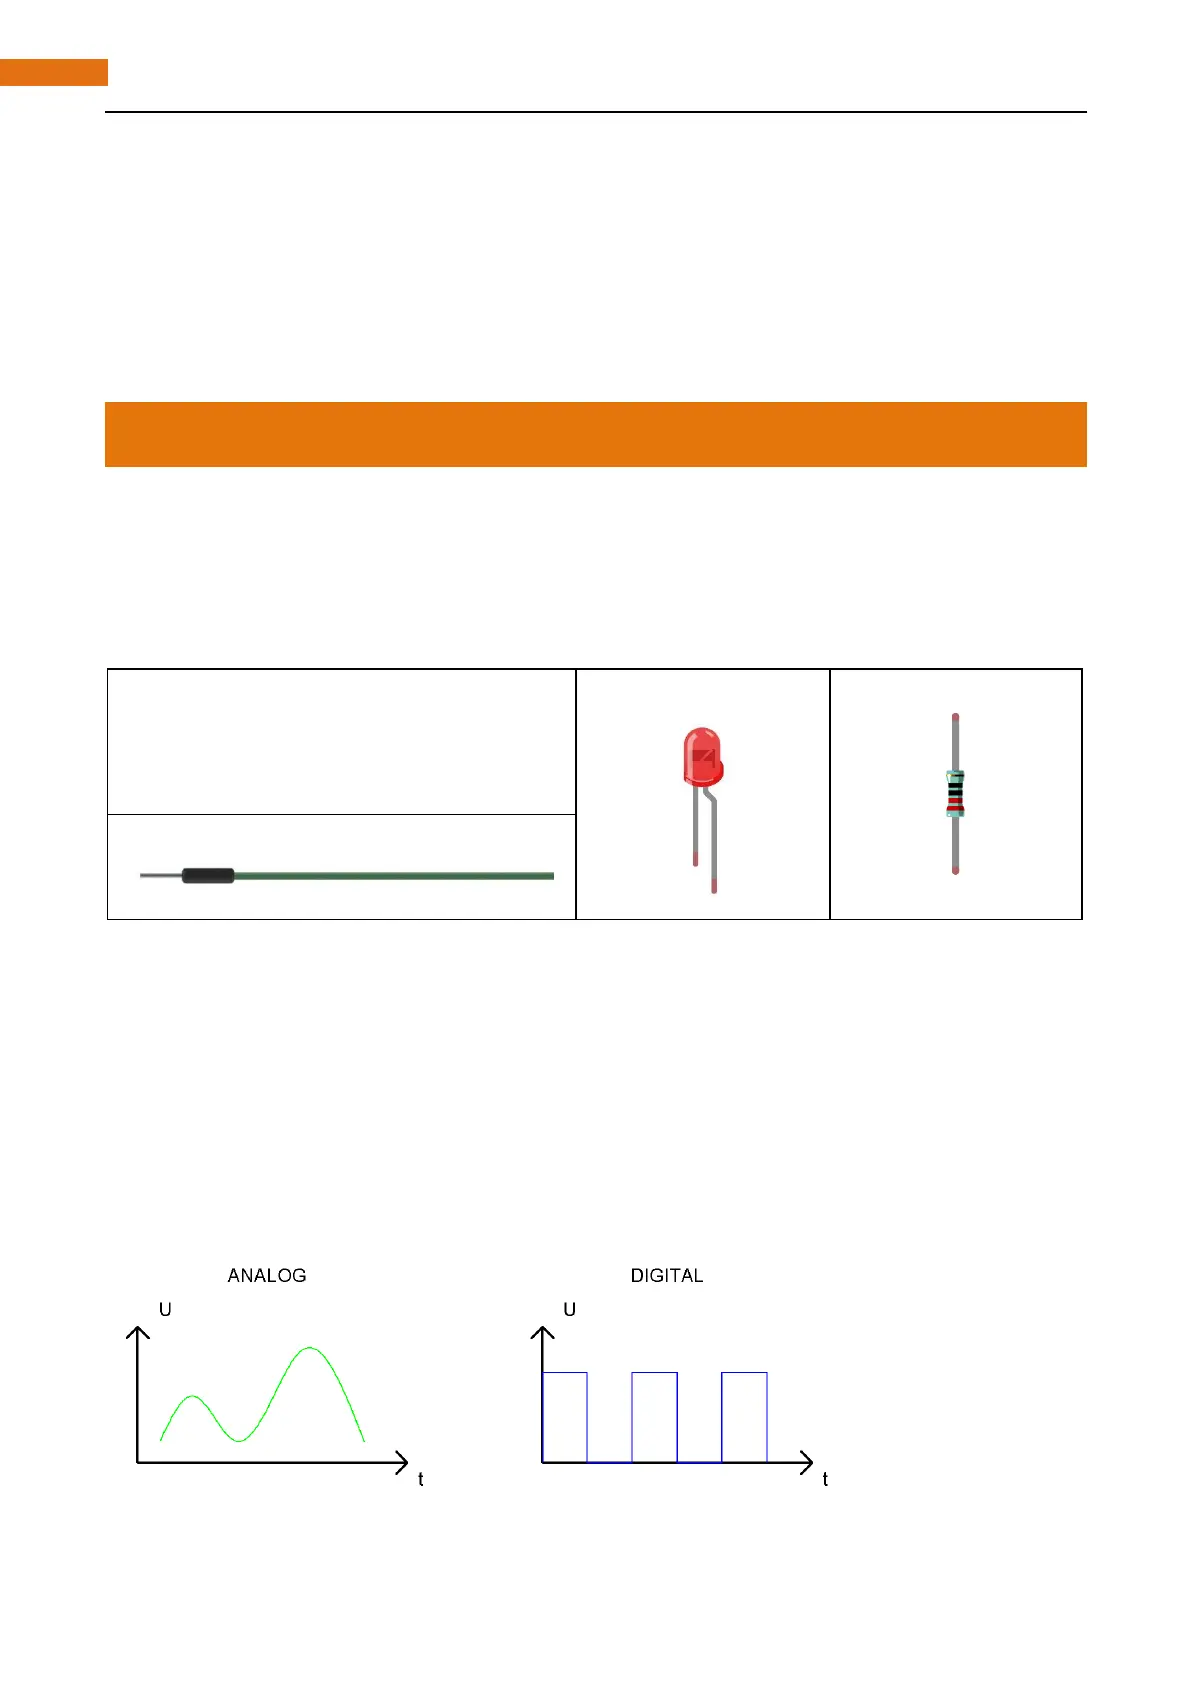
The analog signal is a continuous signal in time and value. On the contrary, digital signal is a discrete signal
in time and value. Most signals in life are analog signals, for example, the temperature in one day is
continuously changing, and will not appear a sudden change directly from 0℃ to 10℃, while the digital signal
is a jump change, which can be directly from 1 to 0.
Their difference can be illustrated by the following figure.