Python Code 12.1.1 Joystick
First observe the project result, and then analyze the code.
1. Use cd command to enter 12.1.1_Joystick directory of Python code.
cd ~/Freenove_Ultimate_Starter_Kit_for_Raspberry_Pi/Code/Python_Code/12.1.1_ Joystick
2. Use python command to execute python code "Joystick.py".
python Joystick.py
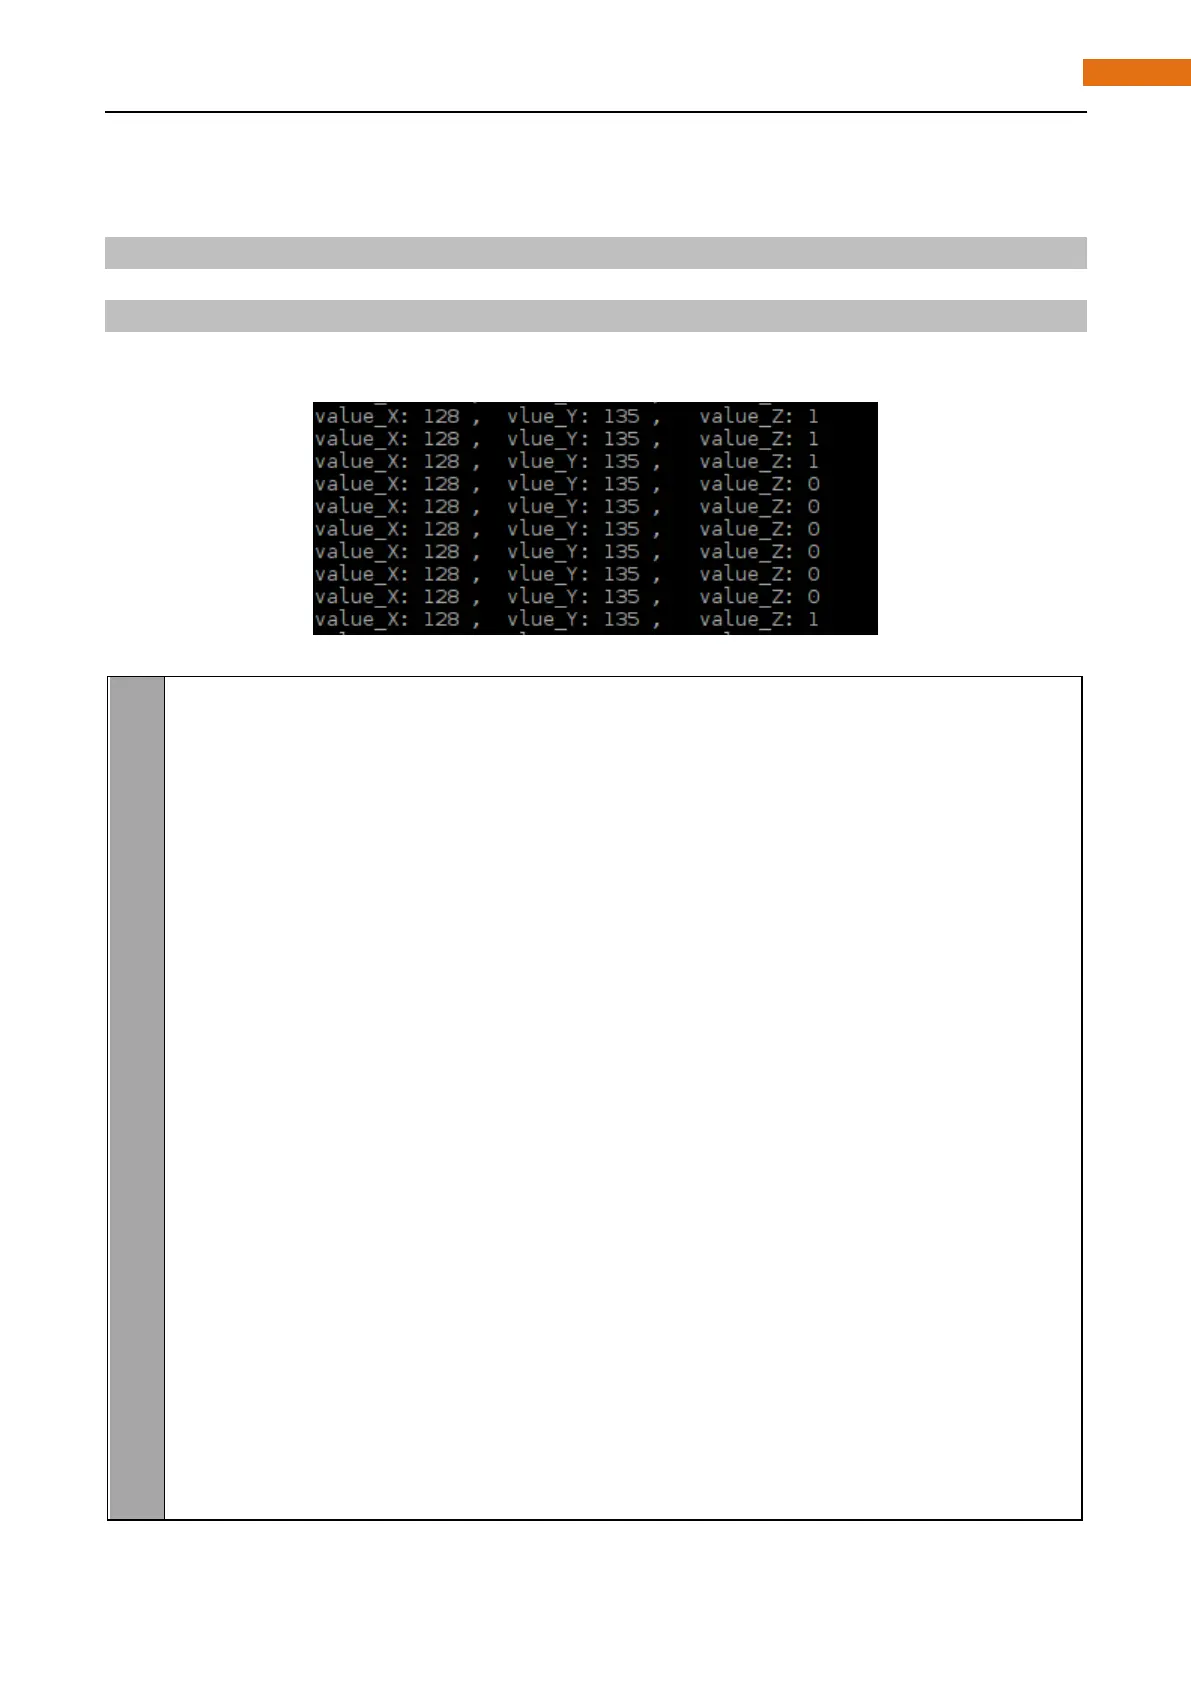
After Program is executed, the terminal window will print out the data of 3 axes X, Y, Z. And shifting the
Joystick or pressing it will make those data change.
The following is the program code:
im port RPi. GPIO as GPIO
im port smbus
im port time
address = 0x48
bus=smbus.SMBus(1)
cmd=0x40
Z_Pin = 12 #define pin for Z_Pin
def analogRead(chn): #read ADC value
bus. write_byte(address,cmd+chn)
value = bus.read_byte(address)
value = bus.read_byte(address)
#value = bus.read_byte_data(address,cmd+chn)
r eturn value
def analogWrite(value):
bus. write_byte_data(address,cmd,value)
def setup():
GPIO. setmode(GPIO.BOARD)
GPIO. setup(Z_Pin,GPIO.IN,GPIO.PUD_UP) #set Z_Pin to pull-up mode
def loop():
w hile Tr ue:
val_Z = GPIO. input(Z_Pin) #read digital quality of axis Z
val_Y = analogRead(0) #read analog quality of axis X and Y
val_X = analogRead(1)
print ('value_X: %d ,\tvlue_Y: %d ,\tvalue_Z: %d'%(val_X,val_Y,val_Z))