Chapter 23 Infrared Motion Sensor
20
21
22
23
24
25
26
27
28
29
30
digitalWrite(ledPin, HIGH); //led on
printf("led on...\n");
}
else {
digitalWrite(ledPin, LOW); //led off
printf("...led off\n");
}
}
return 0;
}
It can be seen that the code is based on the same logic with the "ButtonLED" code in addition to determining
the level of the input signal.
Python Code 23.1.1 SenseLED
First observe the project result, and then analyze the code.
1. Use cd command to enter 22.1.1_MatrixKeypad directory of Python code.
cd ~/Freenove_Ultimate_Starter_Kit_for_Raspberry_Pi/Code/Python_Code/23.1.1_SenseLED
2. Use python command to execute code "SenseLED.py".
python SenseLED.py
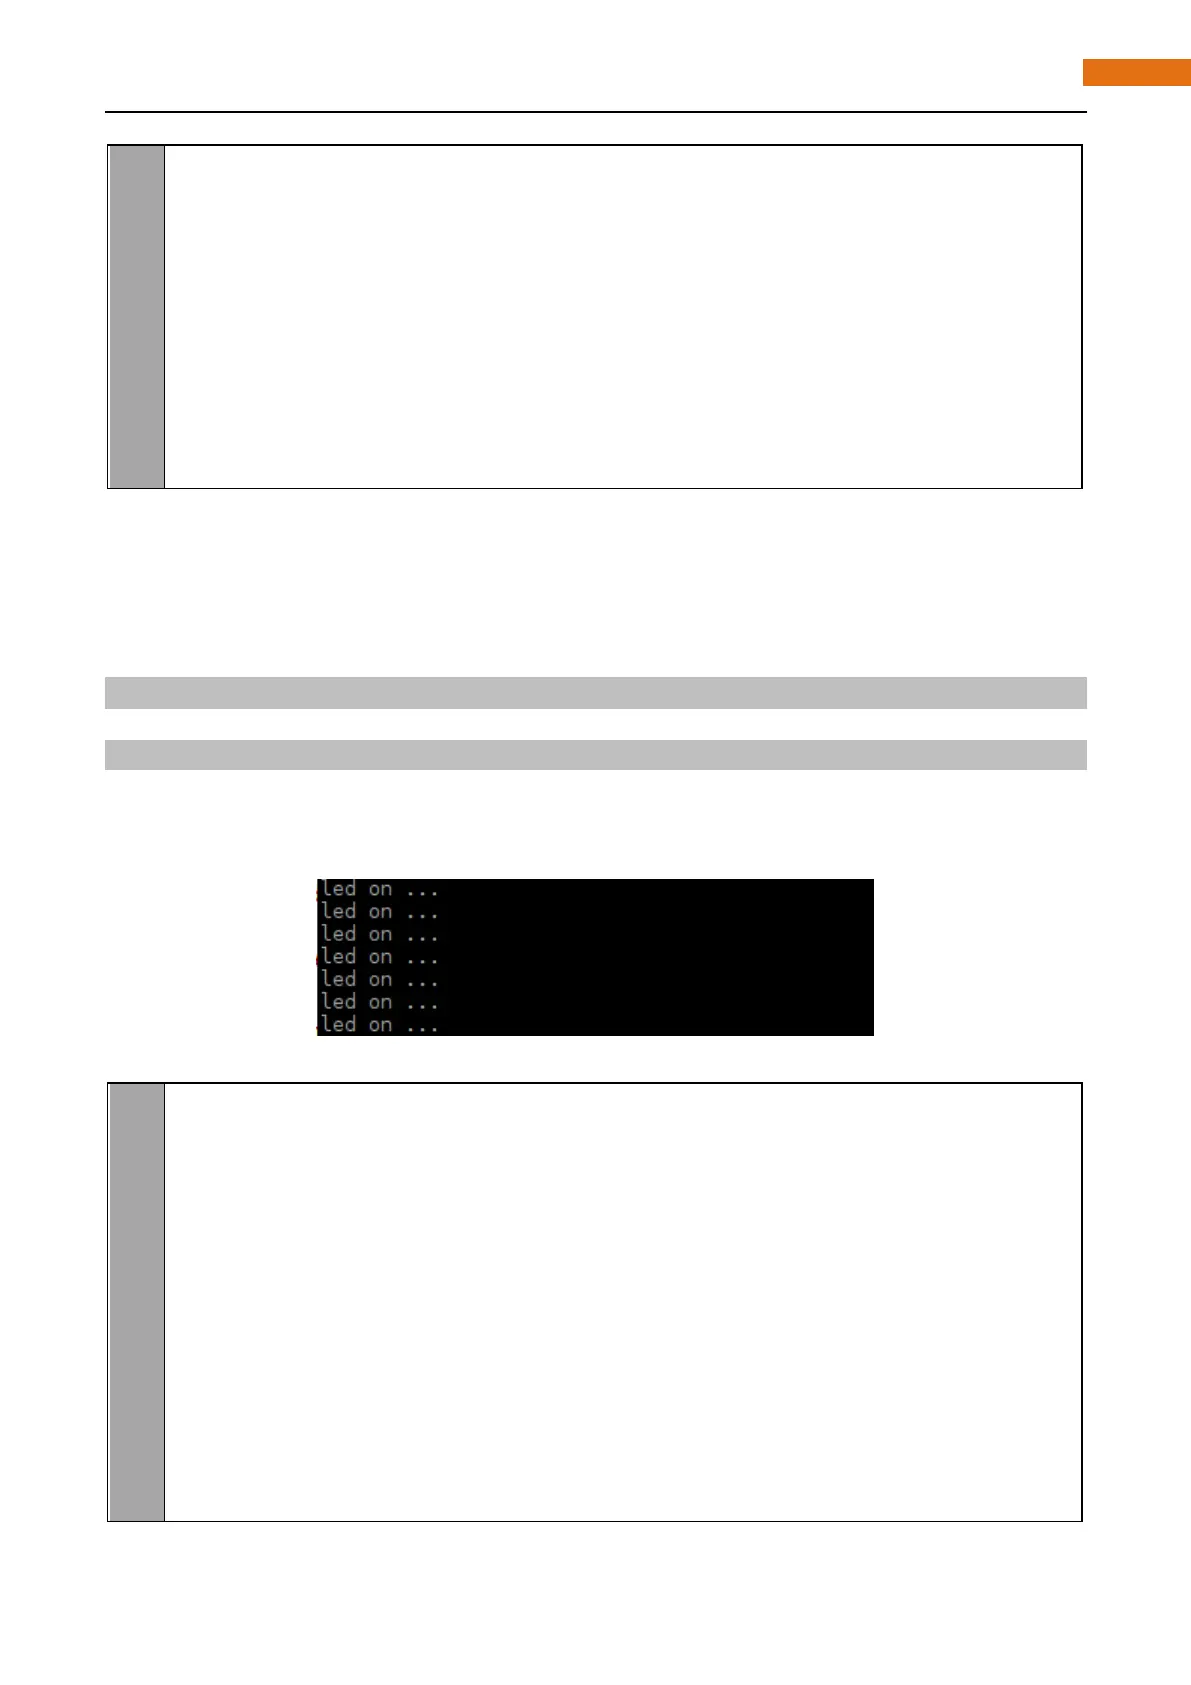
After the program is executed, try to leave away from or get closed to the Motion Sensor Infrared and observe
whether the LED will be turned on or off. The terminal window will print out the state of LED constantly. As is
shown below:
The following is the program code:
1
2
3
4
5
6
7
8
9
10
11
12
13
14
im port RPi. GPIO as GPIO
ledPin = 12 # define the ledPin
sensorPin = 11 # define the sensorPin
def setup():
p rint ('Program is starting...')
GPIO. setmode(GPIO.BOARD) # Numbers GPIOs by physical location
GPIO. setup(ledPin, GPIO. OUT) # Set ledPin's mode is output
GPIO. setup(sensorPin, GPIO. IN) # Set sensorPin's mode is input
def loop():
w hile Tr ue:
if GPIO.input(sensorPin)==GPIO.HIGH: