7
EN
Installing the Fronius Symo Hybrid with the external
battery
Tips before com-
missioning
It can take up to two hours to update the inverter. During this time the inverter must be con-
nected to an AC power source. To save time during installation, work may still be carried
out in a non-live area of the system while the update is in progress.
More information on the update process can be found under "Software version of the
Fronius system monitoring" on page 14
Commissioning
IMPORTANT!
Failure to follow these steps in the correct order will not only invalidate the warranty,
but also risks a deep discharge of the battery.
IMPORTANT!
If the installation cannot be completed in one attempt, precautions must be taken to
prevent a deep discharge of the battery (see the battery Installation Instructions).
Observe the enclosed complete circuit diagram for the entire system during commission-
ing.
Set up the entire system in the following order:
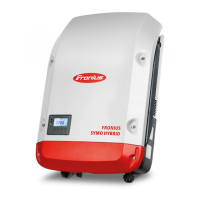
1. Install the inverter (Fronius Hybrid series)
2. Install the Fronius Smart Meter
3. Install the Fronius Checkbox and external battery
(for more information on installing the Fronius Checkbox, see section Installing the
Fronius Checkbox on page 9)
4. Launch and complete the Setup wizard (wizard on the inverter)
5. Configure communication between the battery and the inverter
6. Carry out a function test
Maximum clear-
ances between
the components
max. 1 m max. 9 m
 Loading...
