700-Bubbler-Man Rev 12 13 Feb 2020
Page 20/51
4mA – input the desired minimum depth value for the selected units
20mA – input the desired maximum depth value for the selected units
Output mA – the actual output mA which the Bubbler will convert to the level measurement value
3.7 SETUP MENU
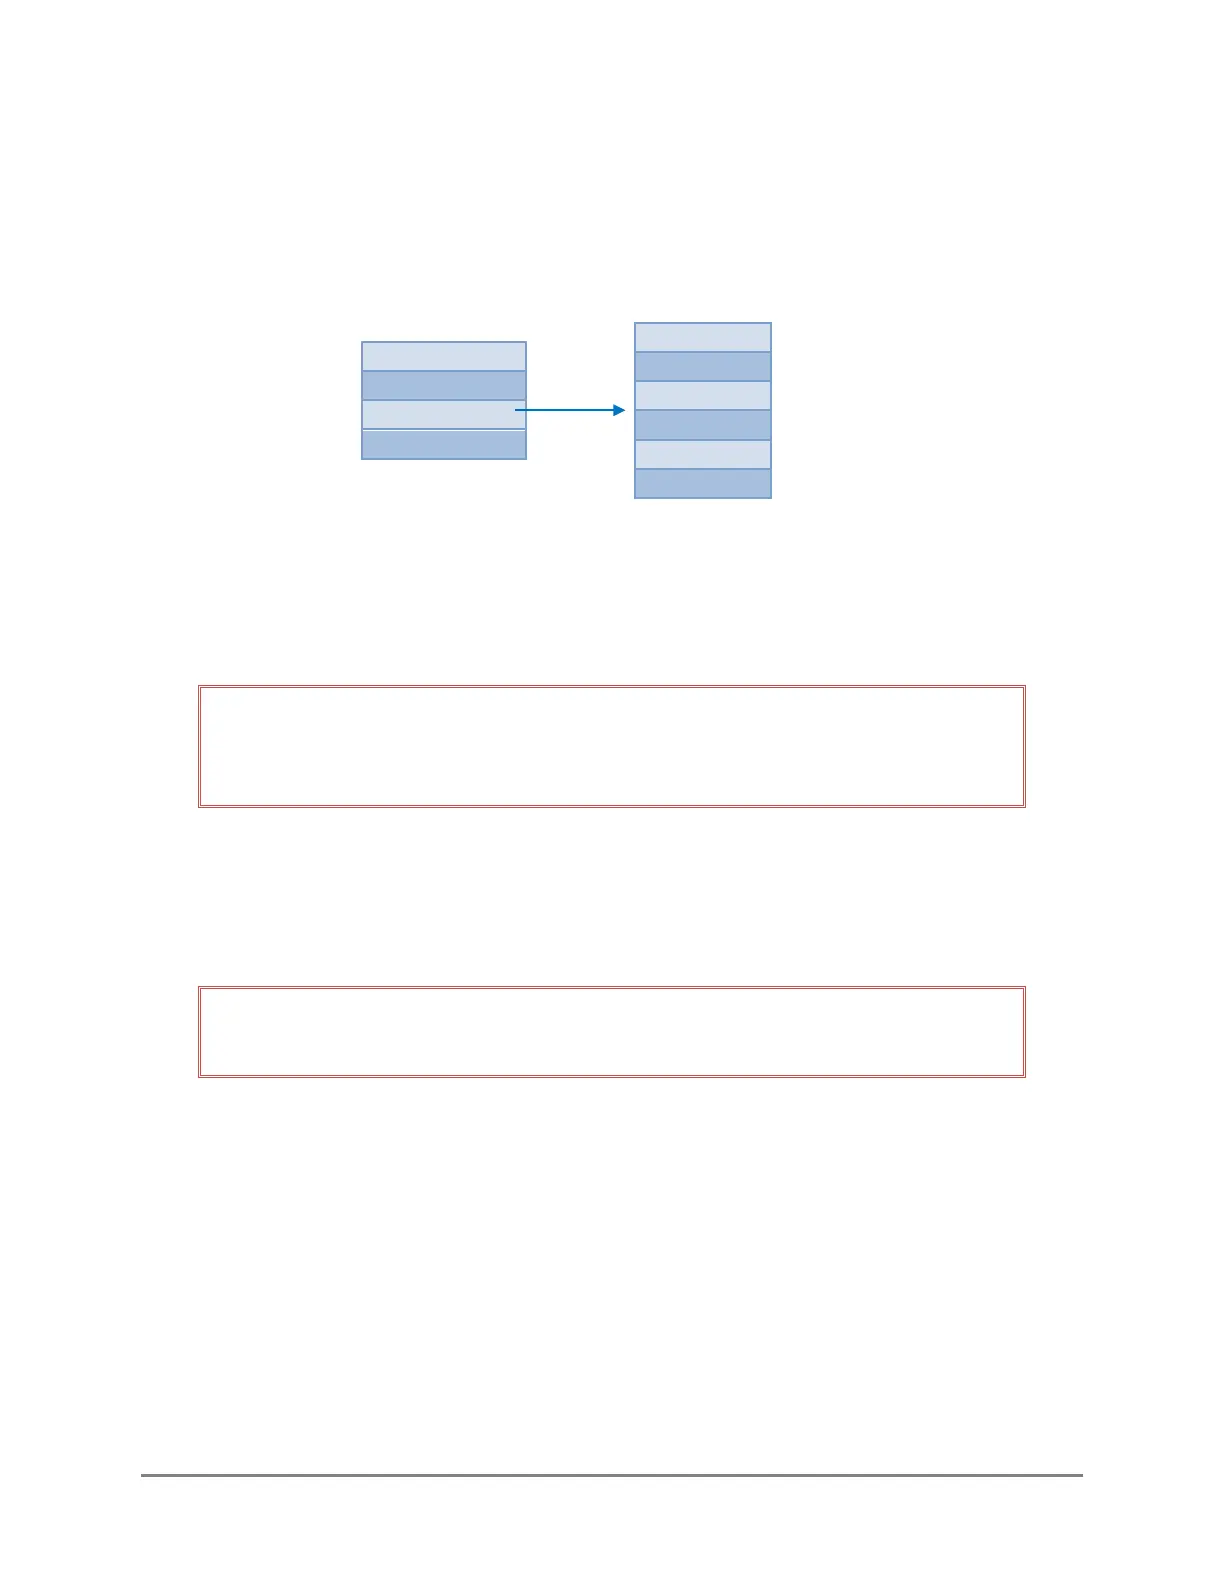
Figure 3-5: Setup sub-menu
Site: The site name can be input and is displayed here.
Address: This displays the Bubbler’s SDI-12 address. The Bubbler will be shipped with the default
address of zero. The address can also be set in this screen.
IMPORTANT! Changes made to the SDI-12 address with a data logger (using SDI-12
commands) will be reflected in the Bubbler. However, changes made to the SDI-12
address using the Bubbler’s Setup menu, will NOT be reflected in the data logger.
If the address is changed after the Bubbler has been configured with the data logger, you must
ensure the data logger configuration is also changed to recognize the new address. If this is not
done, the data logger will not be able to communicate with the Bubbler resulting in data loss.
Rate (Bubble Rate): Sets and displays the number of bubbles released per minute.
NOTE: There will be a pause in the bubble release when a measurement is being
taken.
Temperature: Select the temperature units used to display the Bubbler’s internal temperature
readings (C or F).
AVGDUR (Averaging Duration): The period of time over which the samples taken will be used to
calculate the displayed stage value. The stage value is an average of the number of samples
taken over the specified averaging duration. It takes approximately 2 seconds to take a sample.
The average duration range is from 2-60 seconds. The default is 8 seconds.
SD Card: The SD card is used for service and factory logs. If no SD card is inserted the SDCARD
option screen will display a dash. If an SD card is inserted the SDCARD option will display EJECT.
This should always be selected prior to removing the SD card.