About IP Fax (SIP)
177
Fax
4
Sending an IP Fax (SIP)
The following describes the procedure of sending IP Fax (SIP).
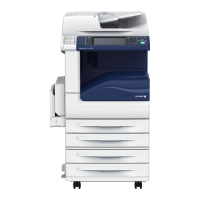
1 Select [IP Fax (SIP)].
2 Configure features as necessary.
For available features, refer to "Fax/Internet Fax" (P.186).
3 Specify a recipient.
Example:
Telephone number: 0312345678
SIP user name: 1111
SIP device address: 1111@192.168.1.1
Important •
The method to input the IP Fax (SIP) destination differs depending on the fax type of the recipient
or the connection configuration. For these differences, refer to "About IP Fax (SIP)" (P.173).
• Check the recipient information before sending the fax.
For the method to specify a recipient using the keyboard, refer to "Entering Text" (P.68).
For other methods to specify a recipient, refer to "Fax/Internet Fax" (P.186).
For broadcast sending, refer to "Broadcast" (P.231).
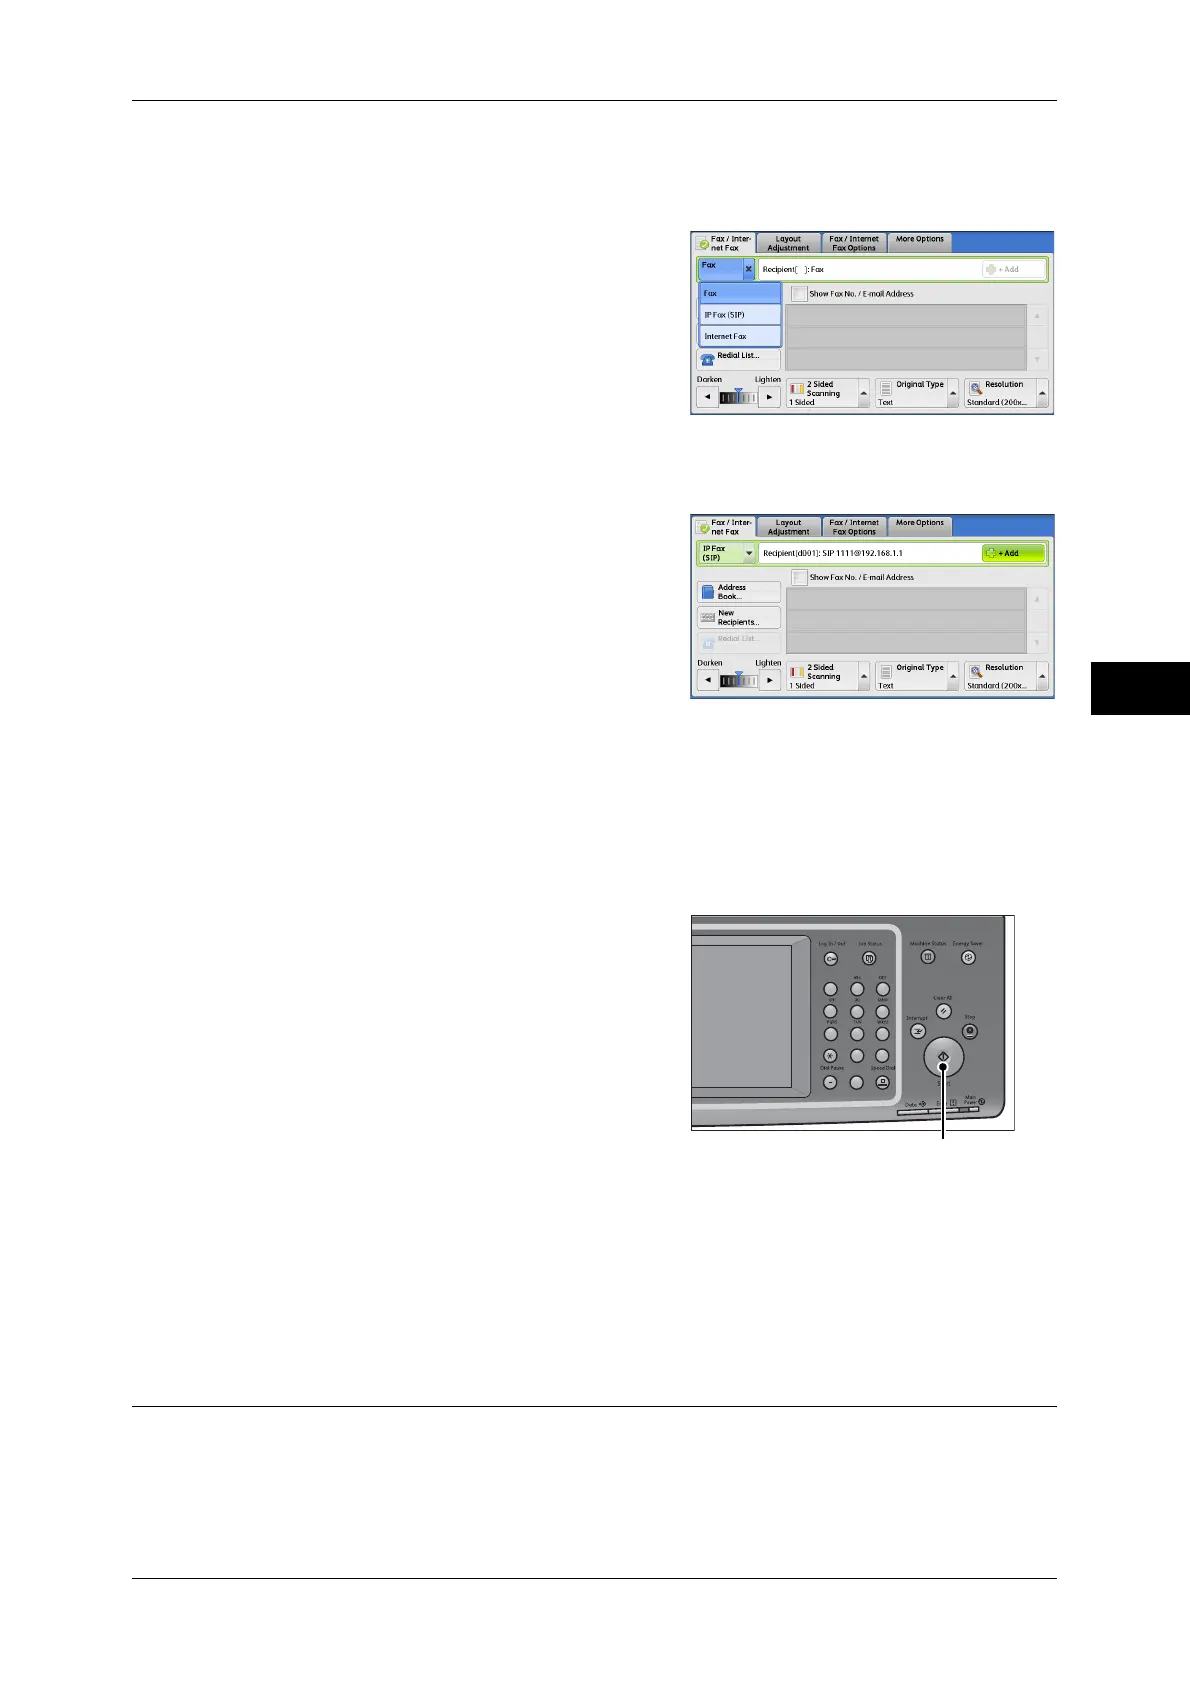
4 Press the <Start> button.
Important • If the document has been loaded in the
document feeder, do not hold down the
document while it is being conveyed.
• A fax cannot be sent if a copy protection
code is detected.
Note • Depending on the settings, a screen to
re-enter the recipient may be displayed
after you specify the recipient. In such
cases, re-enter the recipient.
• If a problem occurs, an error message
appears on the touch screen. Follow the
instructions of the message to solve the
problem.
If a fax cannot be sent, refer to "15 Problem Solving" > "Trouble during Faxing" in the Administrator
Guide.
For the method to cancel sending a fax, refer to "Stopping the Fax Job" (P.162).
Receiving an IP Fax (SIP)
Received fax documents are printed automatically in a manner similar to that of a reg-
ular fax.
For information on operations of the Remote Folder, refer to "Receiving Faxes" (P.239).
123
4
56
789
0#
C
<Start> button
 Loading...