192
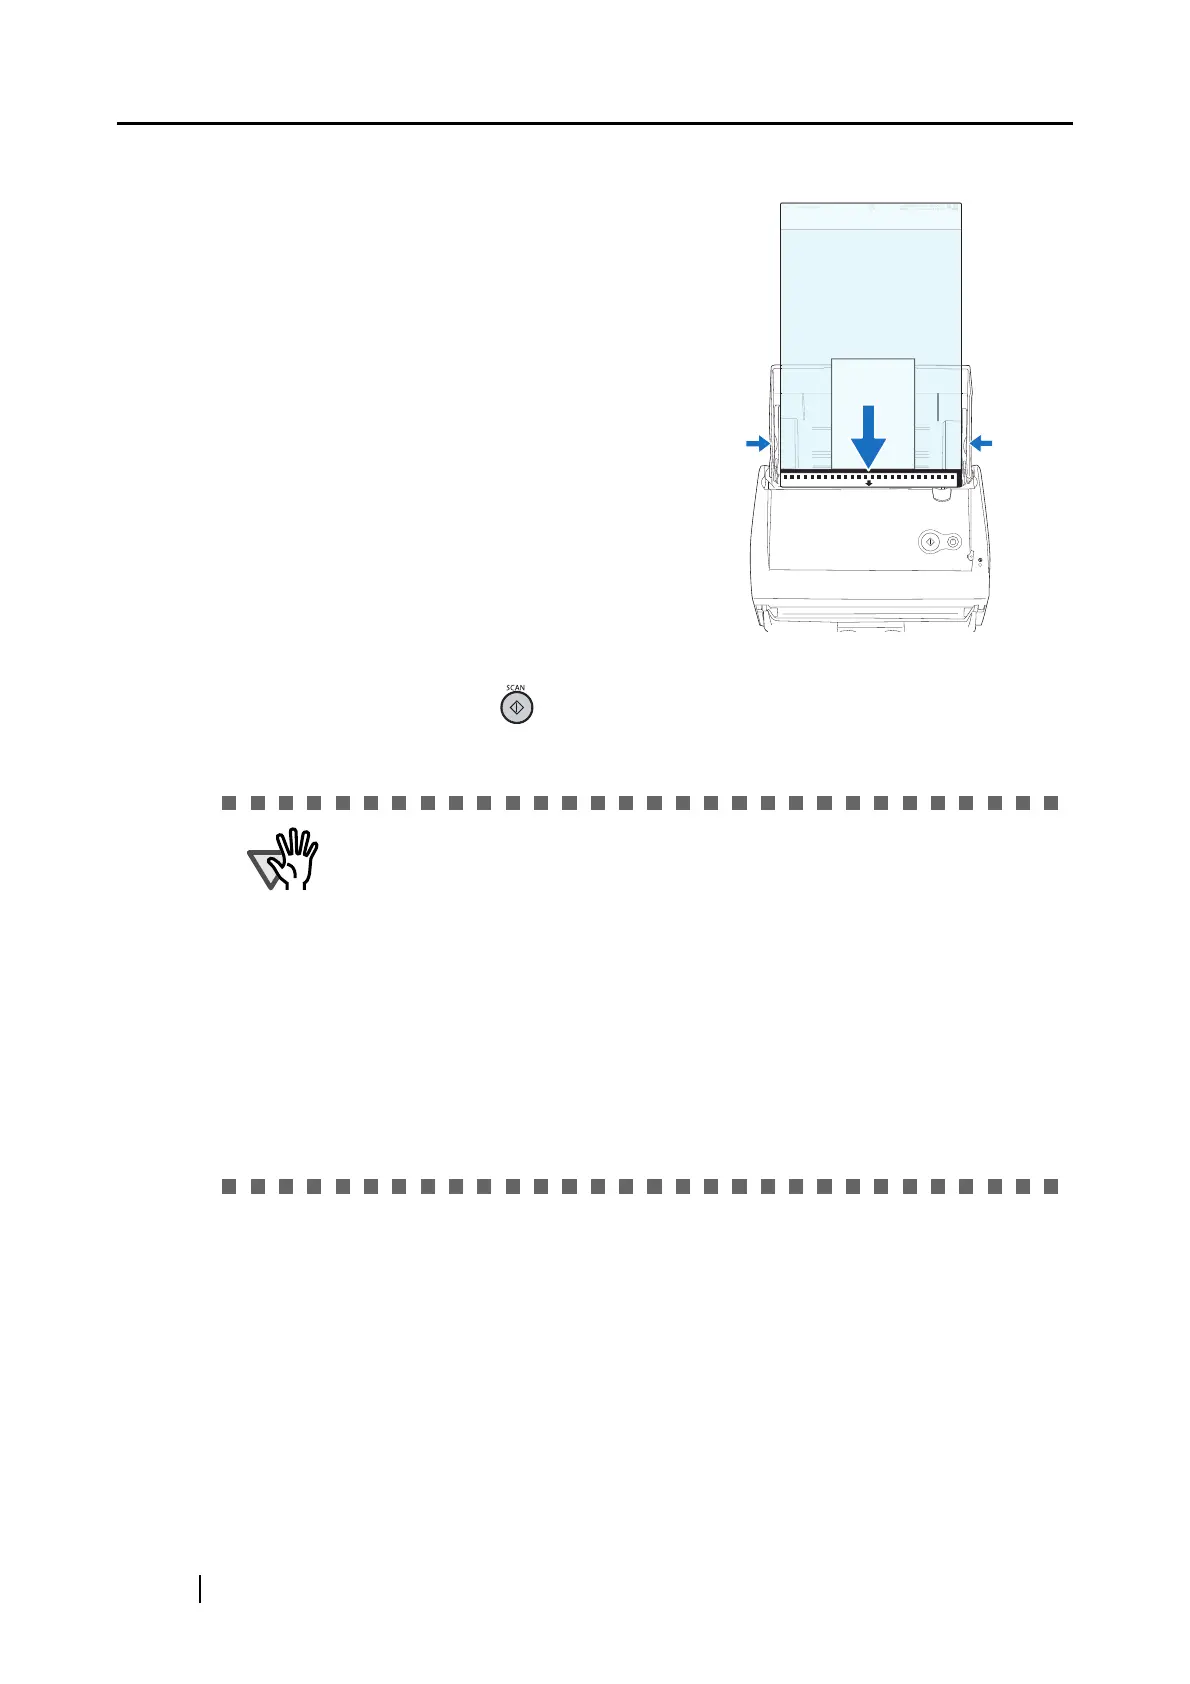
6. Load the Carrier Sheet onto the ScanSnap.
7. Press the [SCAN] button .
⇒ Scanning is started and the image data is generated in the specified size.
•
Load the Carrier Sheet with the portion
striped in black and white as the leading
edge as shown in the right figure.
• Place the Carrier Sheet so that the back
side of it faces up.
• Adjust the side guides to the width of the
Carrier Sheet to avoid skewing.
• When the Carrier Sheet is used for
scanning, continuous scanning is not
possible. Scan one piece or one sheet at
one time.
• The image is centered and output in the specified size.
When "Automatic detection" is selected in the [Output image size] pop-up
menu of the "ScanSnap Carrier Sheet Settings" window, an optimal size is
selected automatically from the available standard sizes (refer to page 75)
and the image is output.
• In the "ScanSnap Carrier Sheet Settings" window, when "Automatic
detection" is selected in the [Output image size] pop-up menu, the size of the
produced image may be smaller than the original.
Example: When you scan the A5 size image printed at the center of an A4
size paper
D A5 size image is output.
To output an image in the original size, specify the document size in the
[Output image size] pop-up menu.
B
k
i
 Loading...