V
R F
N
TI
N
12
24'84'% 2#75'
%.'#4
0':6
6+/'45'6
64#%-+0)
/1&'
&+52.#; 8%4 &8&
52''&
+0276
5'.'%6
+10
123
456
78
0
9
2
r
A
T
REPEAT
N
r
FF
r
[SETUP
x
- M E N
TIMER PR
GRAMMING
ATELLITE LIN
AUTO REPEAT
ON
L
K
E
LANG
AGE
ELE
T
Note(s)
The auto repeat
unction can also be set “ON” or “OFF” b
pressing
REPEAT
on the Remote Control.
To cancel auto repeat
unction,
ollow step 1 above. Then, press
so that “OFF” appears beside “AUTO REPEAT”. Press [SETUP]
xi
The auto repeat pla
back will start automaticall
if
ou select “AUTO REPEAT” to “ON” in the Stop mode
Press
SETUP
and choose “AUTO REPEAT”.
-
TIMER PR
GRAMMING
ATELLITE LIN
AUT
REPEAT
FF
CL
CK SET
LANGUAGE
ELE
T
r
Auto
e
eat
When “AUTO REPEAT“ is set to “ON“, the cassette tape will automaticall
rewind and start over when it reaches the end.
This will continue until auto re
eat function is turned off
r
[SETUP]
l
“TIMER PR
GRAMMING”
TIMER PR
GRAMMIN
PR
G 12
4
7
ATE
TART TIME
EN
TIME
L1
L2
RE
PEED
- M E N
-
TIMER PR
GRAMMING
ATELLITE LINK
AUT
REPEAT
FF
L
K
ET
LANG
AGE
ELE
T
vailable program number
lashes
Select an empt
program number
Then
ress
to
o to next step
PR
GRAM N
MBER
DATE – –
– –
TART TIME – –
– – – –
EN
TIME – –
– – – –
L1
L2 – –
RE
PEED – –
n
r
r
r
l
casse
e
ape
2
Pr
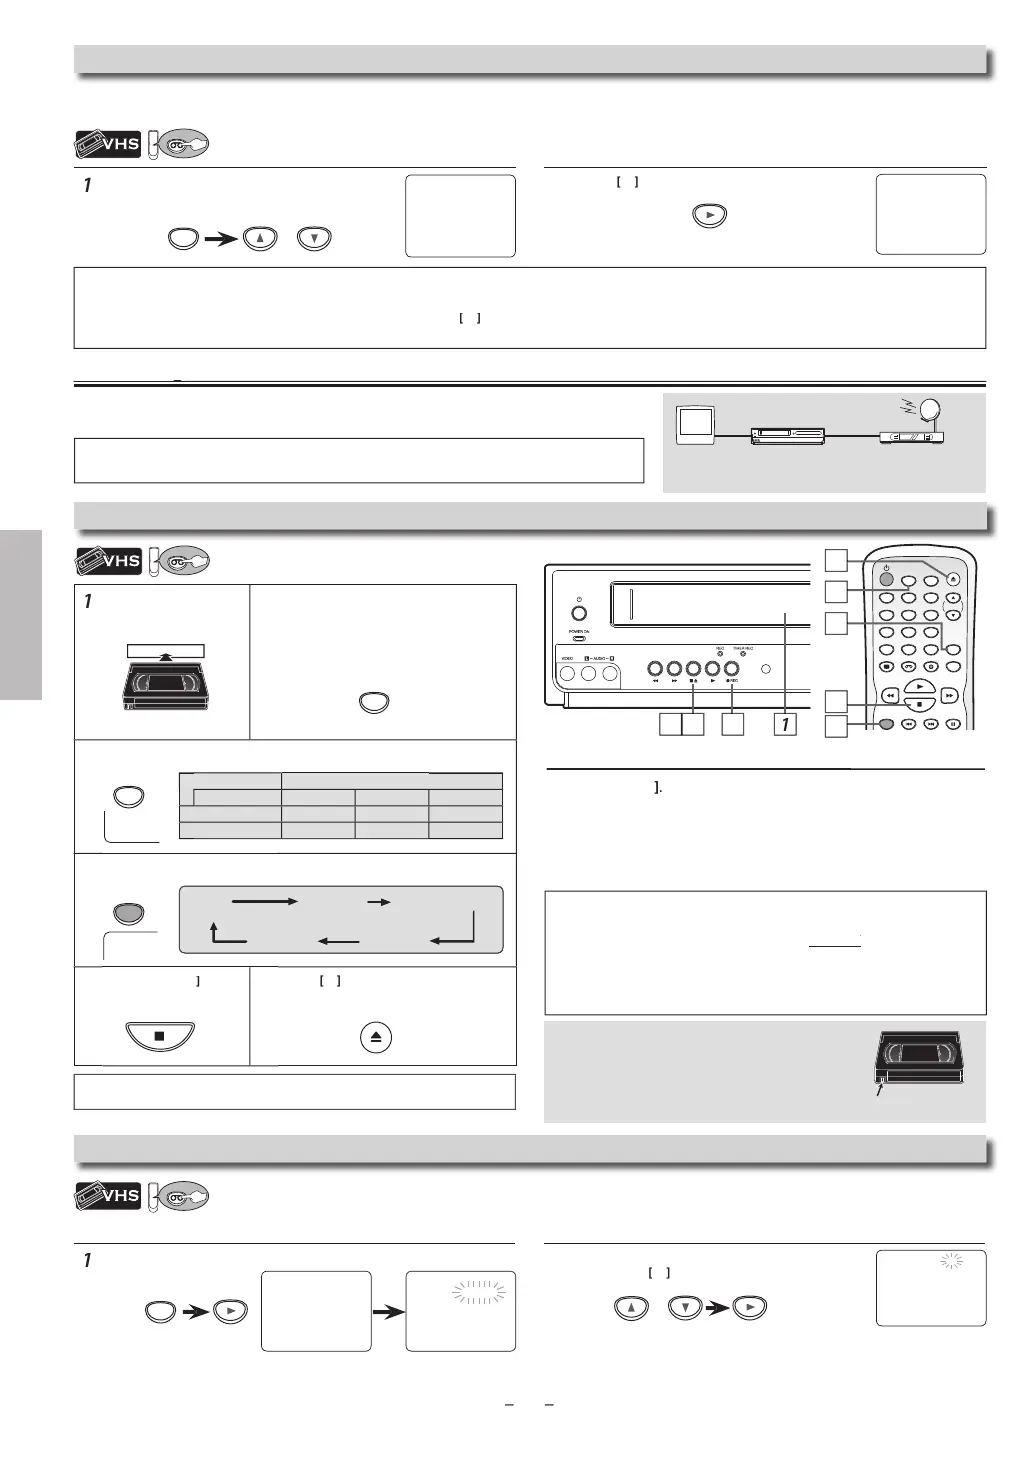
INPUT SELECT
n
il “L1”
r
“L2” is
isp
aye
on t
e TV screen.
Select “L1” to activate rear input jacks.
Select “L2” to activate front input jacks.
ress
SPEED
to se
ect t
e
esire
tape spee
.
r
REC
until desired recording time is selected.
Pr
STOP
stop recor
ing
Pr
to e
ect t
e recor
e
cassette ta
e
Recor
in
Y
ANN
T
u
a DVD to a vi
eo cassette ta
e.
To sto
recor
in
tem
orari
ause mo
e
Pr
PAUSE
During t
e recor
ing in pause mo
e, 5
mar
s a
ear on t
e
V
r
n
E
mar
re
resents 1 minute
Press it again to resume recor
ing.
Pause mode will be automatically cancelled after 5 minutes to
prevent
amage to t
e cassette tape an
t
e vi
eo
ea
s.
ote
s
• Do not change the External Tuner’s (Cable/Satellite or Converter Set-top
ox) channel while
ou are recording. You
ANN
i
e recor
ing anot
er c
anne
at t
e same time
• Connect
our External Tuner (Cable/Satellite or Converter Set-top Box)
o the L1 (rear panel) jacks on this Unit. Connect camcorders and other
such devices to the L2 (
ront panel) jacks. Re
er to page 7, 9.
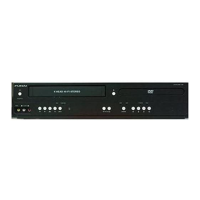
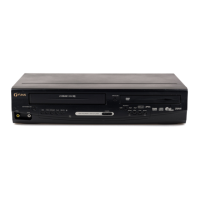
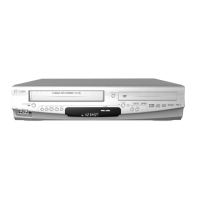
This Unit has no tuner system so it cannot receive TV broadcasts without an External
Tuner (Cable/Satellite or Converter Set-top Box) or such devices
Timer Recordin
Acci
enta
Erasure Preventio
o prevent acci
enta
recor
ing, remove
rasure prevention ta
on t
e cassette tape. To
recor
on it
ater, cover t
e
o
e wit
a
esive
ape
Recordin
& One-touch Timer Recordin
(OTR
a
e s
eed Recording / pla
back time
Type o
tape
60
120
160
SP mode
hour 2hours 2-2
3hours
SLP mo
e
ours 6
ours 8
ours
Note(s)
• You can also set to External Tuner. Re
er to “Satellite Link” on page 14
TV
External Tuner
(Cable/Satellite or
Converter Set-top Box)
this Unit
2
RE
SP
SPEED
REC
erasure prevention ta
+0276
5'.'%6
REC OTR (0:30) OTR (1:00).....
(normal recording)
OTR (8:00) OTR (7:30)
ee note on the right
• Insert a recor
a
e cassette tape
• Ma
e sure to turn on t
e Externa
Tuner (Ca
e/Sate
ite or Converter Set-top Box)
ontinue
on next pa
e