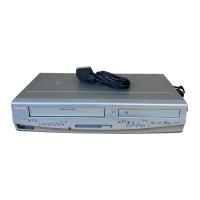
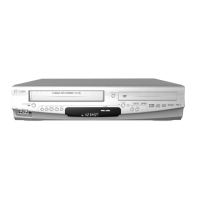
SETUP
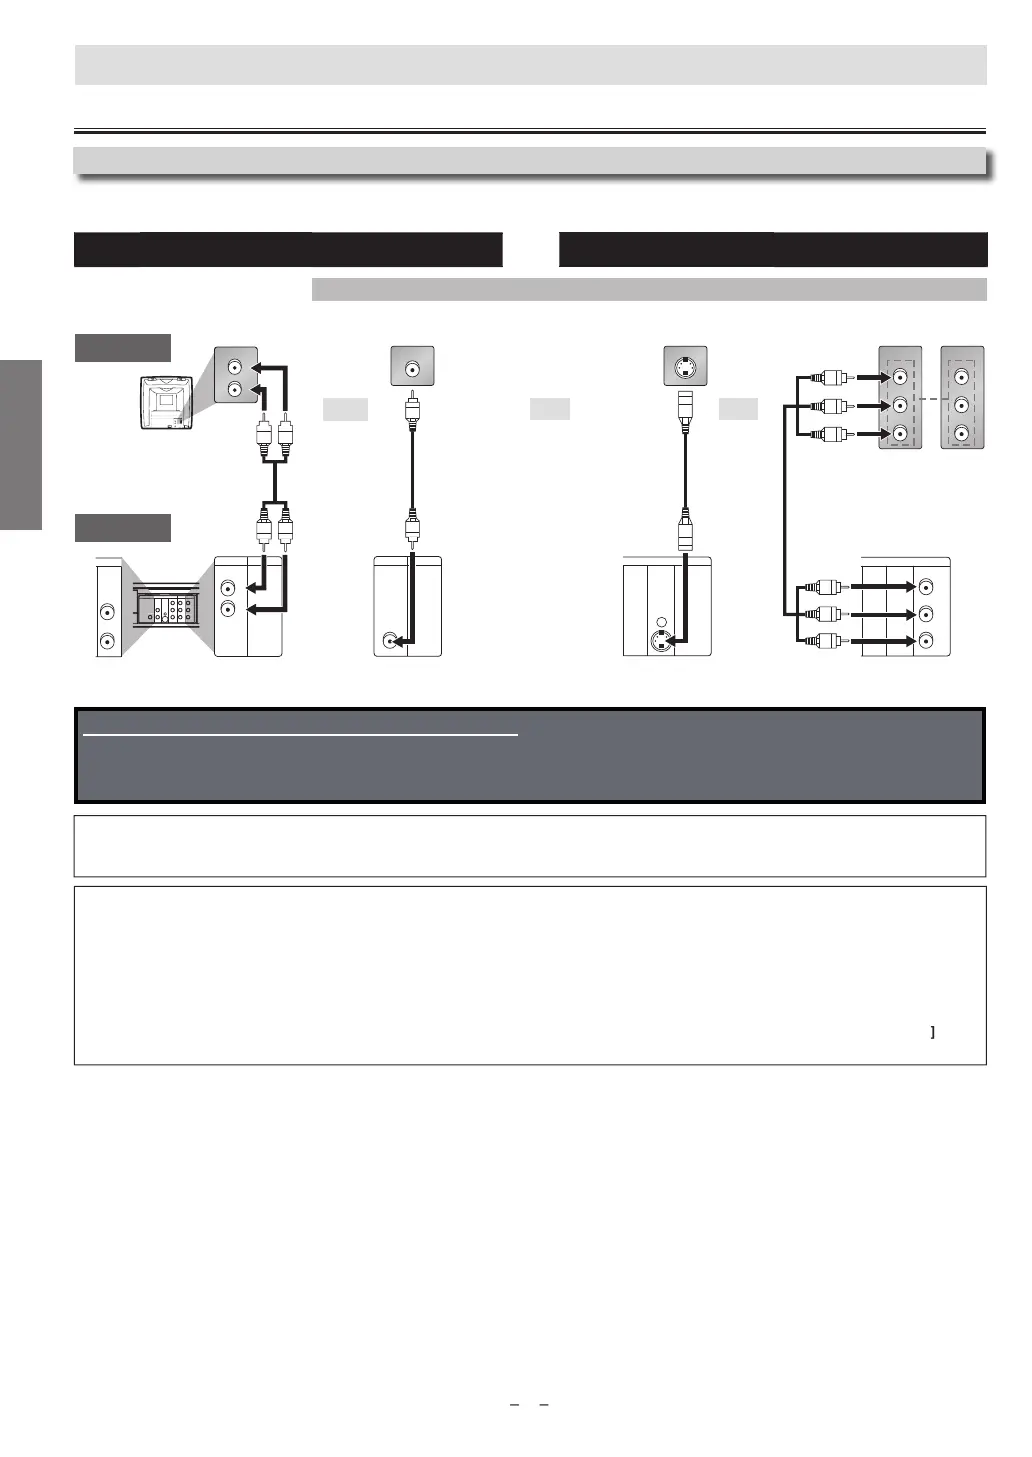
VCR and Basic DVD Connection Available for DVD only
VD’s picture qualit
analog audi
standard pictur
good pictur
better pictur
A
DI
VIDE
-VIDE
MP
NENT
VIDE
SET
onnect
on
TV
This Unit
Note
s
Connect this Unit directly to your TV. If RCA audio/video cables are connected to a VCR, pictures may be distorted due to the copy protection system
DIGITAL AUDIO OUT (COAXIAL), DVD AUDIO OUT, S-VIDEO OUT and COMPONENT VIDEO OUT jacks are onl
useful in DVD mode
nnect
n t
TV
I
our TV does not have AUDIO/VIDEO input jack, see the section “Connecting to RF Modulator (Not Supplied)” on the
ront page o
the
owner’s manual.
A
ter connecting to your TV:
You will need to switch to a VIDEO input on
our TV. This is usuall
marked INPUT, SOURCE, TV/VIDEO or AUX.
lease re
er to
our TV Owner’s manual
or details.
or
r
an
I
your TV is compatible with 525 (480) progressive scanning and you want to enjoy that high quality picture
or DVD playing
You must se
ect t
e connection COMPONENT VIDEO OUT a
ove an
progressive scanning mo
e. To set t
e mo
e, set
“PROGRESSIVE” to “ON” in “DISPLAY” menu, so that the P-SCAN indicator on this Unit lights up. Re
er to pages 20-21
or more details.
When “PROGRESSIVE” is “ON”, video signals
rom the Unit’s VIDEO OUT and S-VIDEO OUT jacks will be distorted or not be output at
ll
or DVD playing. The picture will be OK
or VCR use
rom the VIDEO OUT jack.
I
your TV is not compatible with progressive scanning
se this Unit in interlace mode and set “PROGRESSIVE” to “OFF” either in “DISPLAY” menu or b
pressing and holding
PLAY
he front of the Unit on the DVD side for more than 5 seconds or until the P-SCAN indicator on this Unit turns off
Supplied cables used in this connection are as follows:
• RCA audio cable (L/R) x 1
• RCA video cable x 1
Please purchase the rest of the necessary cables at your local store.
ontinued on next page
AUDIO IN
VIDEO IN
L
R
DIGITAL
AUDIO OUT
COAXIAL
AUDIO
OUT
DVD VCR
DVD/VCR
S-VIDEO
OUT
COMPONENT
VIDEO OUT
VIDEO IN
AUDIO OUT
VIDEO OUT
L
LY
C
B
/
P
B
C
R
/
P
R
R
AUDIO IN
L
R
R
V
V
U
N
VCRDVD/VCR
AUDIO OUT
L
R
AUDIO IN
L
R
AUDIO
OUT
DVD
L
R
VCRDVD/VCR
VIDEO OUT
VIDEO IN
S-VIDEO IN
DIGITAL
AUDIO OUT
COAXIAL
AUDIO
OUT
DVD
S-VIDEO
OUT
COMPONENT
VIDEO OUT
DIGITAL
AUDIO OUT
COAXIAL
AUDIO
OUT
DVD
S-VIDEO
OUT
COMPONENT
VIDEO OUT
Y
C
B
/
P
B
C
R
/
P
R
COMPONENT
VIDEO IN
COMPONENT
VIDEO IN
C
B
C
R
P
B
P
R
or
YY
R
A vi
l
R
A
i
l
-vi
l
omponent video cable