SETUP
F
nct
n
verv
e
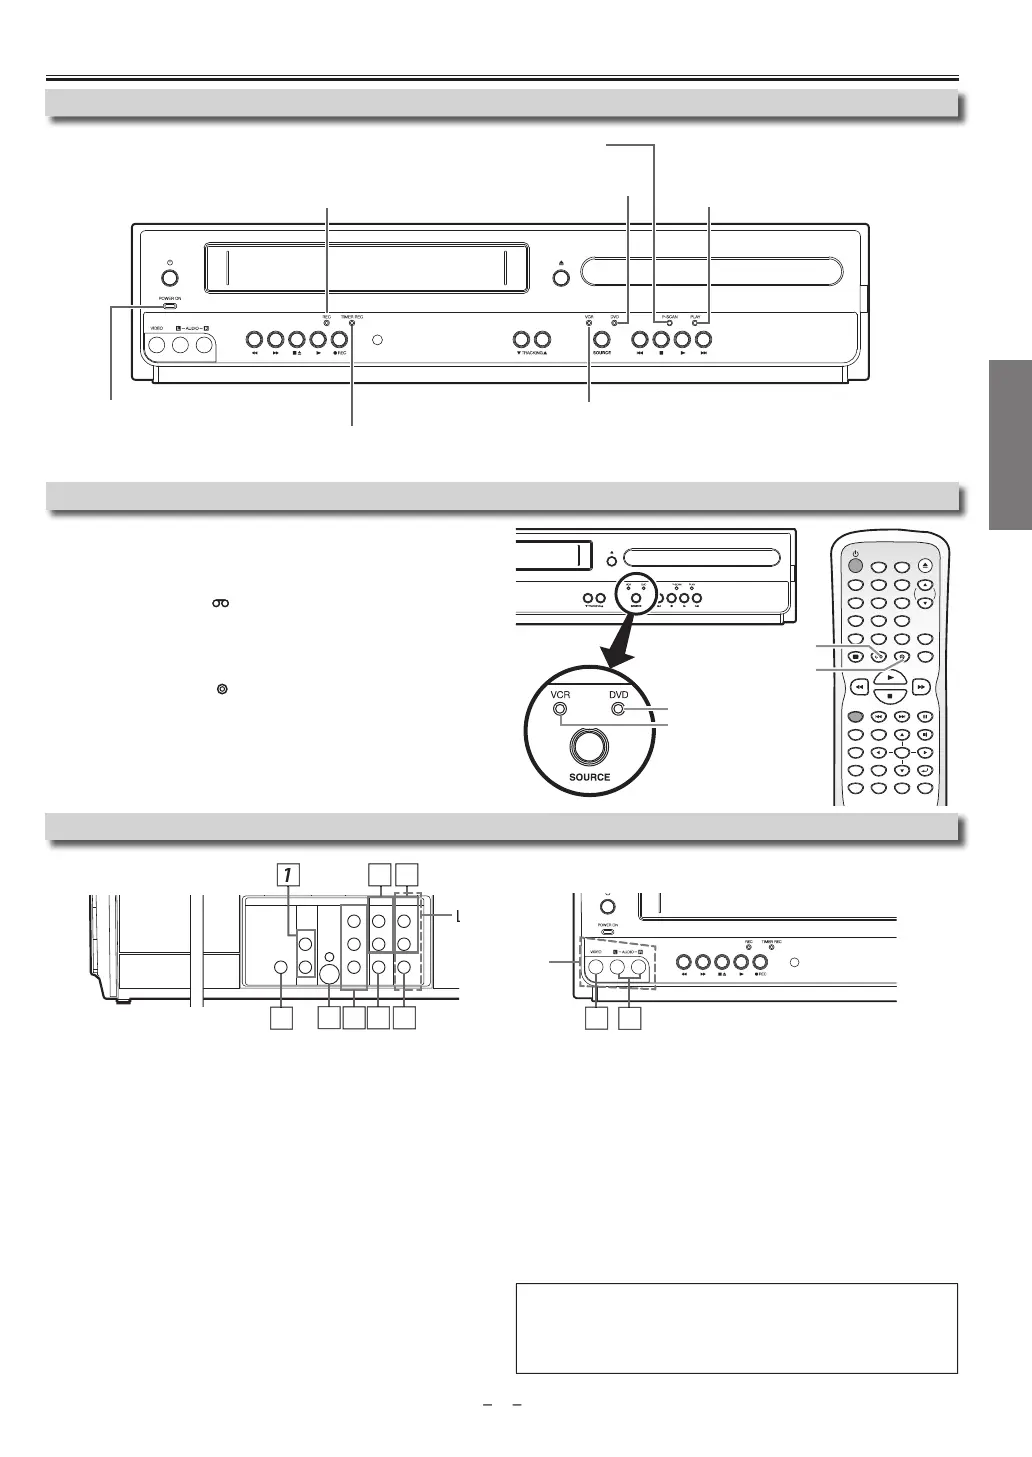
You must first select either DVD or VCR o
eration.
V
R M
DE
Pr
VCR
n
h
R
m
n
r
l
(The VCR SOURCE li
ht will illuminate.)
DVD M
DE
Press
DVD
on the Remote Control
(The DVD SOURCE li
ht will illuminate.
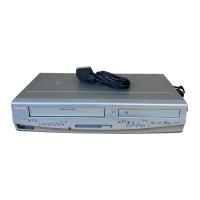
Se
ecting DVD or VCR Operation
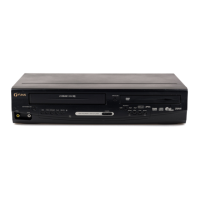
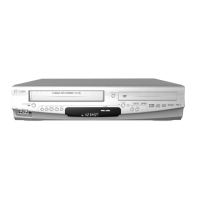
Front Pane
In
icator Li
ts
Front & Rear Termina
1: DVD AUDIO OUT* (ana
og)
ac
Connect audio cables from here to the audio input jack of
our television
r
i
vi
: DVD/VCR AUDIO OUT jac
Connect audio cables
rom here to the audio input jack o
your television
or audio device. Standard connection for DVD
VCR use
3: VCR AUDIO IN jac
Connect a stereo audio cable from the audio output jacks of
our
camcorder, VCR, etc. to here. A
ter making the connection, press
INPUT
SELECT
on t
e Remote Contro
. Se
ect “L1” to activate t
e rear AUDIO IN
acks or “L2” to activate the front
acks
: VCR VIDEO IN
ac
Connect a video cable
rom the video output jack o
your camcorder, VCR,
etc. to this Unit. A
ter making the connection, press
INPUT SELECT
t
e Remote Contro
. Se
ect “L1” to activate t
e rear VIDEO IN
ac
or “L2” to
activate the
ront
ack
: DVD/VCR VIDEO OUT
ac
onnect a video cable from here to the VIDEO input jack of
our televi
sion or audio device. Standard connection for DVD
VCR use
6: COMPONENT VIDEO OUT*
ac
onnect a com
onent video cable from here to the com
onent video
nput jac
on
our te
evision.
: S-VIDEO OUT*
ac
onnect an S-video cable
rom here to the S-video input jack on your
vi
i
n
: DIGITAL AUDIO OUT COAXIAL* jac
onnect a digital audio coaxial cable from here to the digital audio input
jac
on
our
igita
au
io receiver
For en
ance
DVD viewing. DVD/VCR vi
eo an
au
io connections
require
to view cassette tapes
ote(s)
• Audio and video cables are included
or both VCR and DVD viewing. You
can enhance
our DVD picture and sound qualit
with an S-video cable, a
component video cable or a di
ital audio coaxial cable. Please
urchase
he necessary cables at your local store
(Re
er to pages 6-7.
OK
24'84'% 2#75'
6+6.'
%.'#4
5'#4%*
&+5%/'07
0':6
6+/'45'6
64#%-+0)
/1&'
#7&+1
&+52.#; 8%4 &8&
52''&
#0).'
57$6+6.'
4'2'#6 #$
<11/
5'672
4'6740
+0276
5'.'%6
+10
123
456
78
0
9
DVD button
VCR button
VCR SOURCE light
DVD SOURCE light
DIGITAL
AUDIO OUT
COAXIAL
AUDIO
OUT
DVD VCR
DVD/VCR
S-VIDEO
OUT
COMPONENT
VIDEO OUT
AUDIO IN
VIDEO IN
AUDIO OUT
VIDEO OUT
L
LY
R
L
R
R
C
B
/
P
B
C
R
/
P
R
rear pane
ront pane
2
4
Li
hts up when the inserted disc
is
eing p
aye
ac
B
in
s w
en an unp
aya
e
isc
is inserte
.
Li
hts up when the timer recordin
or
one-touch timer recordin
(OTR) has been set.
Li
ts up
urin
a recor
in
or one-touc
timer
ecording (OTR). Blinks when a recording is paused.
Lig
ts up w
en t
e Unit is turne
on.
Lig
ts up w
en t
is Unit
i
in
h
DVD m
Lig
ts up w
en t
is Unit is in t
e VCR mo
e.
Lig
ts up w
en t
e progressive scan s
stem is activate
.
ontinued on next pa
e
1