PRECAUTIONS
PREPARATION
ADVANCED PLAYBACK
BASIC OPERATIONS RECORDING OPTIONAL SETTINGS TROUBLESHOOTING INFORMATION
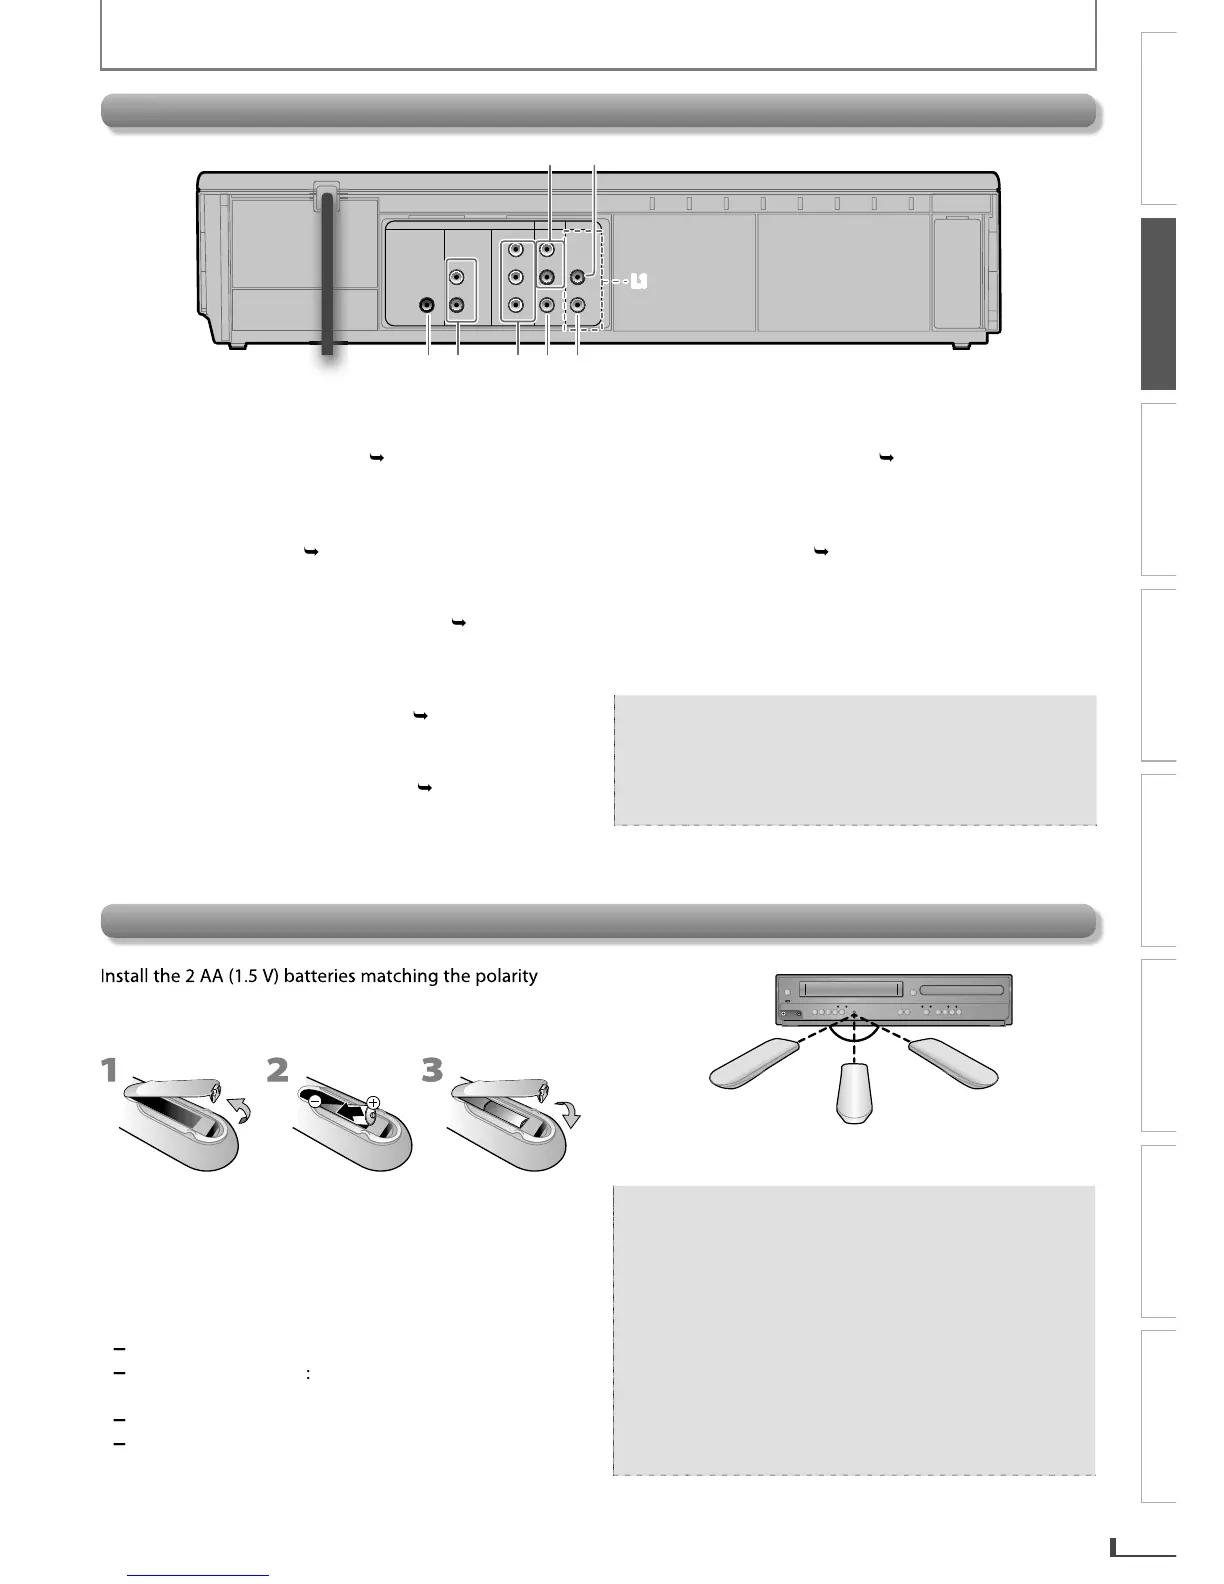
our television or audio device. Standard
connection
•
Connect an RCA audio cable
DIGITAL AUDIO OUT COAXIAL*
Connect a digital audio coaxial cable from here to
the di
ack on a decoder or audio
r
onent video cables from here to the
component vi
our television or audio device. Standard
connection
onnection required to view cassette tapes
eo
cables or a digital audio coaxial cable. Pl
DIGITAL
AUDIO OUT
COAXIAL
AUDIO OUT
DVD VCR
DVD/VCR
COMPONENT
VIDEO OUT
AUDIO IN
VIDEO IN
AUDIO OUT
VIDEO OUT
L
L
Y
R
R
CB
CR
3 4 5 6 7
L1
1 2
L1
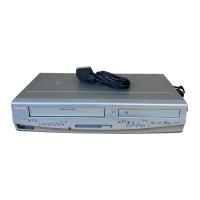
indicated inside batter
Keep the following in mind when using the remote
approx. 16 feet (5m) within 30
16 feet (5m)
30˚30˚
16 feet (5m)
23 feet (7m)
the remote control is not to be used
time, remove the batteries to
with the
environment in mind. Alwa
E8R6AUHDV220FX5OMv1.indd9 2014/10/0615:41:40