1. INSTALLATION
1-4
1.1.2 Desktop mount
Use the optional bracket installation kit to install the Control Unit on a desktop or the over-
head.
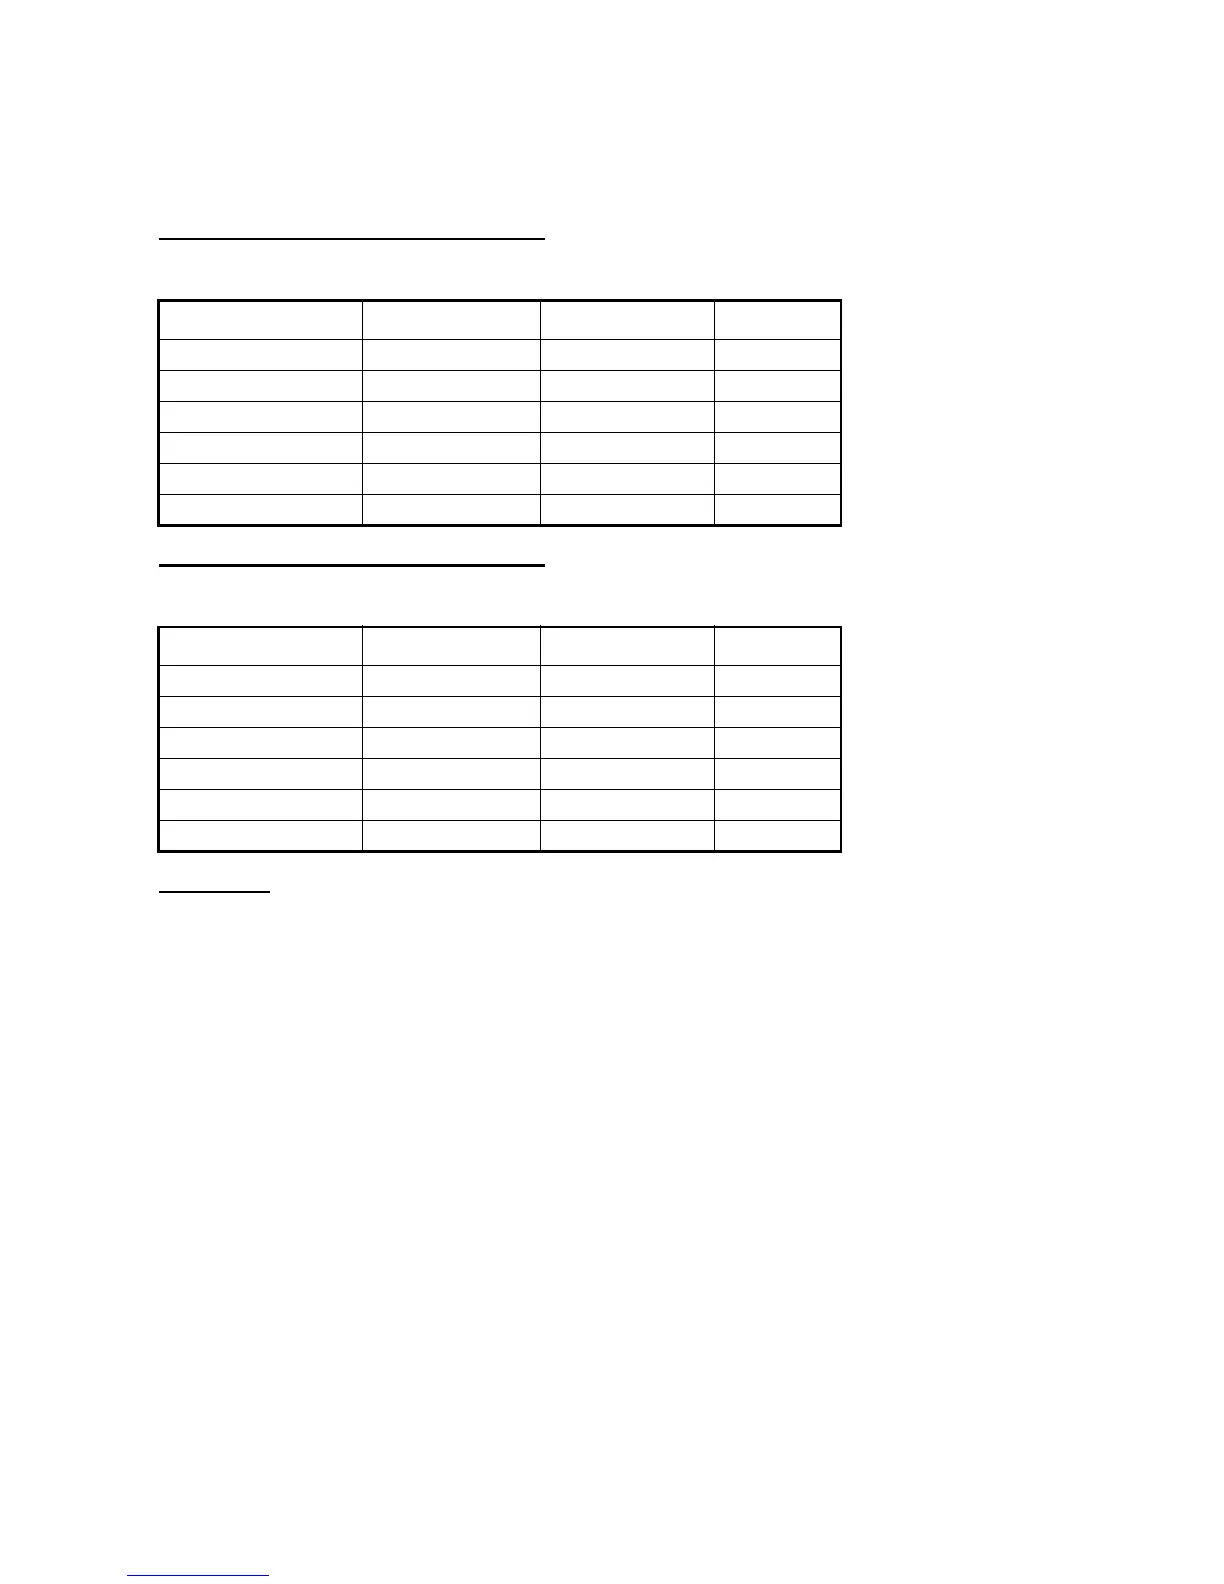
Bracket installation kit for FAP-7001
Type: FAP-7001-BRACKET, Code No.: 001-082-750
Bracket installation kit for FAP-7011
Type: FAP-7011-BRACKET, Code No.: 001-082-760
Procedure
The procedure shown below shows how to install the FAP-7001. The procedure for the
FAP-7011 is similar.
1. Fasten the bracket to the mounting location with four self-tapping screws (supplied
with option).
2. Detach the front panel and keypad assy., following the instructions provided.
3. Attach the connecting plate at the back of the Control Unit with four pan head screws
(supplied).
4. Screw knob bolts in connection plate, set the unit to the bracket, and tighten the knob
bolts.
5. Attach the front panel and keypad assy.
Name Type Code No. Qty
Bracket 64-028-1201-1 100-352-221-10 1
Connecting plate 64-028-1201-1 100-356-381-10 1
Knob 64-028-1203-0 100-352-240-10 2
Self-tapping screw 4x16 000-162-605-10 4
Pan head screw M3x12 000-163-809-10 4
Liner 64-026-1033 100-321-340-10 2
Name Type Code No. Remarks
Bracket 64-028-3201-1 100-352-281-10 1
Connecting plate 64-028-3202-1 100-356-451-10 1
Knob 64-1028-1203-0 100-352-240-10 2
Self-tapping screw 4x16 000-162-605-10 4
Pan head screw M3x12 000-163-809-10 4
Liner 64-026-1033 100-321-340-10 2

 Loading...