Part # 138683 (01/08) Page 17
ADJUSTMENTS
The top and oven orices are xed and cannot be adjusted.
Proper rate will be attained if the gas supply pressure is
correct. Pressure may be checked by using the 1/8” NPT
manifold pressure tap. A properly adjusted air shutter will
provide for a distinct blue ame over the entire port area of
the burner when at full rate.
Pilot Burner Adjustment
Set all pilots so that the ame envelopes the tip of the
thermocouple.
Open Burners Safety Device, (ST & STE Series)
Pilot Adjustment is made by turning the screw on the
adjusting valve located at the pilot outlet of the valve body
clockwise to decrease, or counter-clockwise to increase.
Open burners without Flame
Safety Device, (S Series)
Pilot adjustment is made at the adjusting valve located at the
pilot block(s) underneath the top grate by turning the screw
clockwise to decrease, or counter-clockwise to increase.
Griddles and Hot tops
Pilot adjustment is made at he adjusting screw located on
the valve body by turning the screw clockwise to decrease,
or counter-clockwise to increase.
Oven, (Standard and ‘RC’)
Pilot adjustment is made by turning the screw on the
adjusting valve located at the pilot outlet of the valve body
clockwise to decrease, or counter-clockwise to increase.
Range Match Broilers
1. The pilot adjusting valves are located on the manifold.
2. With the valve panel in place, the pilots can be adjusted
with a long, thin-bladed screwdriver inserted through the
small hole in the valve panel to obtain a 1 5/8”, (41mm),
ame.
“Minimum” Flame Setting
Griddle
Minimum ame setting is adjusted at the screw located on
the valve body, by turning the valve to the “MIN” position,
and turning the screw clockwise to decrease the ame size,
or counter-clockwise to increase the ame size. Set to the
lowest stable blue ame along the entire burner length.
Range Match Broiler
(280 Series & S280 Series)
Broilers are equipped with “HI/LO” valves which fracture an
adjustable low ame setting. To adjust:
1. Burner must be cold.
2. Pilot ames should be lit and properly adjusted.
3. Turn the dial to the “LOW” or “MIN” position and remove.
4. With a screwdriver, turn the small adjusting screw inside
the valve stem until the burner ame is at the desired
low setting, (minimum 3/16”/5mm ame along the entire
burner).
5. Replace the dial and return to the “OFF” position.
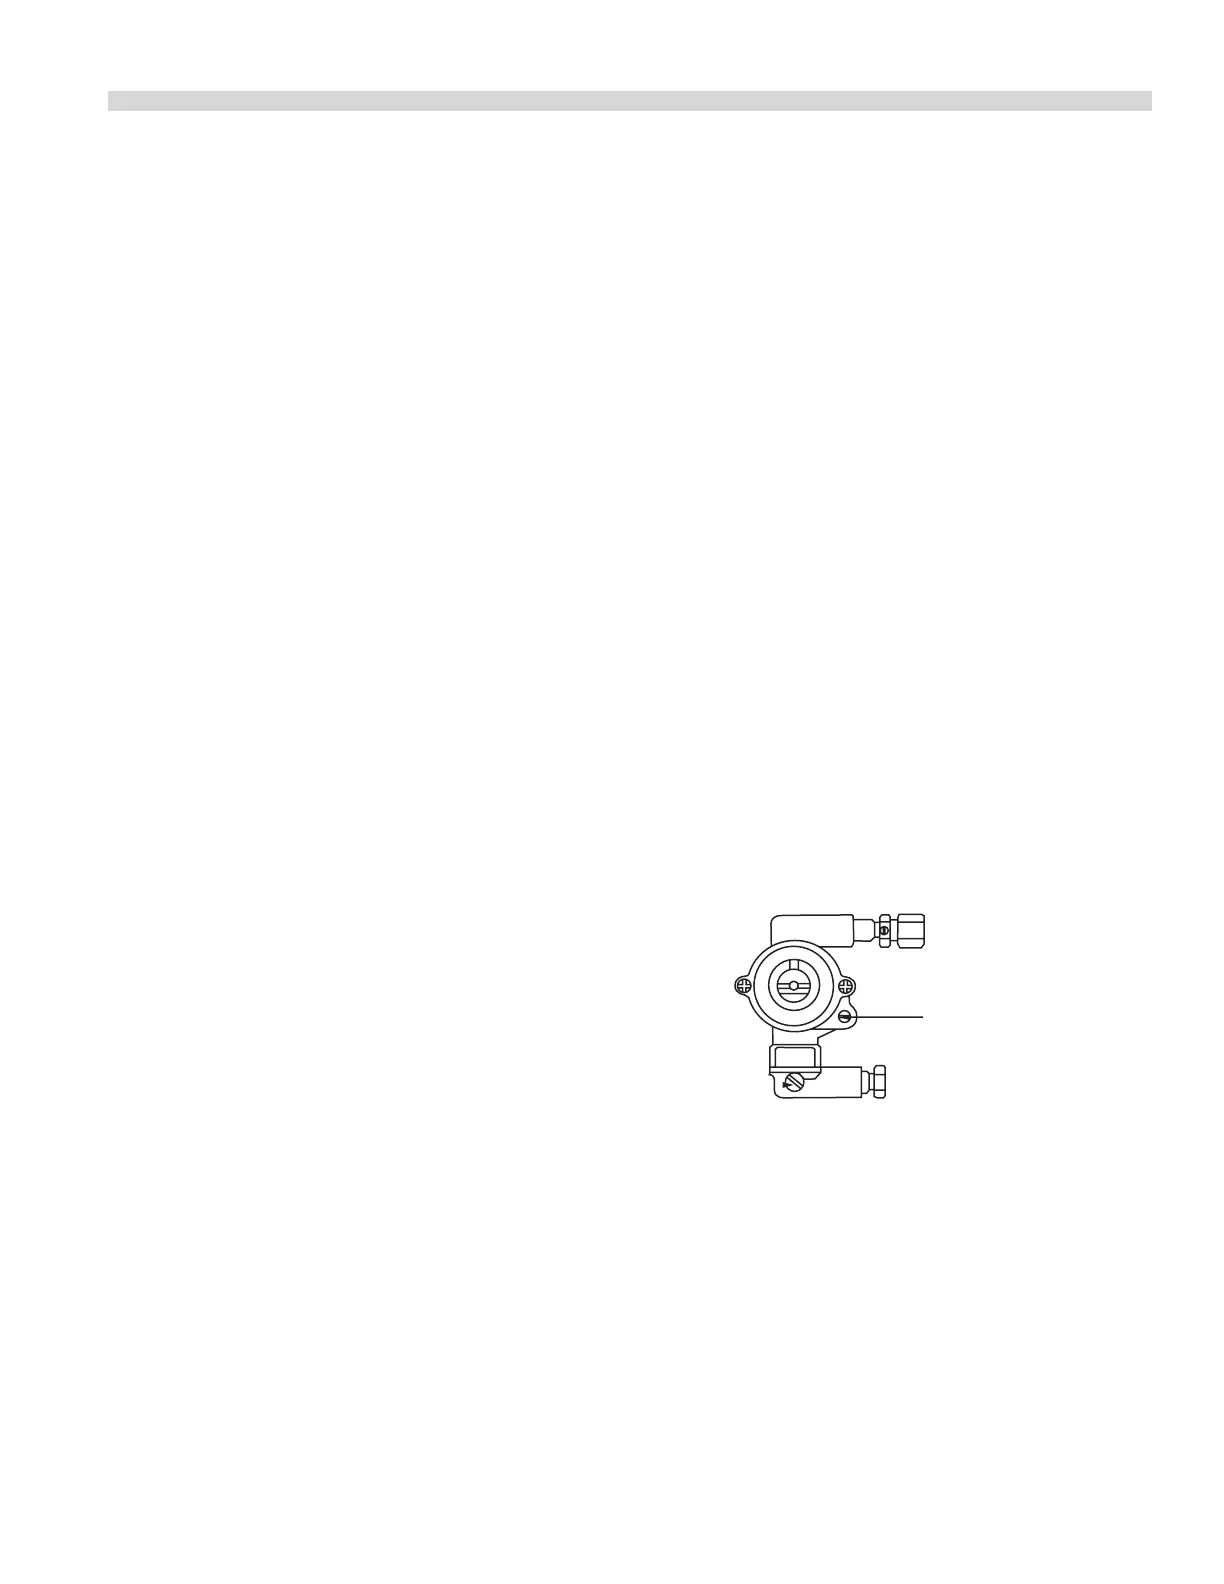
(ST280 Series)
Minimum Flame
Adjuster
1. Set gas tap to low position.
2. Connect a U-gauge manometer to the test nipple located
down-stream of the gas tap.
3. The manometer should read 1.8” WC for natural gas, or
8”WC for propane.
4. If the reading on the manometer does not agree with
the pressure specied in step 3, adjust by turning the
adjusting screw clockwise to reduce the pressure, or
counter-clockwise to increase.