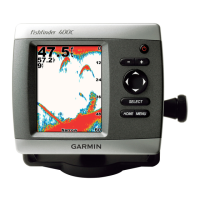
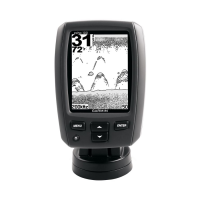
Fishnder 400C Owner’s Manual
InstallIng the FIshFInder 400c
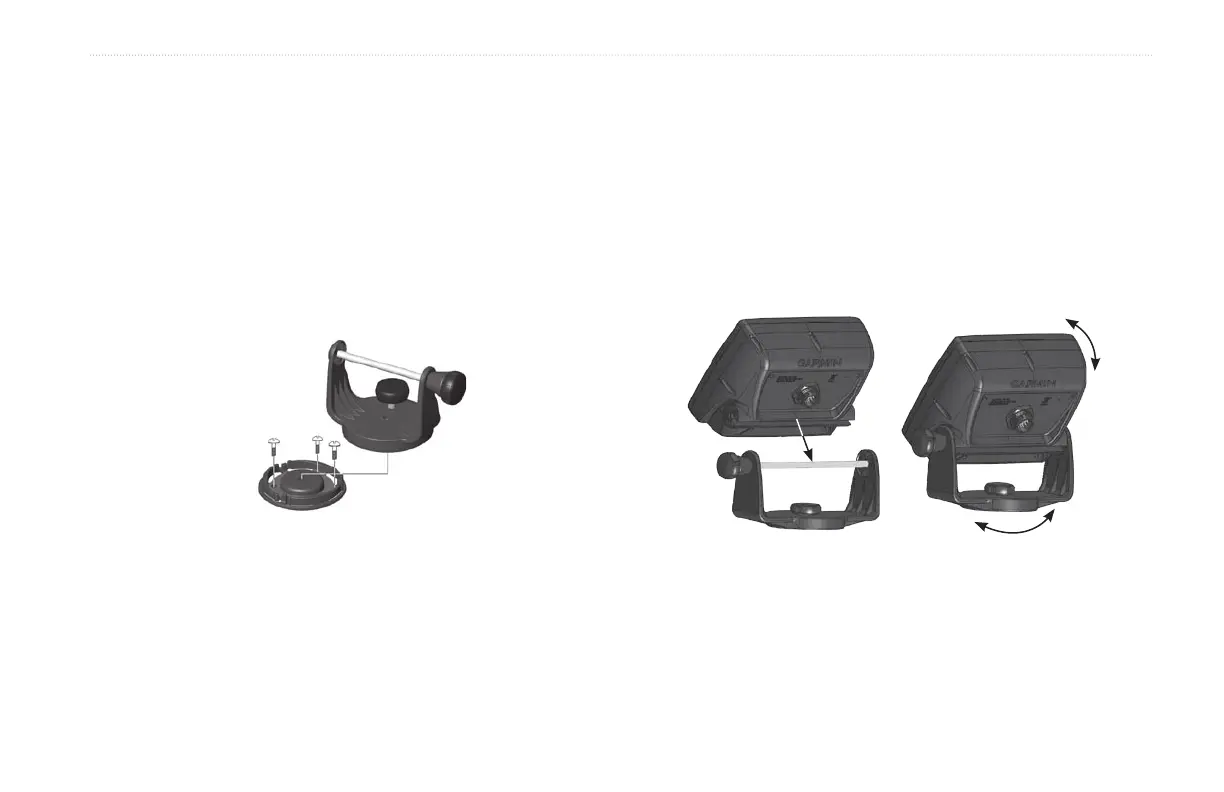
To mount the bracket assembly:
1. Usingtheswivelbaseasatemplate,markthelocationofthe
threeholesthatsecurethebrackettothemountingsurface.
2. Drillthemountingholes.
• Ifyousecurethebasewithmachinebolts,drillthree
5/32"(5mm)holesatthelocationsyoumarked.
OR
• Ifyousecurethebasewithself-tappingscrews,drill
starterholesatthelocationsyoumarked.Donotmake
thestarterholesdeeperthanhalfthescrewlength.
3. Securetheswivelbasewiththreeboltsorscrews.DONOT
OVERTIGHTEN.
4. Placetheswivelmountbracketovertheswivelbaseand
secureitwiththeshortknob.
Installing the Fishnder 400C on the Mounting Bracket
To install the unit on the mounting bracket:
1. Aligntheslotonthebackoftheshnderwiththelong
mountingknob,andslidetheshnderintoplace.If
necessary,adjustthelongknobtospreadthebracketarms
apart.(Turncounter-clockwisetowidenthebracketarmsand
clockwisetotighten.)
2. Adjusttheshnderangle,andtightenthelongmounting
knobuntilsnug.
3. Rotatetheswivelmountbracketbytwistingitleftorright.
Thebracketclicksasyouturnit.Selectagoodviewing
angle,andthentightenallknobs.
4. Connectthepower/dataandtransducercablestotheback
oftheshnder,makingsurethelockingringsarefully
tightenedonbothconnectors.