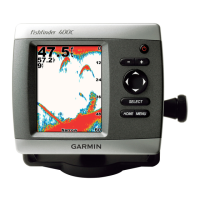
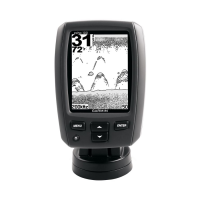
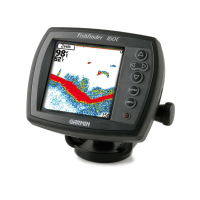
Fishnder 400C Owner’s Manual
InstallIng the FIshFInder 400c
Step 2: Mount the Fishnder
You can mount your shnder in one of two ways:
•
Surface Mount—mount the shnder onto a bracket
(included) that attaches to the console or overhead.
•
Flush Mount—use the optional ush mount kit to mount
the shnder into a at panel. See the “Appendix” for more
information.
Surface Mounting the Fishnder
The Fishnder 400C’s compact, waterproof case is suitable for
mounting in exposed locations or at the nav station. The Fishnder
400C comes with a tilt/swivel mounting bracket that can be used for
console or overhead mounting.
Mounting the Bracket Assembly
Tools (not included)—drill, screwdriver (Phillips or standard), and
one of the following:
• Three #8 (4 mm) pan-head machine bolts with matching nuts
and washers and a 5/32" (5 mm) drill bit.
• Three #8 pan-head self-tapping screws and a 1/16
" drill bit for
drilling starter holes.
Use a pan-head machine bolt or self-tapping screw to secure the
swivel base. If you use a screw with a countersunk head, you risk
damaging the mounting bracket.
OK