EasyManua.ls Logo

GE 60-806-95R-16Z - Security Concord Express System Control Panel User Manual

GE 60-806-95R-16Z - Security Concord Express System Control Panel
76 pages
To Next Page IconTo Next Page
To Previous Page IconTo Previous Page
Page #48 background imageLoading...
Page #48 background image
Programming the Panel
43
3. Press ƒ. The panel exits program mode and the touchpad displays TIME AND DATE.
Entering User Programming Mode
The user programming mode lets you program or view the following system settings:
Time and Date
User Codes
Options
View System Version Information
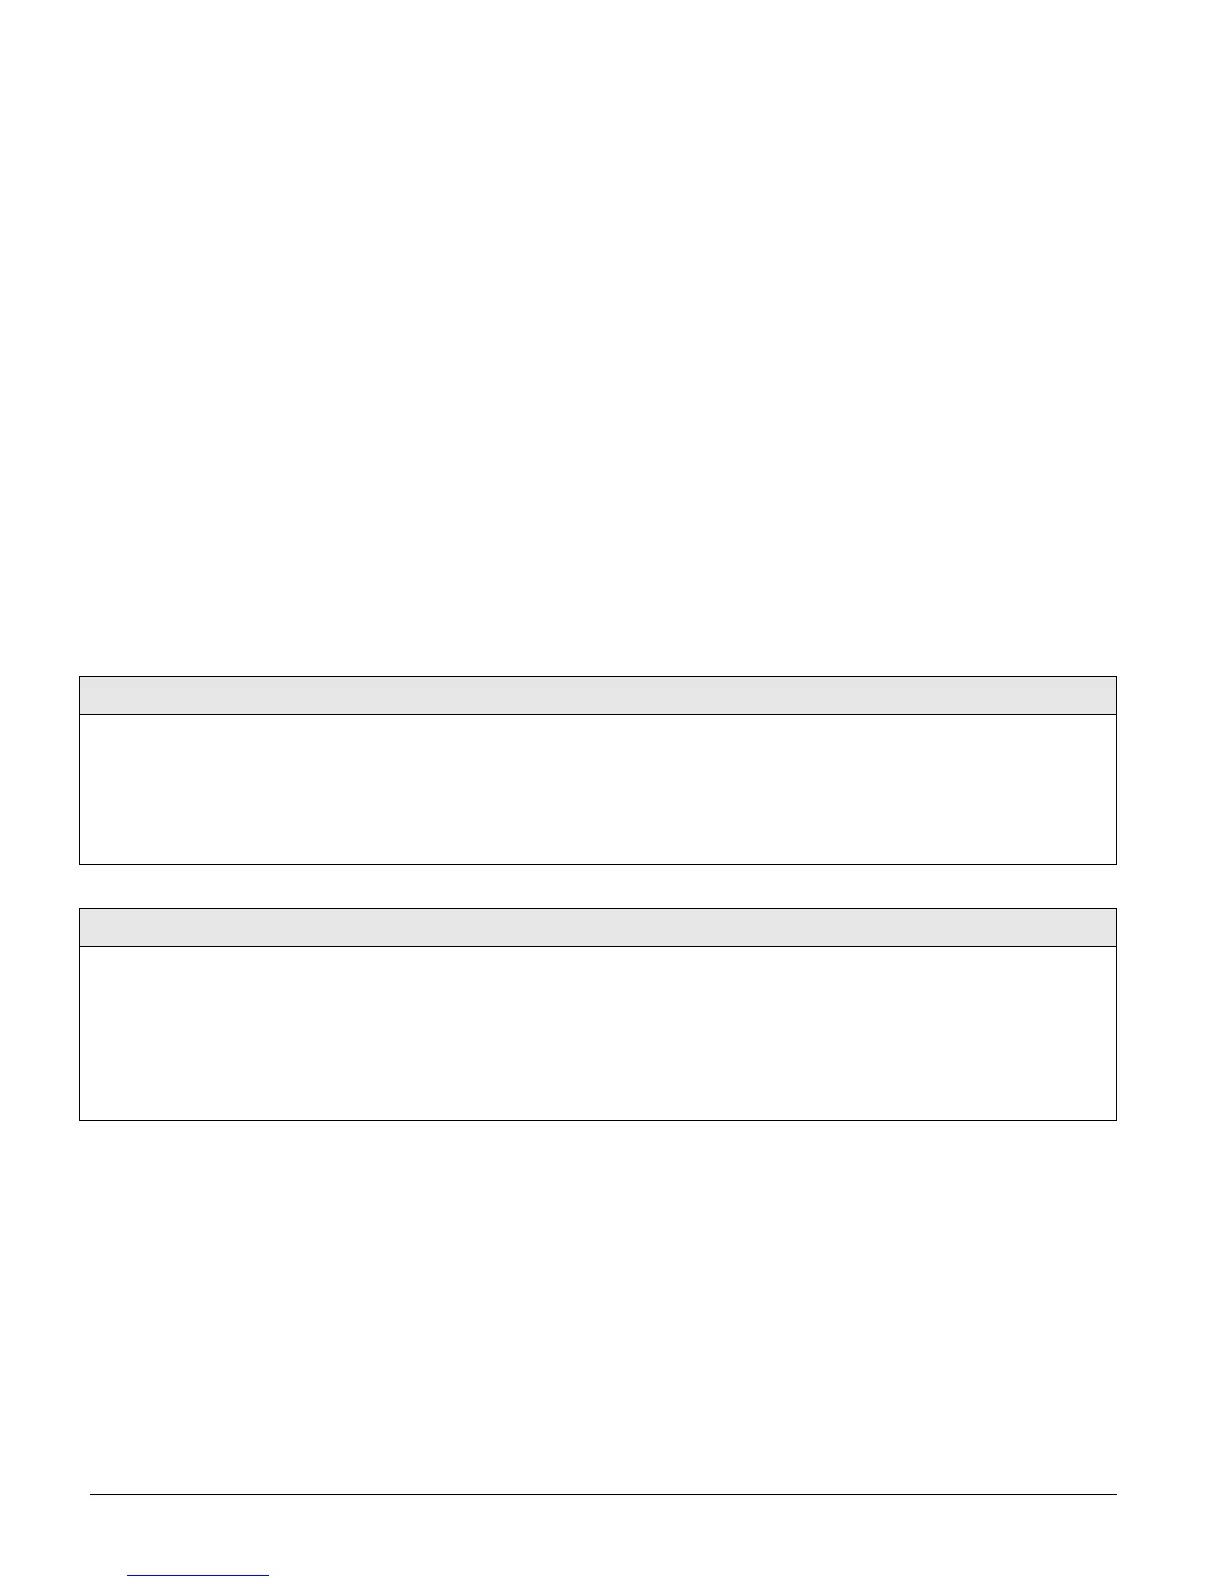
You can enter user programming from an alphanumeric or fixed display touchpad, using the sys-
tem master code.
The system master code default is
1234.
¾
To enter user-programming mode:
Press 9 + CODE. The display shows TIME AND DATE. Press
Time and Date Menu
The TIME AND DATE menu lets you set the panel clock and calendar. Alphanumeric touchpads dis-
play the time and date whenever the system is disarmed. Setting the time and date is important
for accurate tracking of system events stored in the event buffer. The panel uses a global clock
and calendar for time and date.
The following describes how to set the panel time and date.
User Codes Menu
Important !
Each security access code (Installer, Dealer, System Master, or User) must be unique. Do not use the
same combination of numbers for any two codes.
The USER CODES menu lets you program/change regular user access codes and the system master
code.
Time (00)
Time and Date (Default=00:00)
This setting lets you adjust the panel clock to the correct time.
The panel uses a 24-hour clock, eliminating the need to desig-
nate
A.M. or P.M. For example, to set the time to 4:17 P.M.,
enter 1617.
¾
To set the Time:
1. With the display showing TIME AND DATE, press ƒ and the
display shows
TIME hh:mm AM/PM (current time).
2. Enter the correct time (0000 - 2359). The display flashes
the entered time. Press
ƒ and the display shows the new
time.
Date (01)
Time and Date (Default=01/01/00)
This setting lets you adjust the panel calendar to the correct
month, day, and year.
¾
To set the Date:
1. With the display showing TIME AND DATE, press ƒ then B
and the display shows DATE nn/nn/nn (current date).
2. Enter the correct month (01 - 12), day (01 - 31), and year
(00 - 99). For example, enter 090100 for September 1,
2000. The display flashes the entered date. Press
ƒ and the
display shows the new date.

Questions and Answers:

GE 60-806-95R-16Z - Security Concord Express System Control Panel Specifications

General IconGeneral
BrandGE
Model60-806-95R-16Z - Security Concord Express System Control Panel
CategorySecurity System
LanguageEnglish

Summary

About This Manual

Special Installation Requirements

Outlines specific requirements for system installations, including UL listings.

Planning the Installation

Standard Panel

Describes the basic panel hardware capabilities and power inputs/outputs.

Touchpads

Describes different touchpads for system programming and operation.

Installing the System

Determine the Panel Location

Guidelines for choosing the optimal location for the control panel.

Total System Power and Wire Length Guidelines

Details panel voltage/current output ranges and maximum wire lengths.

Mounting the Panel

Procedures for physically mounting the control panel cabinet and circuit board.

Connecting Detection Devices to Panel Zone Inputs

Explains how to connect hardwire detection devices to panel zone inputs.

Connecting Sirens

How to connect 15-Watt, Dual Tone Sirens and Hardwire Sirens.

Installing an RJ-31X Phone Jack (13-081)

Guidelines for installing an RJ-31X phone jack for system communication.

Powering Up the Panel

Steps to apply AC and backup battery power to the panel.

Programming the Panel

Entering Programming Mode

Procedures to enter installer programming mode using an alphanumeric touchpad.

Moving Through Program Mode Tiers and Menus

Explains navigation through Tier 1 and Tier 2 programming menus using touchpad buttons.

Programming Tier 1 Menu Items

Guides through programming tier 1 menu items as they appear in sequence.

Downloader Code (0000)

Explains the 5-digit downloader code for remote programming.

Installer Code (0001)

Explains the 4-digit installer code for entering program mode.

Dealer Code (0002)

How to program or delete the 4-digit dealer code to prevent unauthorized changes.

Phones Menu

Sets up central station reporting and pager reports.

Timers Menu

Sets various system feature times, affecting the whole system or specific partitions.

Siren Options Menu

Configures siren operation and supervision settings.

Sensors Menu

Accesses menus for learning, editing, and deleting sensors.

Exiting Programming Mode

Procedure to exit installer/dealer programming mode.

Entering User Programming Mode

Time and Date Menu

Sets the panel clock and calendar for accurate system event tracking.

User Codes Menu

Programs and manages user access codes and the system master code.

System Master Code (110)

Changes the system master code for all system operations and user programming.

Downloading (20)

Enables or disables panel communication with ToolBox software for remote programming.

Testing the System

Basic System Commands

Describes basic system touchpad operating commands for user interaction.

Testing Zones/Sensors

Recommends testing sensors/zones after programming and for troubleshooting.

Testing Phone Communication

Checks phone communication between the panel and the central monitoring station.

Testing Outputs/Sirens

Tests all onboard and SnapCard outputs to verify configuration programming.

Troubleshooting

Access Code

Actions for lost customer or installer access codes.

Alphanumeric Touchpads

Solutions for touchpad display and connectivity problems.

Arming and Disarming

Troubleshooting steps for system arming and disarming issues.

Central Station/Pager Reporting

Steps for resolving issues with report transmission to central stations or pagers.

Appendix A: System Configuration Worksheets

Table A1: System Hardwire Devices

Lists hardwire devices, their current draw, and maximum current specifications.

Table A2: Zone/Sensor Assignments

Provides a template for assigning zone numbers, groups, and sensor text.

Table A3: Sensor Group Characteristics

Details characteristics of sensor groups, including alarm, delay, and reporting features.

Table A5: System Settings

A comprehensive list of system settings with their default values and shortcut numbers.

Appendix B: Programming Mode Menus and Settings

TIER 1 MENUS

Overview of the main programming mode tiers and navigation paths.

TIER 2 MENUS

Detailed breakdown of programming options within Phone Options, Timers, Touchpad, Reporting, and Siren Options.

Appendix C: Software Release Notes

Downloader Code

Notes on changes related to Downloader Code and Dealer Code interactions.

SIA False Alarm

Information on the SIA False Alarm option and its effect on Silent Arming.

Specifications

Power Requirements

Details the electrical power requirements for the system.

Rechargeable Batteries

Specifies the types and specifications of rechargeable batteries supported.

Concord Express System Wiring Diagram (60-806)

All Panel Terminal Connections Are Class II Power Limited

Indicates that all panel terminal connections are Class II power limited.

Related product manuals