– 27 –
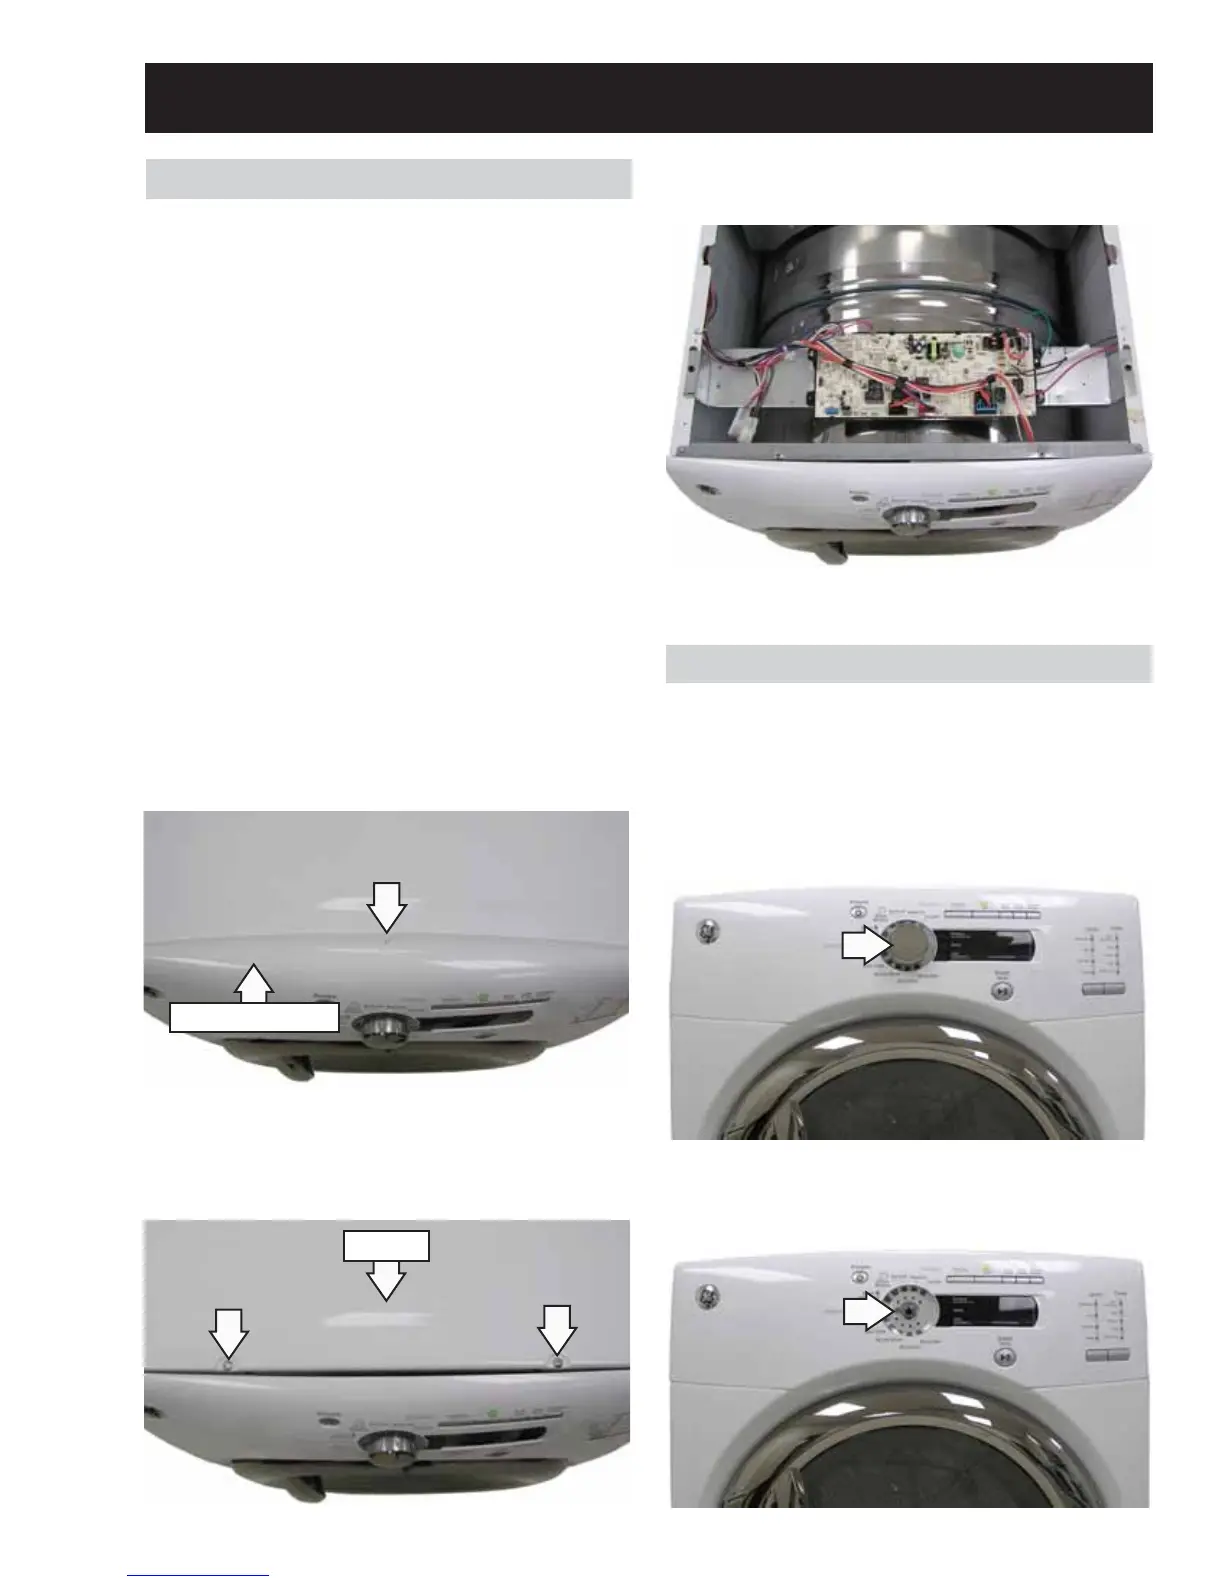
Dryer Components
Top Panel
WARNING: Sharp edges may be exposed when
servicing the dryer. Use caution to avoid injury.
Wear Kevlar gloves or equivalent protection.
Note: Combined Phillips-head/square-drive recess
screws are utilized throughout this appliance. Either
Phillips or square-drive screwdrivers can be used to
extract or install these screws.
Removal of the top panel provides access to the
power board. The top panel is held in place with
2 Phillips-head screws (located under the control
panel cover) and 2 rear tabs.
To remove the top panel:
1. Remove the Phillips-head screw that attaches
the control panel rear trim. Pull the trim
backward and remove.
Note: It may be helpful to place a putty knife along
the top seam between the cover and the control
panel, then tap lightly backward.
Control Panel
Removal of the control panel provides access to the
control board assembly.
To remove the control panel:
1. Remove the cycle selector knob by pulling
outward.
3. Raise the front of the top panel approximately 3
inches, then pull forward to clear the rear tabs.
Top Panel
2. Remove the 2 Phillips-head screws that attach
the top panel to the cabinet.
Control Panel Cover
2. Remove the Phillips-head screw underneath the
cycle selector knob.
(Continued Next Page)