CR194 Two-High Vacuum Limitamp@ Control
Gaining Access To Horizontal Bus
For Splicing
WARNING:
Confirm that equipment is de-ener-
gized before proceeding with disassembly.
NOTE:
Insure Steps 1-8 above are completed before proceed-
ing with disassembly.
Step 9.
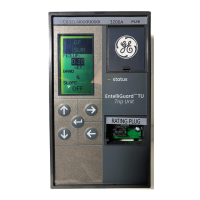
Once the upper contactor has been removed, the side
main bus barriers are accessible at the rear of the com-
partment. See Figure 21.
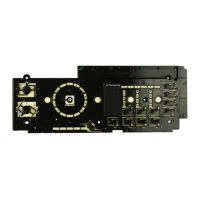
Figure
42.
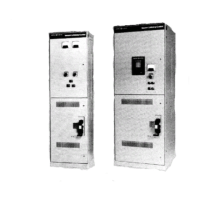
View of CR194 two-high high voltage section with
drawout contactor removed.
Step 10.
Remove the mounting bolts that hold the side main bus
barriers in place. Once the barriers are removed, the
ends of the main bus bars are visible as shown in Figure
23. Main and ground bus splices may now be made to
the section on either the left or right side of the starter.
Step 11.
Install bus splices per Figure 51. Once main bus
splices are installed, they must be taped in order to
maintain required electrical clearances. See “Taping
Instructions for 5kV” Section.
WARNING:
Main bus splice bars must be taped
NOTE:
If additional access is required on the left side of the
compartment, the control power transformer (CPT) and
transformer fuse block may be removed per Step 12 below. If
CPT 6’ CPTfuse block removal is not required, skip to the
note under Step 12.
Figure
23.
Ends of main bus exposed for splicing
(stationary contactor removed)
14
 Loading...