Chapter 4. Configuration
GFK-2224Q January 2017 51
Configuring Ethernet Interface Parameters
This section describes how to configure the parameters of an RX7i embedded or rack-based PACSystems
Ethernet Interface.
Configuring an RX7i Embedded Ethernet Interface
1. In the Project tab of the Navigator, expand the
PACSystems Target, the hardware configuration, and
the main rack (Rack 0).
2. Expand the CPU slot (Slot 1). The Ethernet Interface
daughterboard is displayed as “Ethernet”.
3. Right click the daughterboard slot and choose
Configure. The Parameter Editor window displays the
Ethernet Interface parameters.
4. To add the Ethernet Global Data component, right-
click the Target. Select Add Component and then
Ethernet Global Data.
5. Select the desired tab, then click in the appropriate
Values field.
Figure 26: Expand RX7i CPU Node to
Configure Ethernet Daughterboard
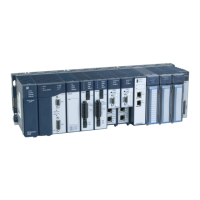
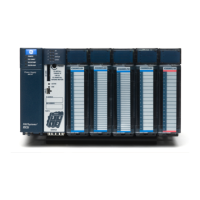
Configuring a Rack-based Ethernet Interface Module
1. In the Project tab of the Navigator, expand the
PACSystems Target, the hardware configuration, and
the main rack (Rack 0).
2. Right click an empty slot and choose Add Module.
The Module Catalog opens.
3. Click the Communications tab, select the
IC698ETM001 module (for RX7) or IC695ETM001
module (for RX3i) and click OK. The Ethernet module
is placed in the rack and its parameters are
displayed in the Parameter Editor window.
Figure 27: Install ETM001 Module in Rack/Slot
& Expand to Configure
4. To add the Ethernet Global Data component, right-click the Target. Select Add Component and then
Ethernet Global Data.
5. Select the desired tab, then click in the appropriate Values field. (To edit parameters of a module that is
already configured in the rack, right click the slot containing the module and choose Configure.)