GE RAFT VOLUSON™ P8 / VOLUSON™ P6
DIRECTION 5723243, R
EVISION 6 DRAFT (MAY 23, 2018) BASIC SERVICE MANUAL
4-26 Section 4-7 - Peripheral Checks
Section 4-7
Peripheral Checks
Check that peripherals work as described below:
4-7-1 ECG Check Out
Connect the USB ECG and check :
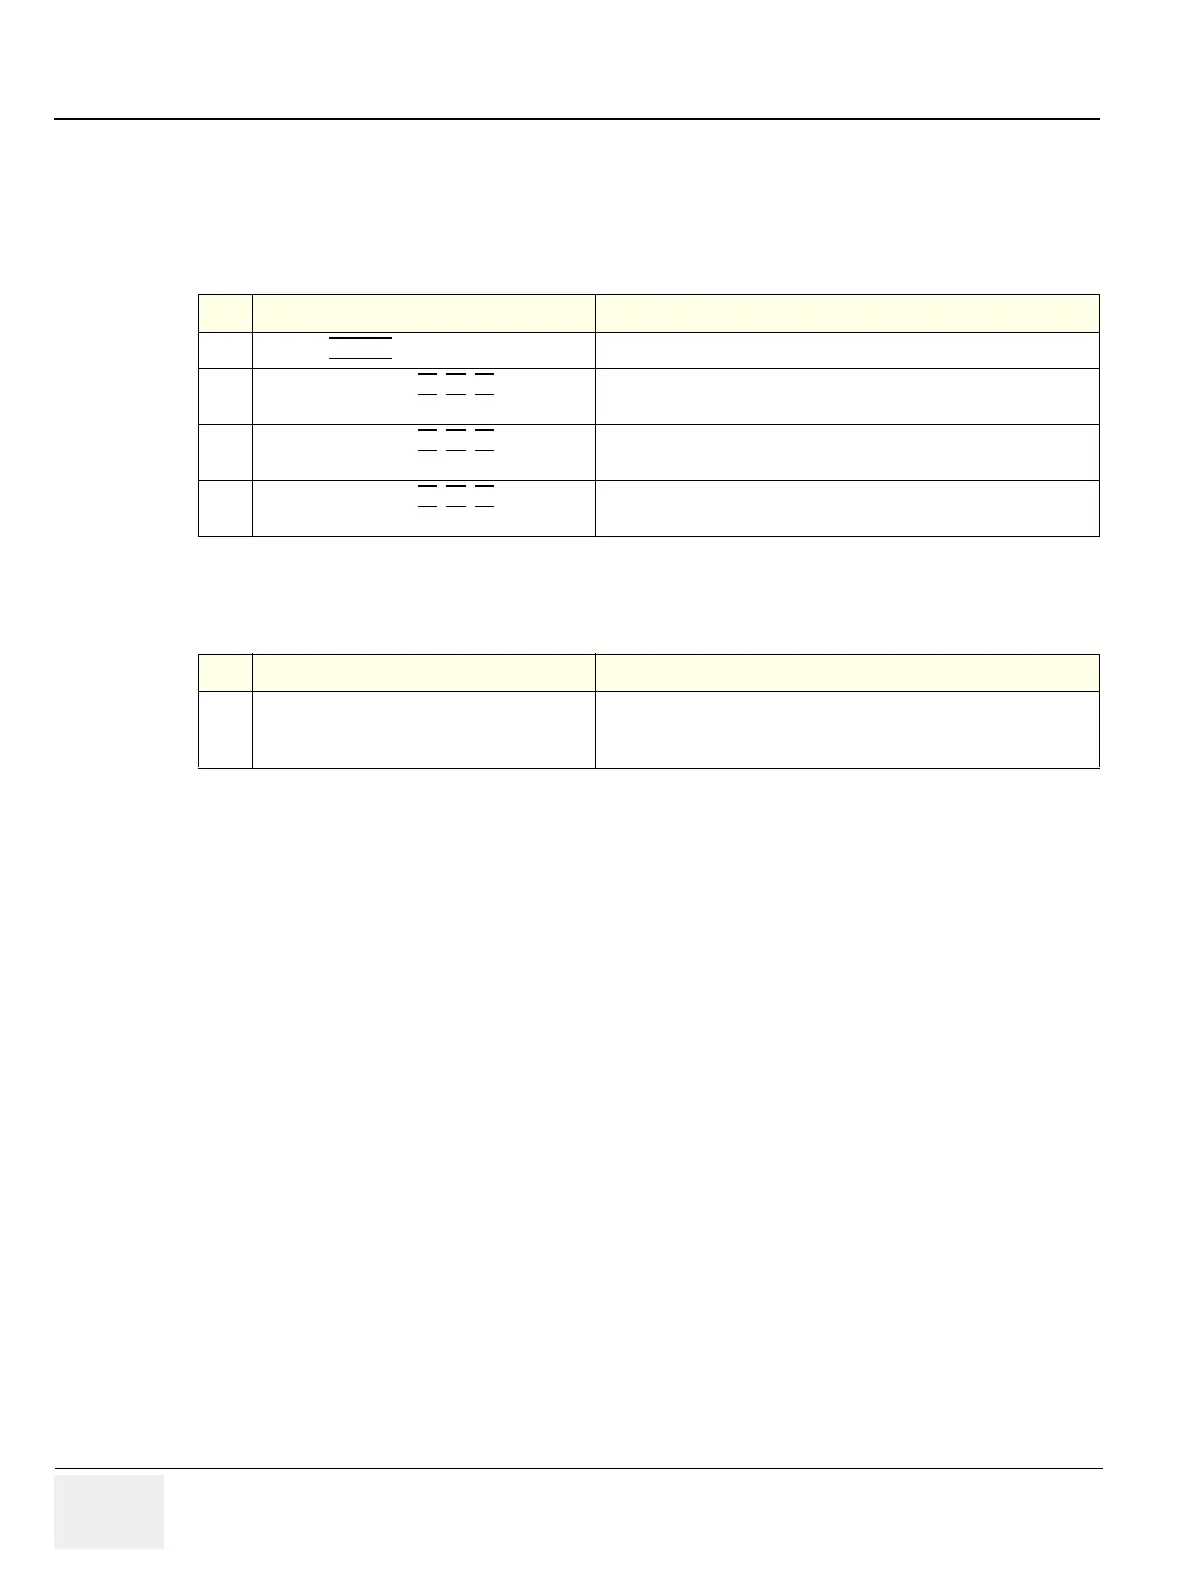
Table 4-7 Peripheral Checks
Step Task to do Expected Result(s)
1
Press the FREEZE key. Stop image acquisition.
2
Press the remote key (P1
, P2, P3 )
which is assigned to the BW printer.
The image displayed on the screen is printed on the Black & White
printer.
3
Press the remote key (P1
, P2, P3 )
which is assigned to the color printer.
The image displayed on the screen is printed on the Color printer.
4
Press the remote key (P1
, P2, P3 )
which is assigned to recorder control.
Recording starts/stops.
Step Task Expected Result(s)
1
Press the F2 key on the control panel and then
press the “ECG Line” button to display the ECG
signal.
It will display a curve along the bottom edge of the image sector.
 Loading...


