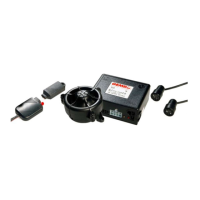
Electronic key
3.2 - ELECTRONIC KEY
The electronic key can be considered a kind of “simplified remote control.”
As a matter of fact, in emergency situations (e.g. a failure in the remote
control), it can activate and deactivate the alarm, or activate and deactivate the
anti-hijacking function (if previously programmed).
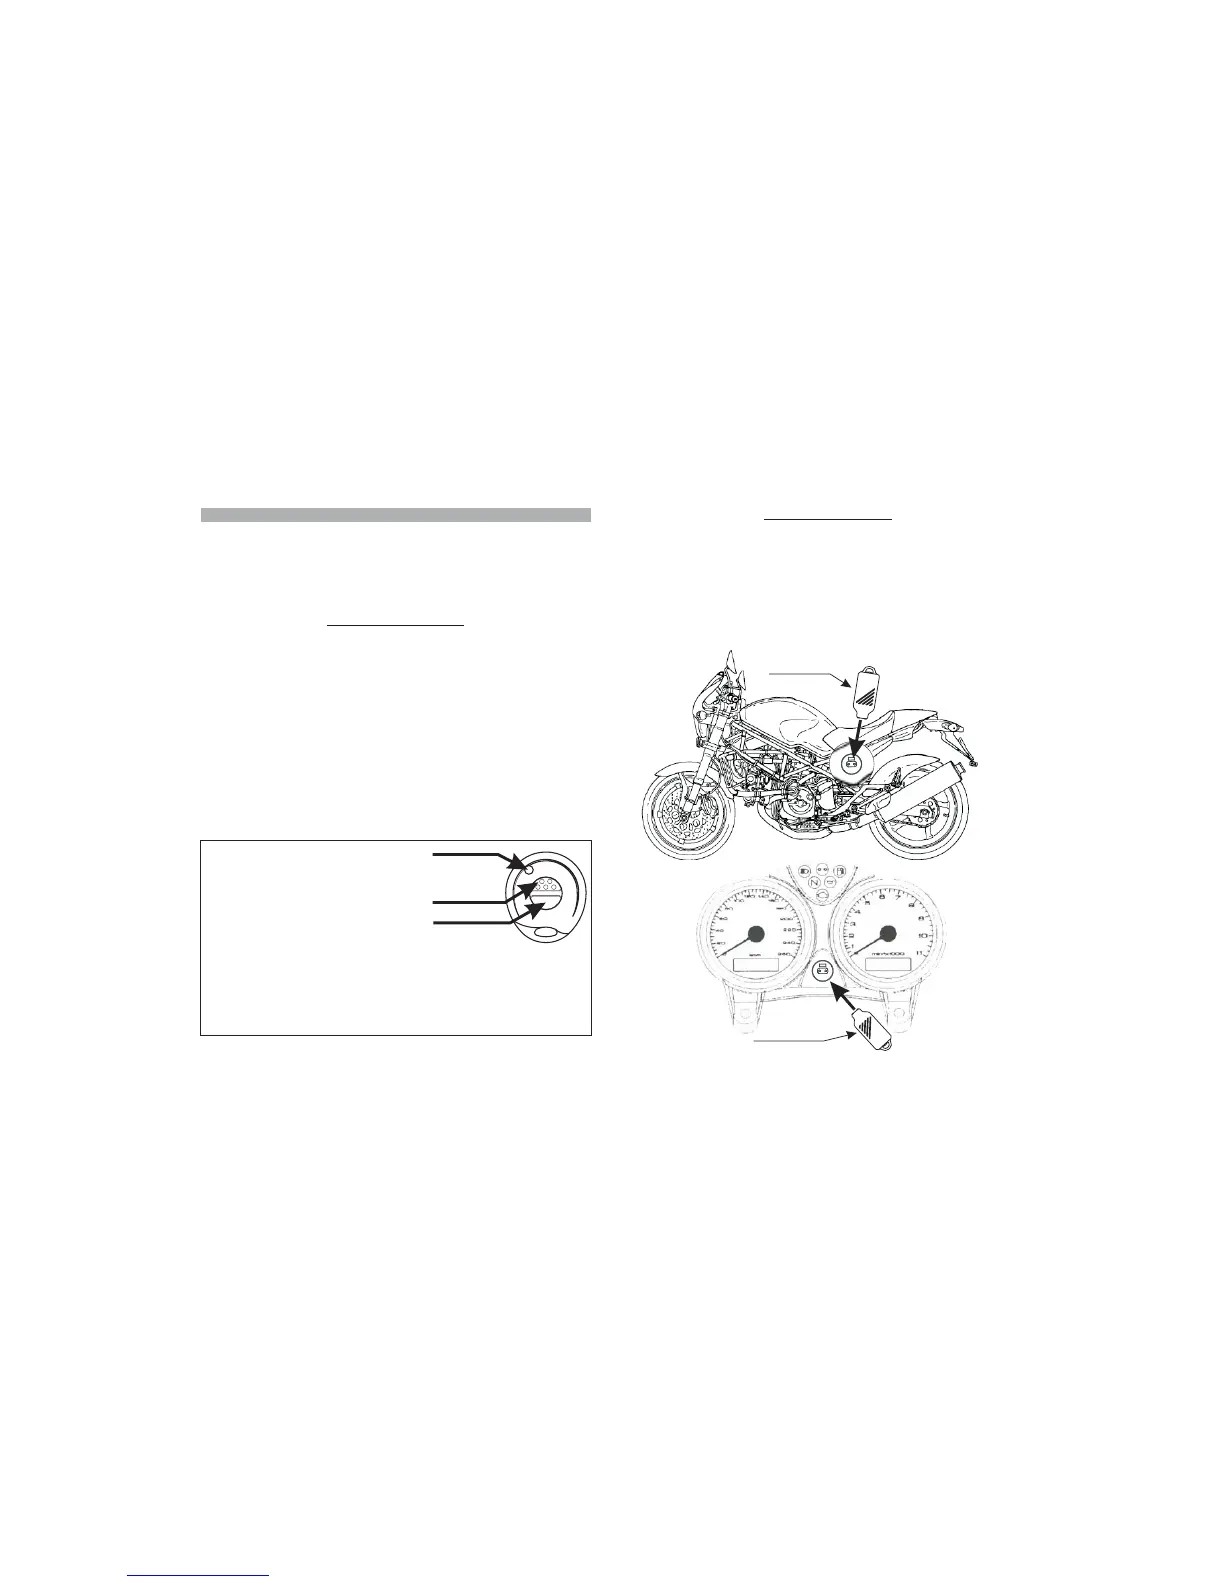
To use the electronic key, simply put it on the receptacle, and join the metallic
contacts.
The receptacle also incorporates the alarm state LED.
3.0 - DESCRIPTION OF ALARM CONTROL DEVICES
3.1 - REMOTE CONTROL
.
In order to use the alarm, it needs to receive commands by the user; this can be
done by means of remote controls and electronic keys.
A further possibility to deactivate the alarm, when needed, is given by the PIN-
CODE.
Such procedure can be activated by means of the ignition key of the vehicle
itself and is detailed in the relevant chapter
The remote control is the main user “interface”; therefore, we recommend you
to acquaint yourself with it.
The remote control buttons activate several functions that differ according to
the operational condition and the alarm program.
Please also note that buttons have been made different in form, in order to be
better recognized and identified.
The alarm activation/deactivation button is dotted, while the siren button is
smooth
To prevent problems with the remote control, it has been provided with a device
that will signal the charge condition of the batteries inside.
During normal use of the remote control, when you press a command button
the green transmission LED will light up with a steady light.
If the battery charge drops below the level needed to assure correct operation
of the remote control, when you press a command button the green
transmission LED will blink, advising you that it is time to replace the batteries.
.
Push-button Nr.1
Push-button Nr.2
Signalling
LED
PAG.4 PAG.5
Button Nr.1:
Button Nr.2:
!
!
!
!
!
!
!
!
Alarm
activation/disactivation.
Anti hijacking function
activation.
Hazard function activation.
Anti hijacking function
activation.
Panic a
.
Shock sensor programming,
activation and regulation.
larm
activation/deactivation.
Siren control during alarm
conditions.
Siren control during alarm
activation
Example of receptacle
positioning on the
vehicle plastic side
cover.
Example of receptacle positioning on the vehicle dashboard.
Electroni key