Maintenance
38 Owner’s Manual for Stationary Diesel Generators
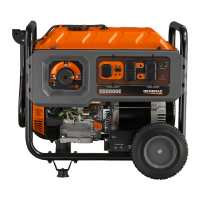
Figure 5-19. Oil Fill Cap and Drain Hose
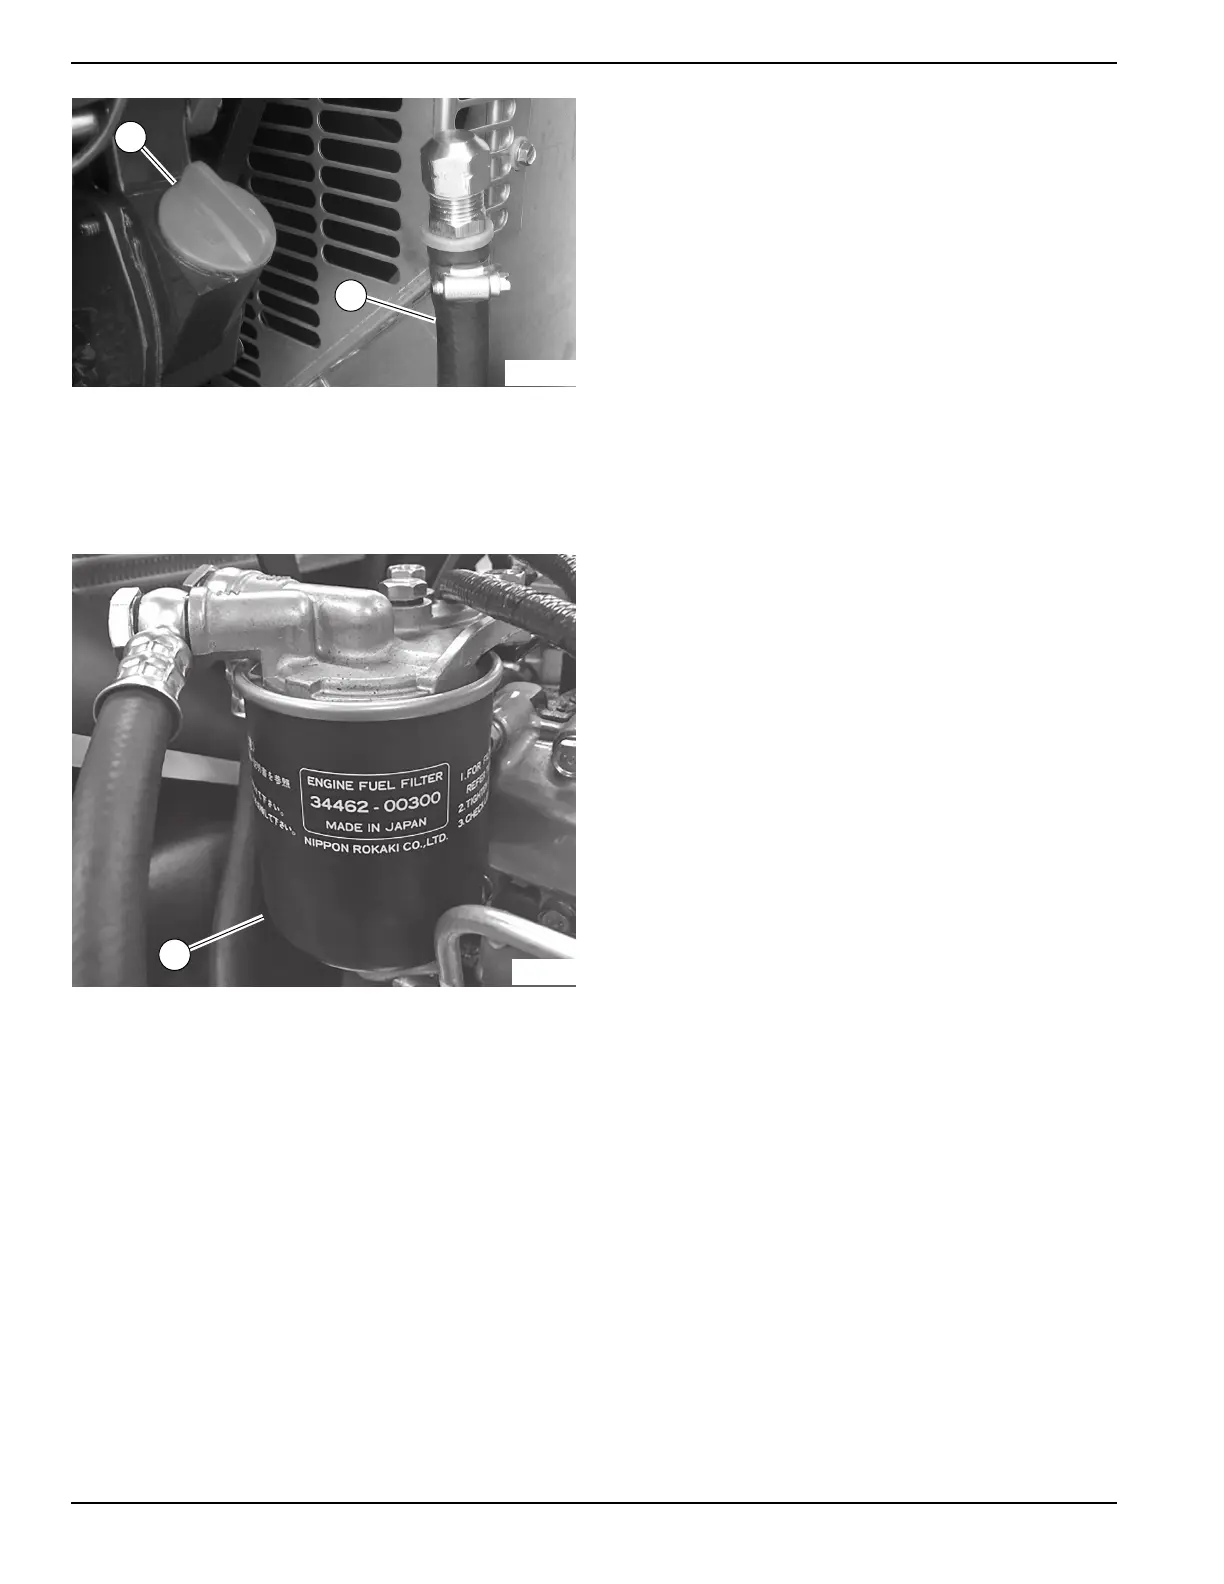
Drain Fuel Filter and Check Fuel Lines/Hoses
1. See Figure 5-20. Place a shop rag beneath the fuel
filter (A) to catch water or fuel drips.
Figure 5-20. Drain Fuel Filter
2. Rotate fuel filter counterclockwise to remove from
filter adapter.
3. Install new fuel filter by hand until gasket just
contacts filter adapter. Tighten fuel filter an additional
3/4 to one full turn.
NOTE: Dispose of used filter at a proper collection
center.
4. Check fuel filter and fuel lines/hoses for leaks.
Tighten filter, fittings, and hose clamps if necessary.
5. Check fuel hoses for nicks, cuts, tears, or general
deterioration. Replace as necessary
6. See Prime Fuel System in “Activation and Startup.”
Prime Fuel System
See Prime Fuel System in “Activation and Startup.”
Drain/Flush Coolant System
NOTE: On 2.5L models, remove ten screws to release
louvered air discharge panel on left side of enclosure.
1. Disconnect and empty coolant overflow reservoir.
2. Install and connect coolant overflow reservoir.
IMPORTANT NOTE: Verify that the engine is cool
before removing the radiator cap. The cooling system is
under pressure, so steam and hot liquid can come out
forcefully when the cap is loosened.
3. Slowly unscrew radiator cap.
4. Locate drain cock (A) at bottom left side of radiator.
Rotate hex fitting to open drain cock. See Figure
5-21.
5. Remove coolant drain hose from holding clamp.
6. Use wrench to hold hex on hose fitting (to prevent
rotation), and use second wrench to remove drain
plug.
7. Drain coolant into a suitable container.
8. Install plug at end of drain hose.
9. Install drain hose in holding clamp.
10. Rotate hex fitting to close radiator drain cock.
11. Obtain at least 3.0 gal (11.44 liters) of coolant. See
Engine in “Specifications.”
12. Rotate and remove plastic cover at top of
enclosure and insert funnel into filler neck (B).
13. Slowly pour coolant into filler neck until radiator is
full.
14. Install radiator cap.
15. Press MANUAL on the control pad to start the
engine. A blue LED illuminates to confirm that the
system is in the MANUAL mode.
16. Allow engine to run until the thermostat opens, as
indicated by heating of the top radiator hose.
17. Check coolant hoses for leaks. Tighten clamps, if
necessary.
18. Press OFF on the control pad to shut the engine
down.
19. Wait five minutes for the engine to cool.
20. Repeat steps 4-20 to drain and refill cooling
system.
21. Install plastic cover at top of enclosure and rotate
until tight.
22. Check hoses for nicks, cuts, tears or general
deterioration. Replace as necessary.
NOTE: On 2.5L models, start ten screws to install
louvered air discharge panel. Alternately tighten screws
to 90 in-lb (10 Nm) using a crosswise pattern.