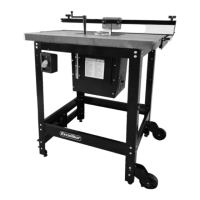
7. Secure the dust shield in place by tightening the two
lock knobs.
Note: The dust shield can be adjusted in height along the
T-slots.
8. Insert a long T-bolt A through all 6 holes in the fence
body B and, from the other side of the fence, loosely
C and lockknob D
.
Note: Do not tighten down the lock knobs; leave the T-
head of the bolts protruding from the fence.
B
C
D
A
9. Slide the slot of one fence face onto the 3 elongat-
ed bolt heads, then tighten the lock knobs on the
other side of the fence.
10. Repeat with the second fence face on the other
side of the fence body.
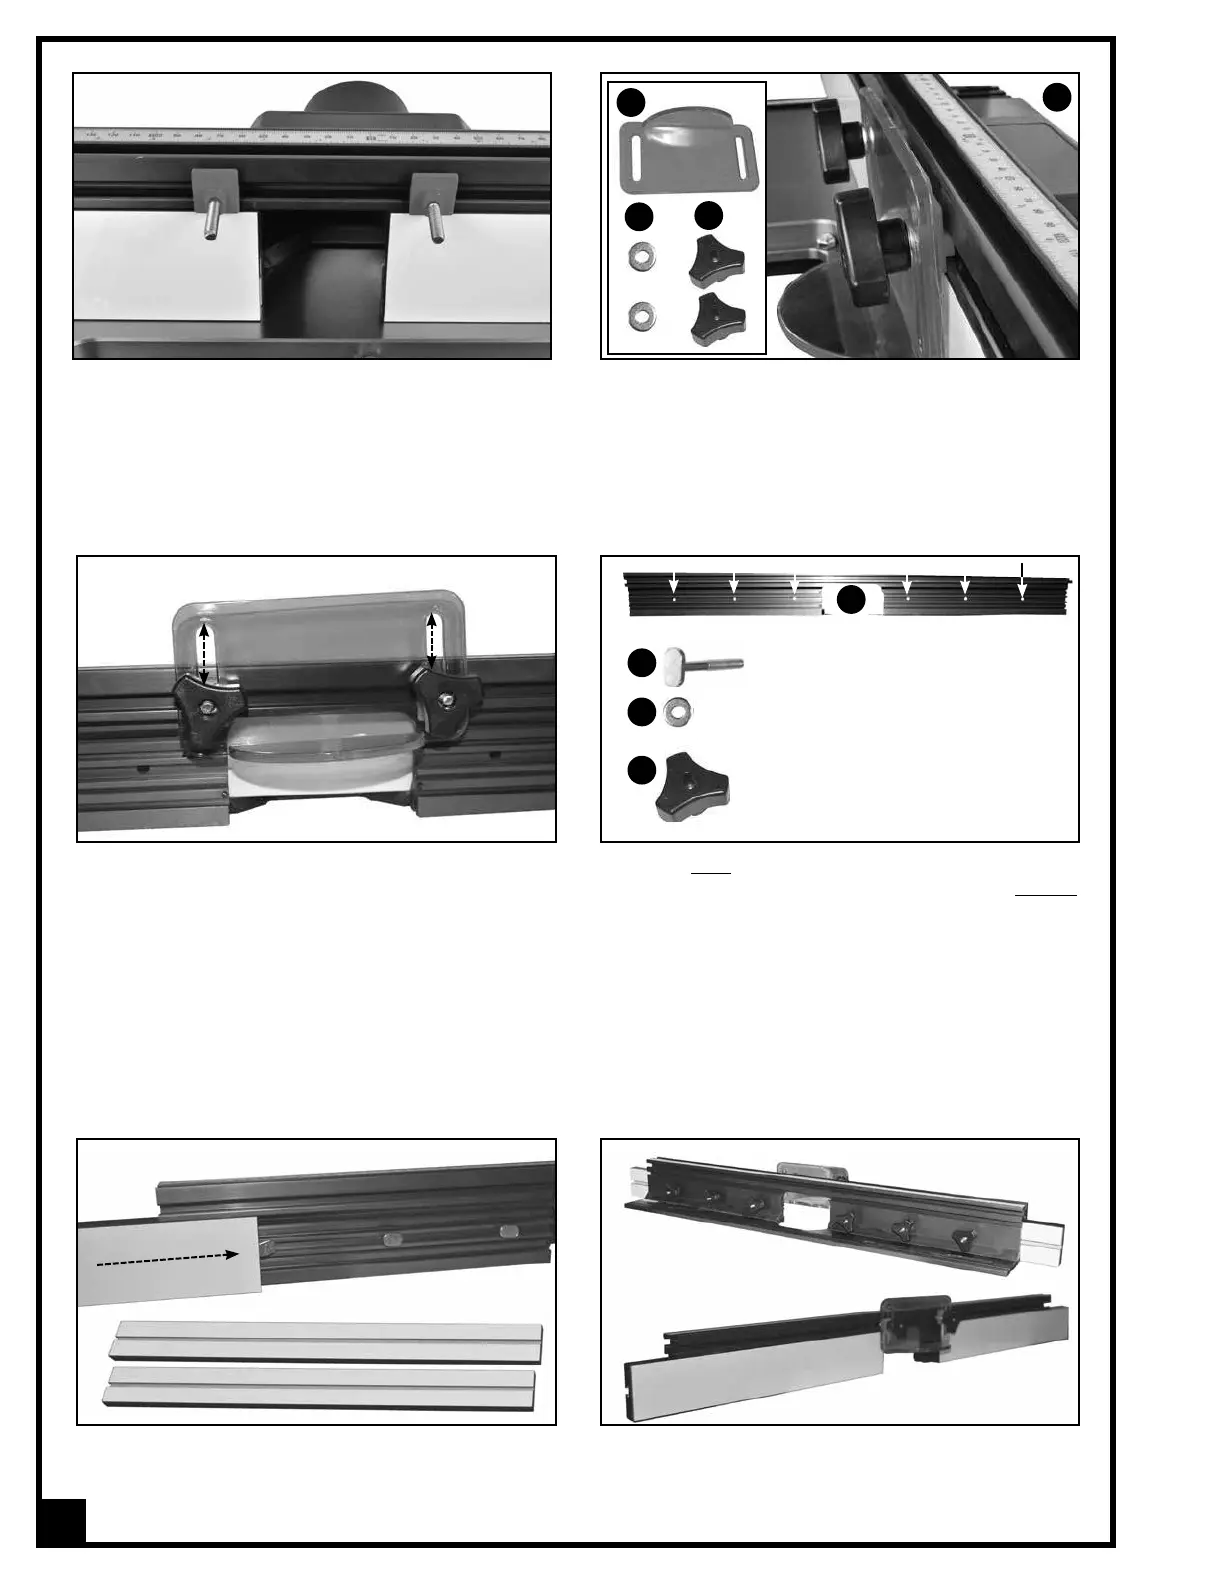
5. Slide the 2 bolts and spacers to the middle of the
fence body (approx.)
6. Install the orange dust shield A on the two bolts and
secure in place using two flat washers B and 2 lock
knobs C as shown in D.
A
D
B
C
16
attach a flat washer
 Loading...