Adjusting the Print Image Position
9
1
Adjusting the Print Image Position
After master making, you can adjust
the print image position to suit your
needs. There are two ways:
❖
❖❖
❖
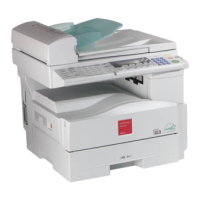
Shifting the Image Position Forward
or Backward
Shift the image position using the
{
Image Position
} keys.
❖
❖❖
❖
Shifting the Image Position to the
Right or Left
Shift the image position using the
side tray fine adjusting dial.
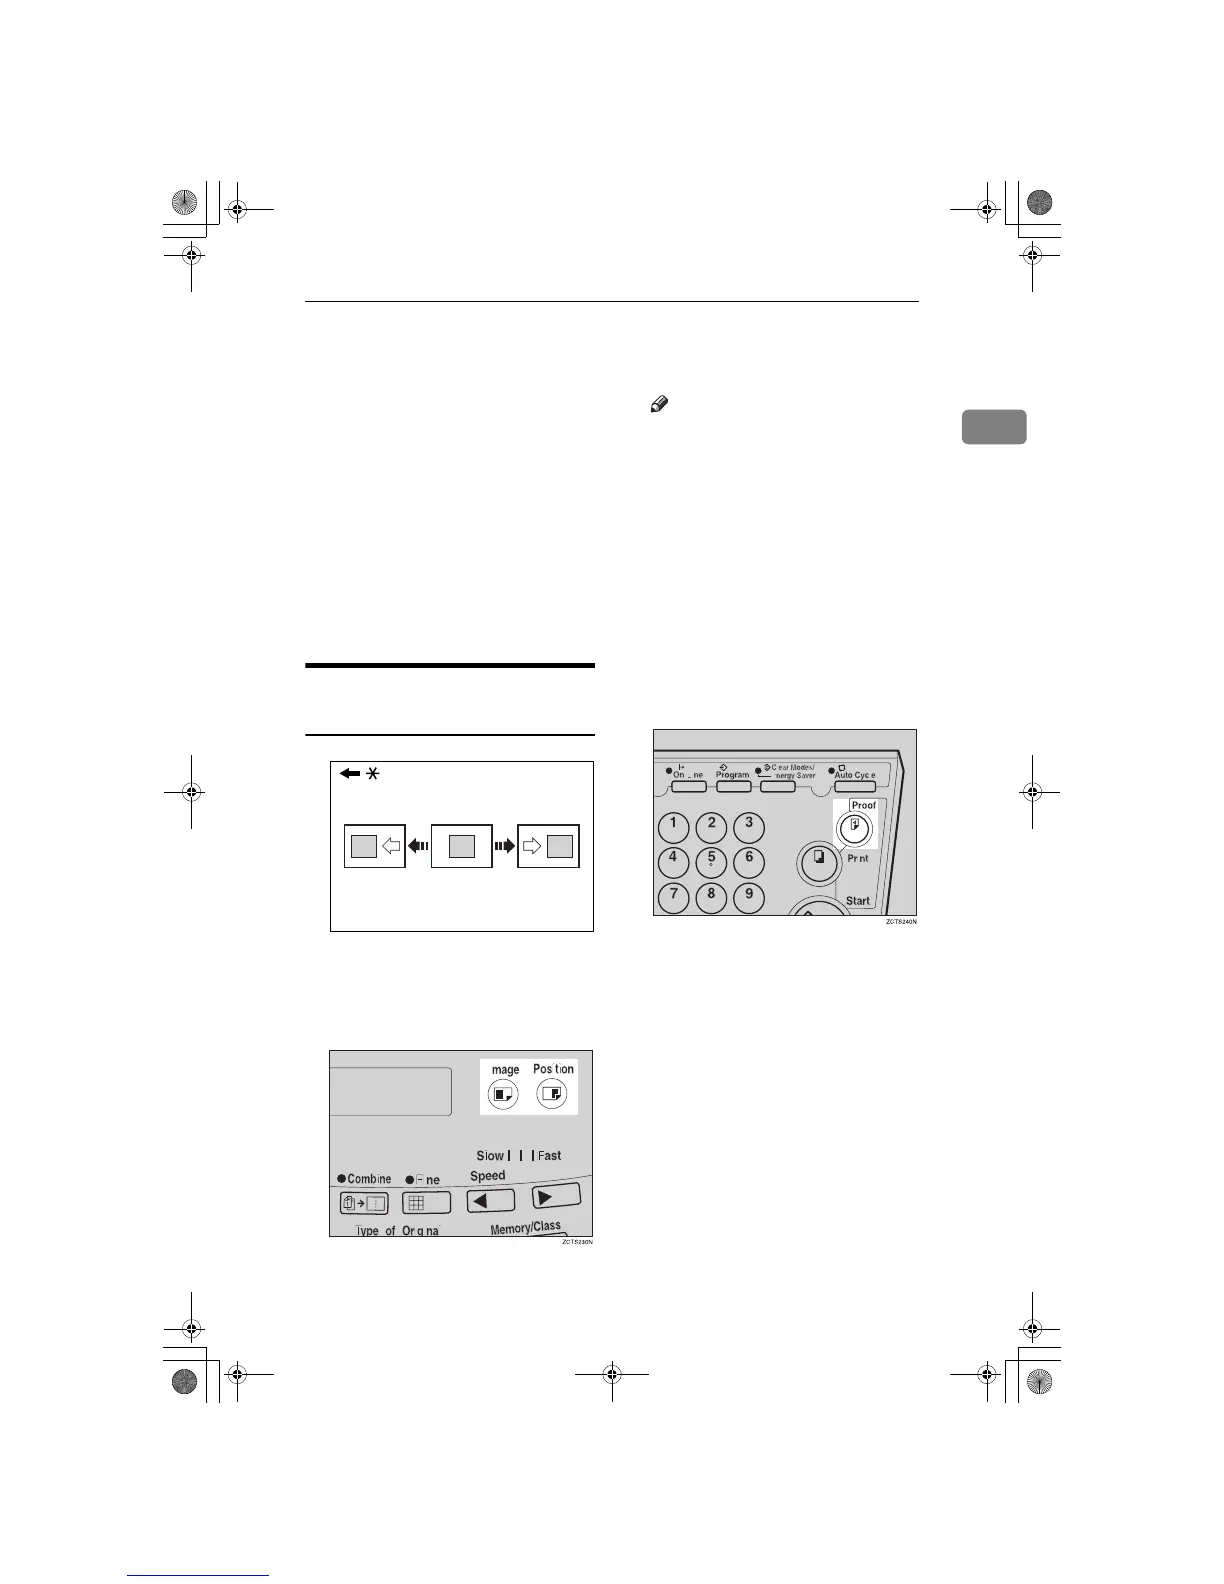
Shifting the Print Image
Position Forward or Backward
* Paper feed direction
A
Press the left {
{{
{
Image Position
}
}}
} key
to move the image forwards, the
right key to move it backwards.
Note
❒ When you shift the image for-
wards, leave a margin (more
than 5mm, 0.2") at the leading
edge. If there is no margin, pa-
per might wrap around the
drum and cause a misfeed.
❒ The right or left {
Image Position
}
keys shift the image about
0.5mm, 0.02" each time they are
pressed. When the indicator
changes, the image position
shifts about 5mm, 0.2".
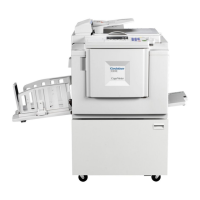
B
Press the {
{{
{
Proof
}
}}
} key to check the
image position.
GRFORW0E
SilverV-EN.book Page 9 Monday, May 15, 2000 3:23 PM