Mounting 8
General information for mounting8.1
Observe all the instructions. Incorrect mounting can result in serious injuries. à
Observe the specied ambient temperature range at the installation location of the drive. à
After completing mounting check the settings and functionality of the drive! à
Scope of delivery and completeness8.1.1
Open all the packaging units. Check whether they are complete and familiarise yourself with the parts.
X
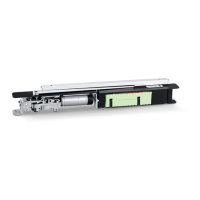
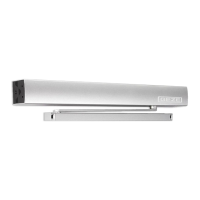
ECturn door drive with guide rail or link arm
Drive unit à
1 drive à
1 set of fastening screws à
Depending on order:
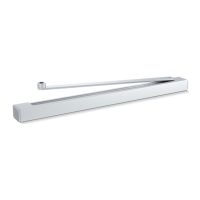
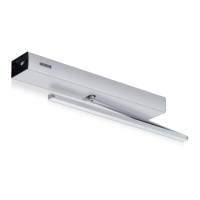
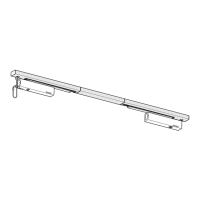
Slide rail à
1 rail à
1 lever à
1 set of fastening screws à
or
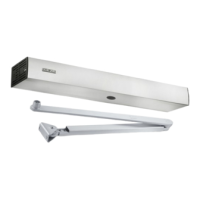
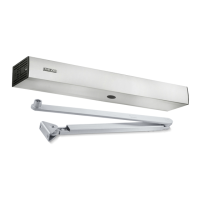
Link arm (size depending on sot depth) à
1 set of fastening screws à
Accessories (optional) à
Hood à
Actuation elements: in accordance with the specications in the wiring diagram à
Door stop buer à
Mounting plate(s) with a set of fastening screws à
Battery à
Radio circuit board DCU702 à
Door transmission cable à
Preparations to be made by the customer8.1.2
Checking of the location conditions and the required physical conditions
WARNING!
Danger of injury through falling components!
Unsecured components may fall down when under load.
When mounting the ECturn swing door drive ensure that the substructure ensures safe fastening of the drive.
X
Use suitable means of fastening such as anchors, rivet nuts, etc.
X
Before mounting the drive check whether the door leaf is in a good mechanical state and can be opened and
X
closed easily.
Mount the bottom edge of the element mounted at the lowest point (guide rail or link arm) at least 2 m above
X
the oor.
Lay cables in accordance with the cable plan.
X
Check the planned type of stop on the leaf or frame prole (see Chapter 7).
X
 Loading...