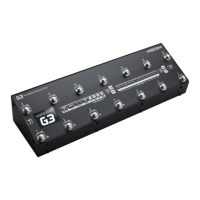
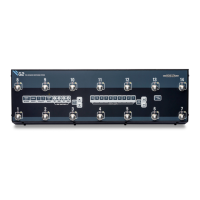
THE ADVANCED SWITCHING SYSTEM
THE GIGRIG G3 USER MANUAL
1. QUICK START GUIDE
We want you to jump right in, so here is what you need to know to get started.
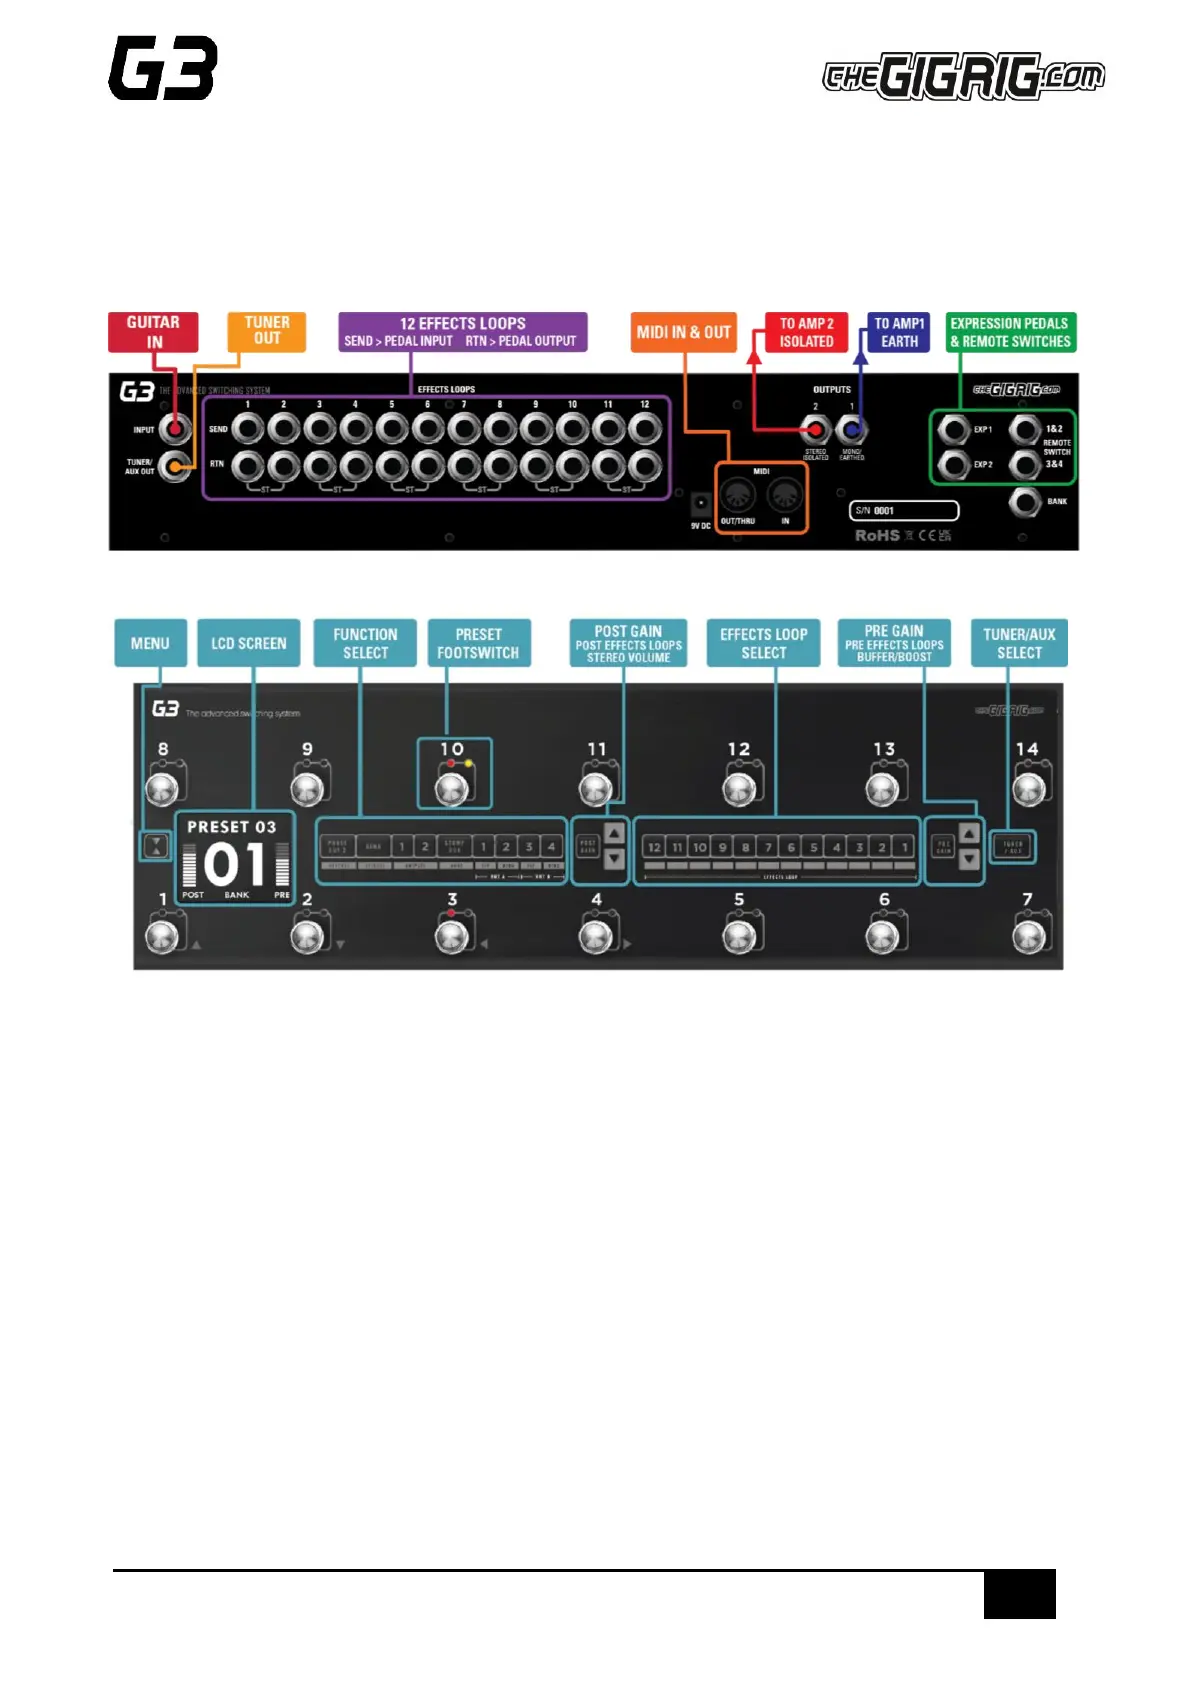
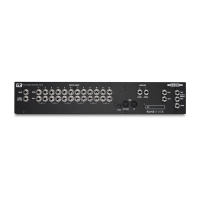
2.1. BACK PANEL CONNECTIONS
2.2. TOP PANEL
2.3. CONNECTIONS
To connect your effects to the back panel of G3:
1. Connect your guitar to the input. For stereo input use TRS cable.
2. Connect G3 FX Loop SEND to FX Pedal Input.
3. Connect FX Pedal OUTPUT to G3 Loop Return.
4. Connect your amp(s) PLEASE NOTE, if you are only using one amplifier/DAW you MUST use OUT1 as
this is your earth/ground. Connect to your second amplifier or channel/DAW using OUT2 as this is
isolated and phase reversible.
5. Connect your tuner to the TUNER/AUX output.
6. Connect any MIDI enabled pedals using the MIDI INPUT/OUTPUT.
7. Connect your Remote Switch controllable devices (i.e., Amp channel, Remote Loopy 2, Tap Tempo)
using G3’s REMOTE SWITCH sockets.
8. Connect your power to G3. We strongly recommend using TheGigRig Generator which is supplied with
your G3.