Start-up and Service New Features in FlexPay EPP 2.1 (M10662B001)
Page 60 MDE-4784D FlexPay™ Encrypting PIN Pad Start-up and Service Manual · December 2011
11 In the Diagnostic Mode, run a Keypad Test to check all keys. For instructions, refer to
“Performing the Keypad Test” on page 18.
12 Exit the Diagnostic Mode. For instructions, refer to “Exiting Diagnostic Mode Using
Diagnostic Card” on page 19.
13 Run a debit transaction to verify proper operation.
14 Close the Payment door.
New Features in FlexPay EPP 2.1 (M10662B001)
The FlexPay EPP 2.1 has the following new features when compared to FlexPay EPP 1.3:
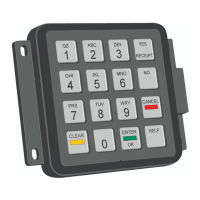
• There are four Activation switches (two per side) that are used to activate the PIN Pad for
more security (see
Figure 3-57).
Figure 3-57: FlexPay EPP 2.1
Activation switches
•The Wheelchair/ADA symbol has been removed from the Help key. The ADA key must
be programmed as an auxiliary key.
•The Red button that was present on the left hand side of the FlexPay EPP has been
removed.
• FlexPay EPP 2.1 has a new part number: M10662B001.
• When FlexPay EPP 2.1 is released, FlexPay EPP 1.3 will be sold as a spare only.
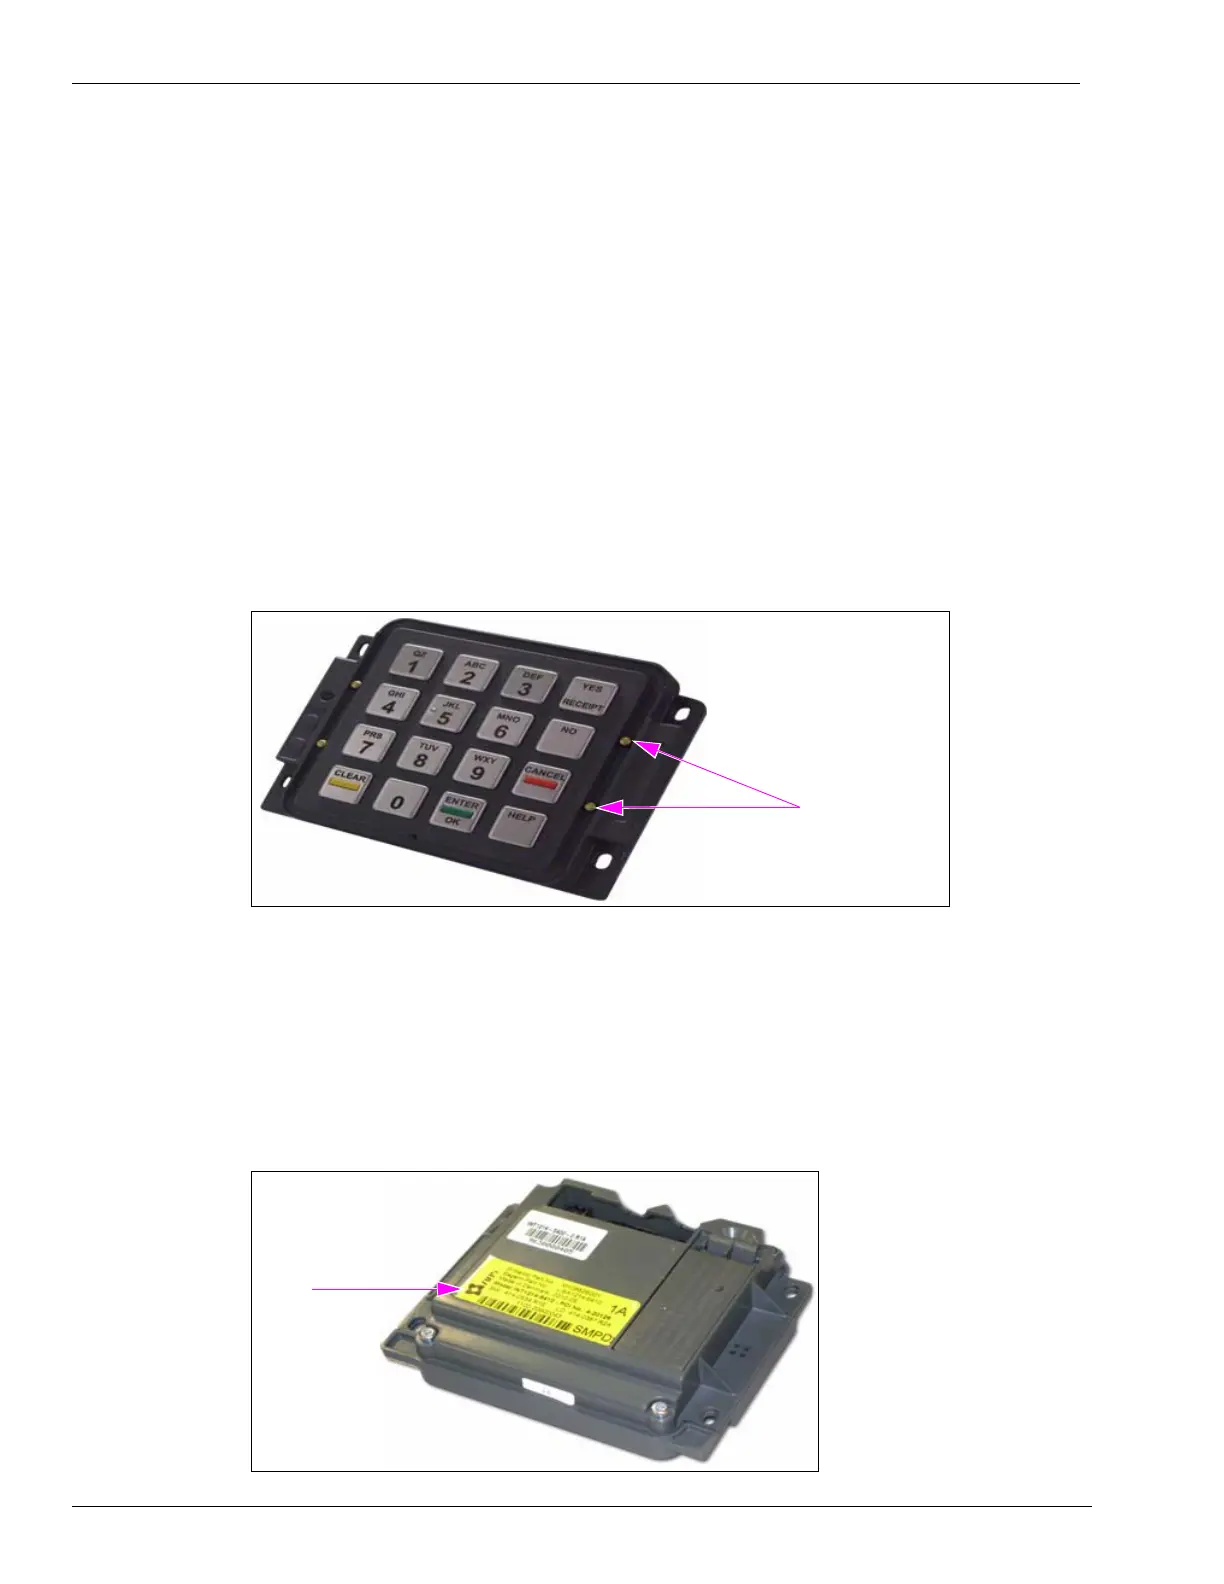
• All FlexPay EPPs (2.1) will have a yellow sticker on the rear side (see Figure 3-58).
Figure 3-58: Yellow Sticker on the Rear Side of FlexPay EPP 2.1
Yellow
sticker
 Loading...