36
Basic Bot Guide
10: Phone Mount
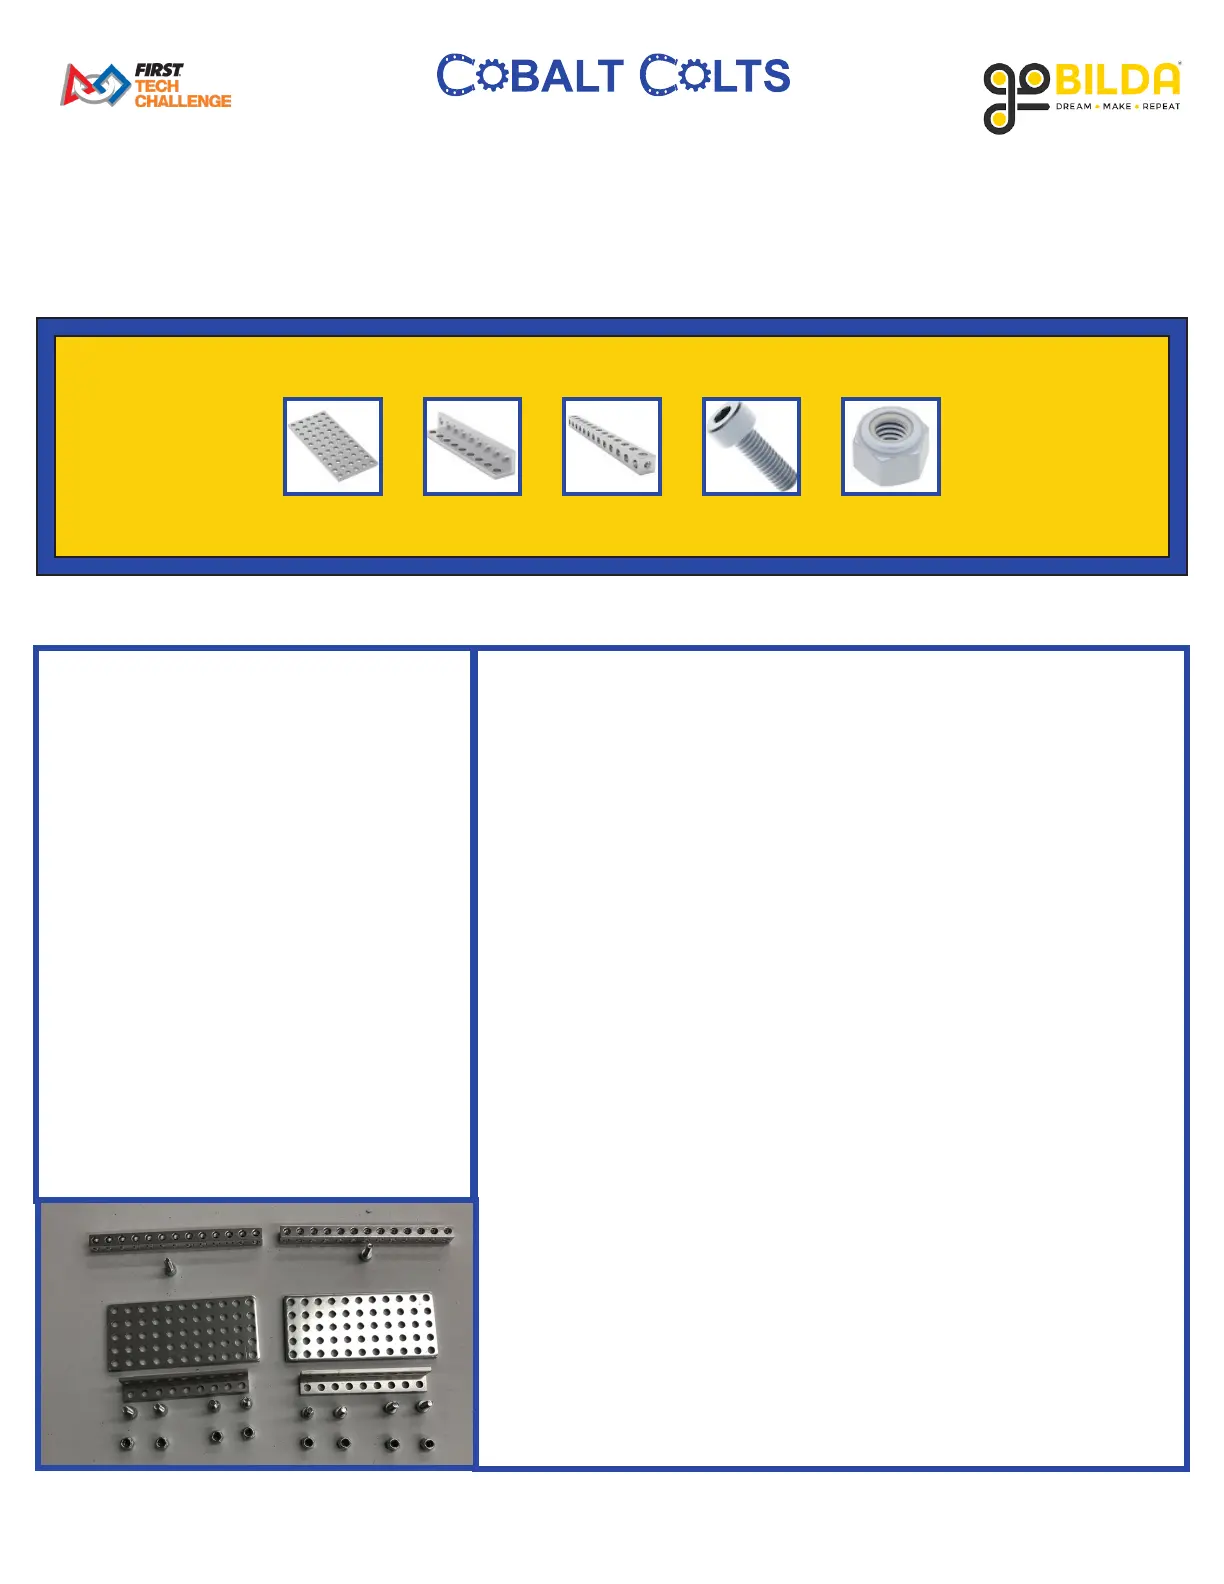
1116 1103 1106 2800 2812
x2x2 x2 x10 x8
PARTS REQUIRED:
• x2 1116 Series Grid Plate (5 x 11
Hole, 40 x 88mm)
• x2 1103 Series L-Beam (9 hole,
72mm Length)
• x2 1106 Series Square Beam (13
Hole, 104mm Length)
• x10 2800 Series Zince-Plated Steel
Socket Head Screw (M4 x 0.7mm,
12mm Length)
• x8 2812 Series Zinc-Plated Steel
Nylon-Insert Locknut (M4 x
0.7mm, 7mm Hex)
INSTRUCTIONS:
A. Place 2 M4 12mm Socket Head Screws into the 1st and 9th holes
of 1 9 Hole L-Beam. Then, attach 1 5 x 11 Grid Plate as shown
using 2 M4 Locknuts.
B. Place 2 M4 12mm Socket Head Screws into the 2nd and 7th
holes of 1 9 Hole L-Beam. Then, attach 1 5 x 11 Grid Plate as
shown using 3 M4 Locknuts.
C. On the left side of the drivetrain (as viewed from the FRONT),
attach 2 13 Hole Square Beams to the 1 x 9 Pattern Plate as
shown using 2 M4 12mm Socket Head Screws.
D. Using 2 M4 12mm Socket Head Screws and 2 M4 Locknuts,
attach the assembly from Part A to the 1 x 9 Pattern Plate as
shown.
E. Using 2 M4 12mm Socket Head Screws and 2 M4 Locknuts,
attach the assembly from Part B to the 1 x 9 Pattern Plate as
shown.