5 Ac c e sso rie s
5.3 Insta lling the C utte r
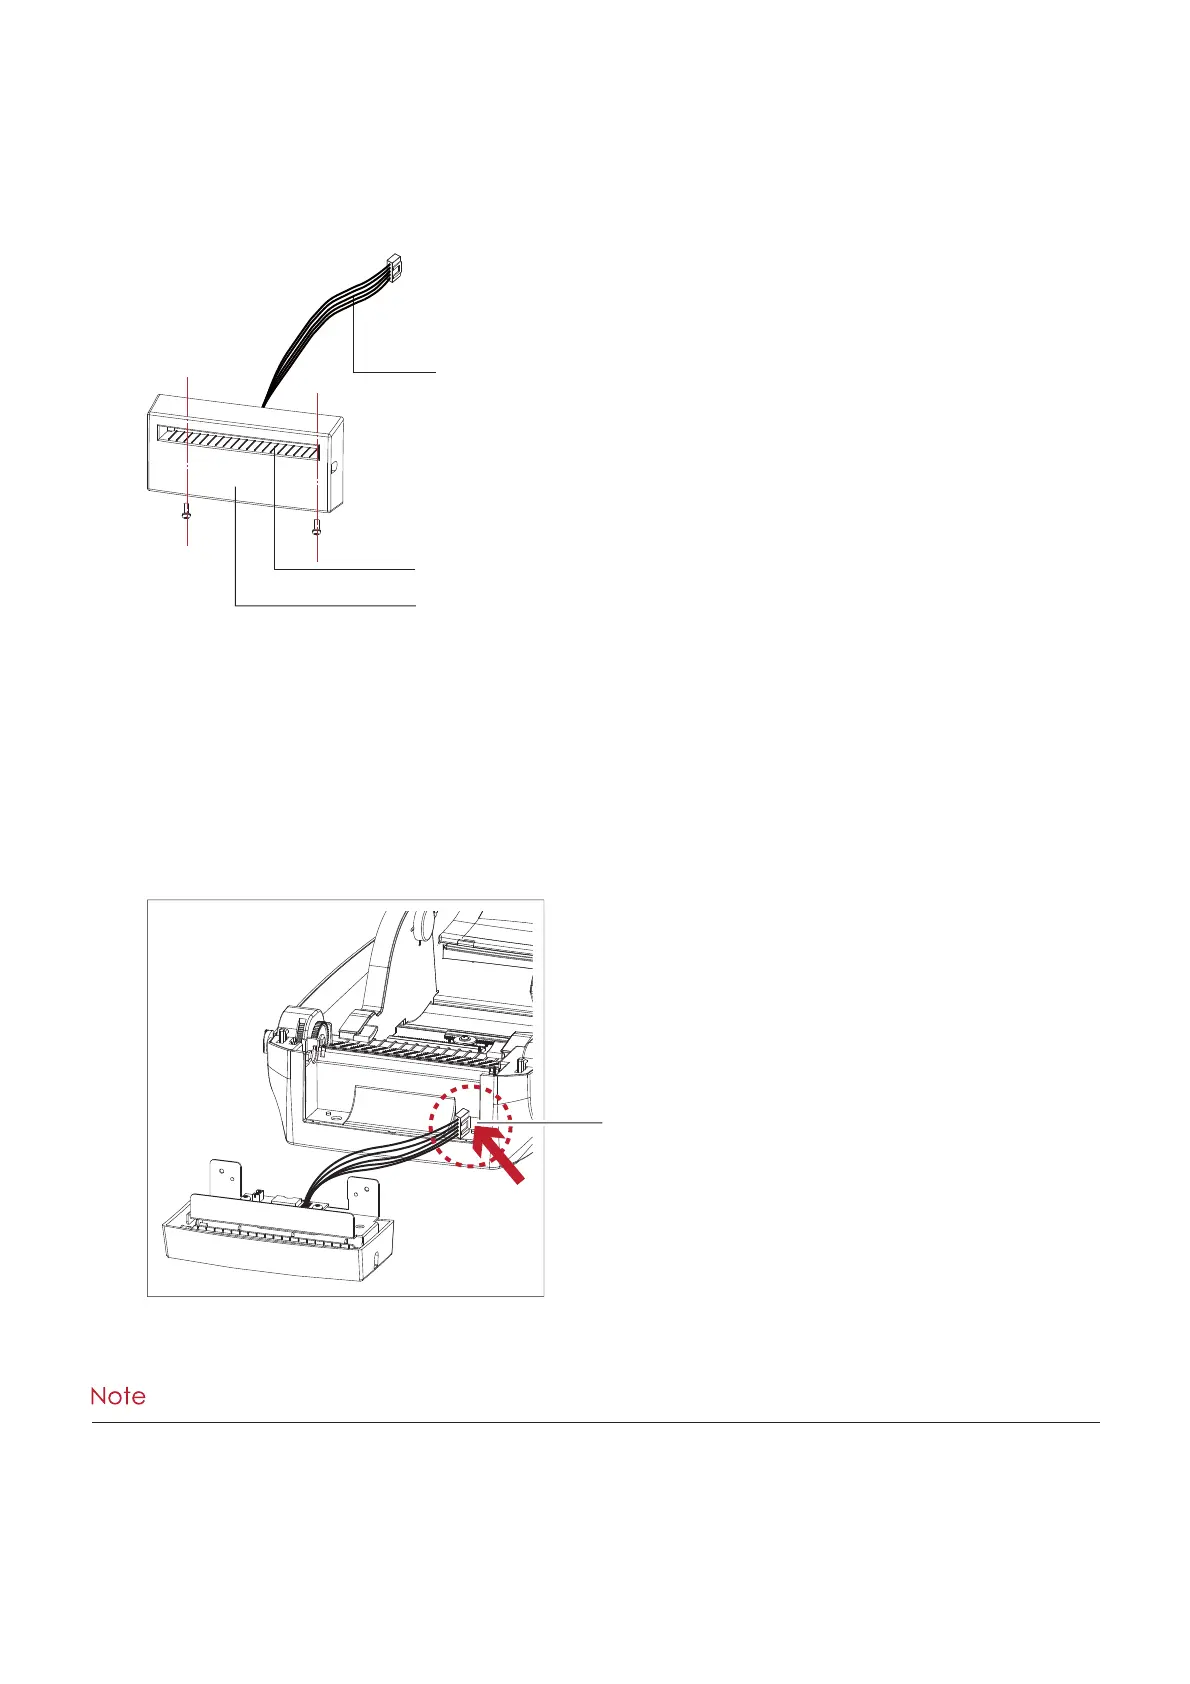
The O ve rvie w o f the Cutte r
****Re me m b e r to sw itc h o ff the p rinte r b e fo re insta lling the c utte r.
**
**Do no t use to c ut a d he sive la b e ls! G lue re sid ue will b e le ft o n the c utte r b la d e a nd im p a ir its func tio ning . The
FXWWHUKDVDEODGHOLIHRIFXWVZKHQXVLQJSDSHUOLQHUZKLFKLVǍPWKLFNDQGPPLQFKHVZLGH
****Yo u c a n c ut p a p e r with a ma x. wid th o f 118m m.
****With the c utte r insta lle d , se t the sto p p o sitio n in Q la b e l to 30, a nd the E va lue to 30.
Pre pa ra tio n Ste ps
Ple a se se e the Se c tio n 5.1 Pre p a ra tio n Ste p s to c o mp le te the p re p a ra tio n ste p s b e fo re insta lling the c utte r.
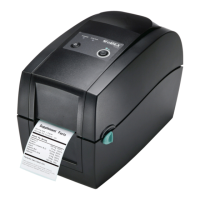
Insta lling the Cutte r
1. Pa ss the c o nne c tio n c a b le thro ug h the slo t o f the p rinte r.
SLO T
C O VER
C O NNEC TION C ABLE O F C UTTER
FEED-O UT SLOT