Self-tapping Screws
Expansion Pipe
Wall Bracket
Note: The load-bearing capacity of the wall must be greater than 17kg; otherwise it may
not be able to support the inverter.
2.3.2 Mounting
Remember that this inverter is heavy! Please be careful when removing it from the
packaging.
The inverter is suitable for mounting on concrete or other non-combustible surfaces only.
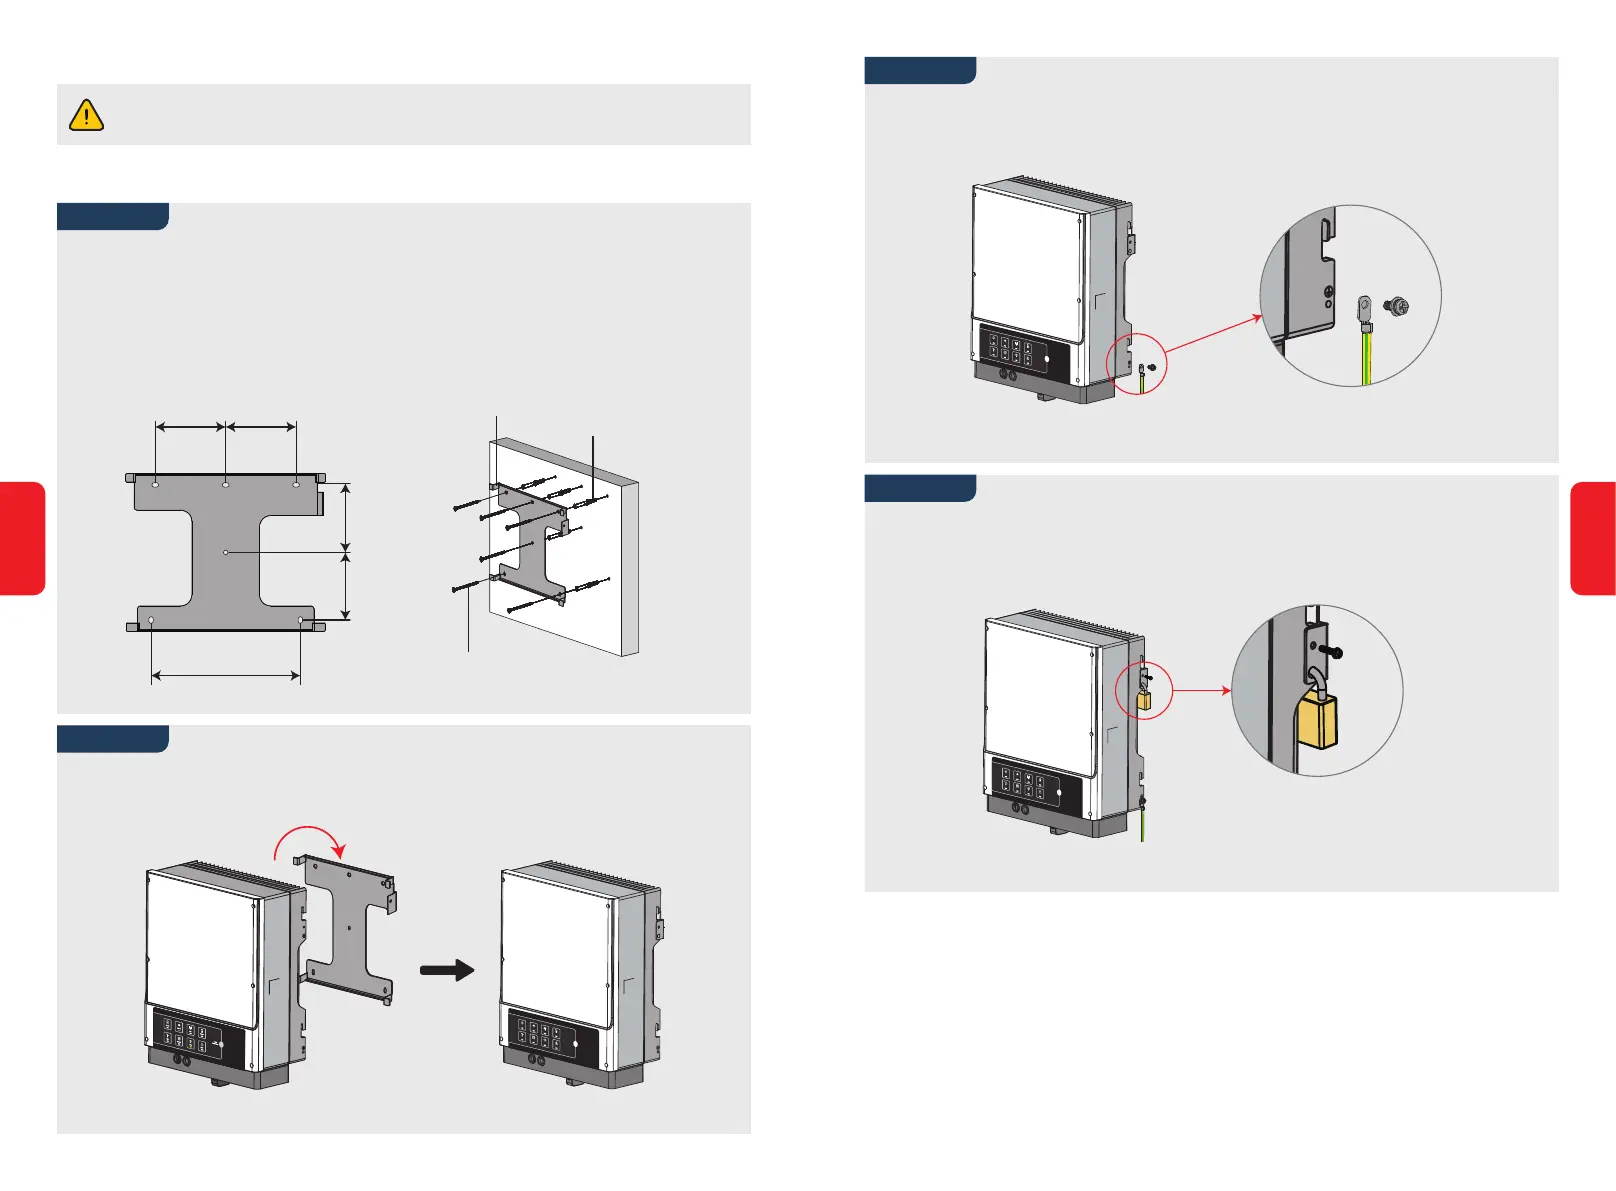
Step 1
Step 2
Please use the supplied mounting bracket as a template to drill 4 correctly positioned
holes (10 mm in diameter, and 80 mm in depth).
Use the expansion bolts in the accessory box to fix the mounting bracket securely onto
the wall.
Carry the inverter by holding the heatsink on two sides and place the inverter on the
mounting bracket.
125mm 125mm
265mm
120mm
120mm
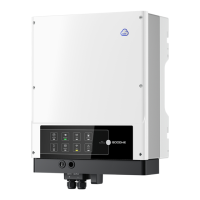
Wi-Fi
Reset/Reload
SYSTEM
GRID
BACK-UP
2019
ENERGY
COM
Wi-Fi
BATTERY
FAULT
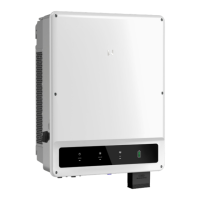
Wi-Fi
Reset/Reload
SYSTEM
GRID
BACK-UP
20 1 9
ENERGY
COM
Wi-Fi
BATTERY
FAULT
A lock is not included with the inverter. It must
be purchased separately by the user.
Step 3
Step 4
The ground cable should be connected to the ground plate on the grid side.
If required, the inverter can be locked to prevent theft.
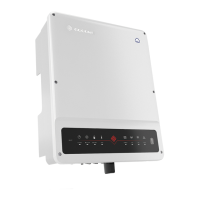
Wi-Fi
Reset/Reload
SYSTEM
GRID
BACK-UP
2019
ENERGY
COM
Wi-Fi
BATTERY
FAULT
Wi-Fi
Reset/Reload
SYSTEM
GRID
BACK-UP
2019
ENERGY
COM
Wi-Fi
BATTERY
FAULT
Wi-Fi
Reset/Reload
SYSTEM
GRID
BACK-UP
20 1 9
ENERGY
COM
Wi-Fi
BATTERY
FAULT
08
07
 Loading...