Version: V1.1 15
2.2 Removing and installing heatsink
Before you start installing the heatsink, read the following guidelines:
Be sure to turn off the computer and unplug the power cord from the power socket to avoid damaging
the hardware.
Unplug all cables from the power socket.
Disconnect all communication cables from their ports.
Place the system unit on a flat and stable surface.
Follow the instructions to turn on the system.
Caution! If you do not shut down the server before you start installing components, serious damages
may come. Only qualified technician can follow the steps.
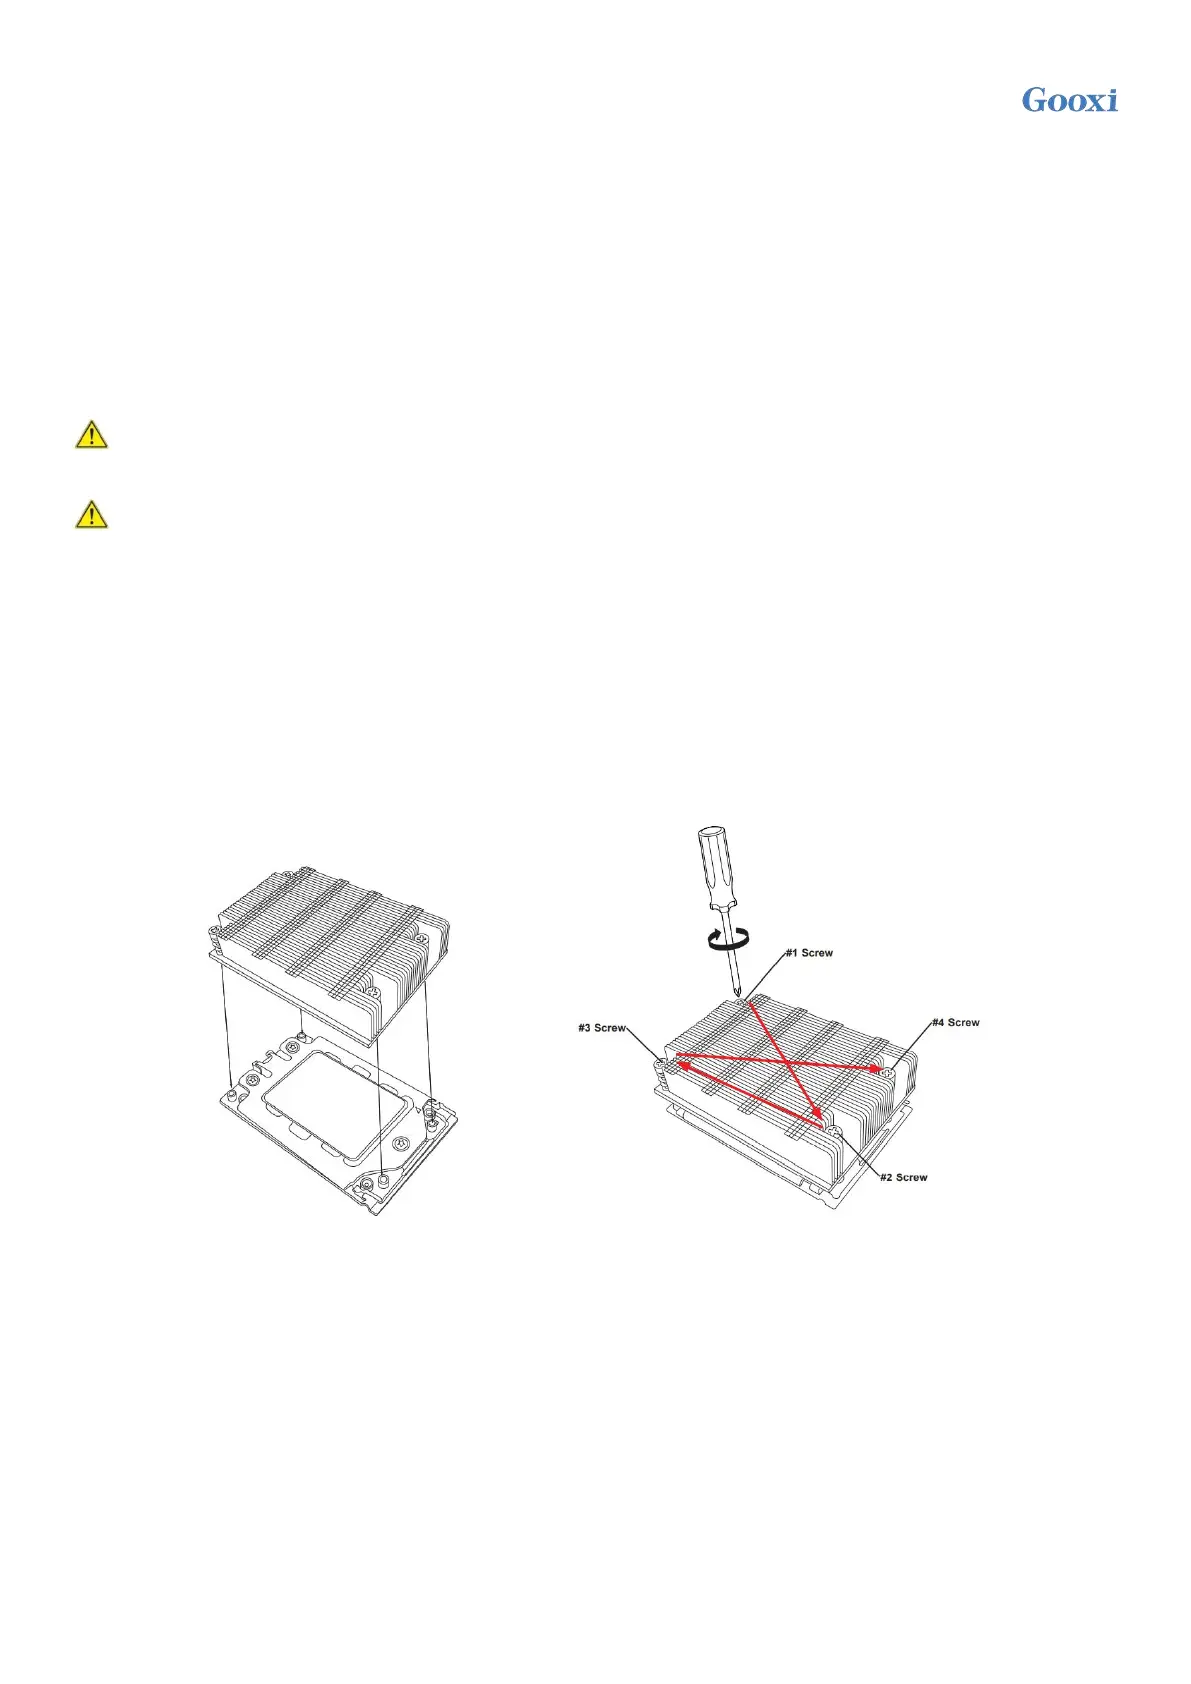
Note: When installing the heatsink on CPU, use Phillips screwdriver to tighten four fixing nuts in the
order of 1-4.
Steps to remove and install the heatsink:
1.Loosen the screws fixing heatsink in place in reverse order (4 → 3 → 2 → 1).
2.Lift the heatsink and remove it from the system.
3.To install the heatsink, reverse steps 1-2 and make sure that the fixing screws are tightened in sequence
(1 → 2 → 3 → 4), as shown in the figure below.
(The picture of heatsink is for reference only, and the details shall be subject to the real object.)
Figure 2- 4
 Loading...