Do you have a question about the Gorilla Playsets Chateau and is the answer not in the manual?
Highlights the use of fine, hand-selected lumber and its warranty.
Details the warranty coverage, exclusions, and terms for play set components.
Outlines critical safety rules for installation and use to prevent injuries.
Specifies the maximum weight capacity for various components of the play set.
Provides advice on maintaining the play set for safety and longevity.
Provides guidelines on protective surfacing materials and fall zone requirements.
Instructions on how to properly level the play set's base frame before further assembly.
Lists all components and necessary tools for assembling the play set.
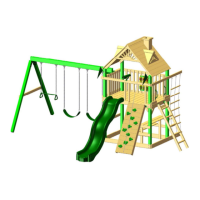
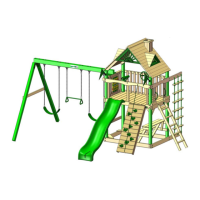
Visual layout of the play set with key dimensions and component placements.
Offers practical advice and tips for a smoother and safer assembly process.
Defines common terms and practices used throughout the assembly manual.
Critical first step involving preparing corner posts with T-nuts for subsequent assembly.
Guides the assembly of the right and left side frames using corner posts and panel boards.
Attaching deck supports and assembling the front and rear frame sections.
Attaching bottom panel boards, deck spacers, and main deck boards.
Building and attaching the rock wall to the fort structure.
Assembling and securing the wooden ladder to the play set.
Installing roof supports, sunbursts, and the main swing beam assembly.
Assembling and attaching the picnic table components to the fort.
Preparing and attaching the rope ladder to the play set.
Mounting the slide, telescope, and installing climbing ropes.
Installing Tic-Tac-Toe panel, chimney, dormers, and safety handles.
Attaching structural angle supports and flag kits to the fort.
| Number of Swings | 2 |
|---|---|
| Slide | Yes |
| Playhouse Included | Yes |
| Assembly Required | Yes |
| Material | Cedar |
| Slide Length | 10 ft |
| Swing Capacity | 2 |