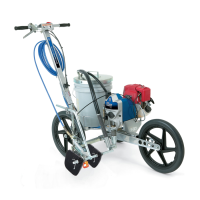
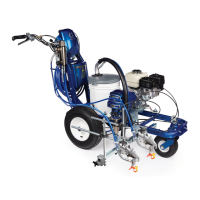
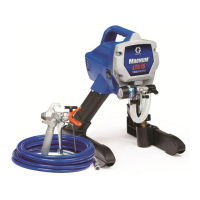
Displacement
Pump
WARNING
To
reduce the risk of serious bodily injury
, always fol
-
low the Pressure Relief Procedure W arning on
page
4 before repairing the sprayer
.
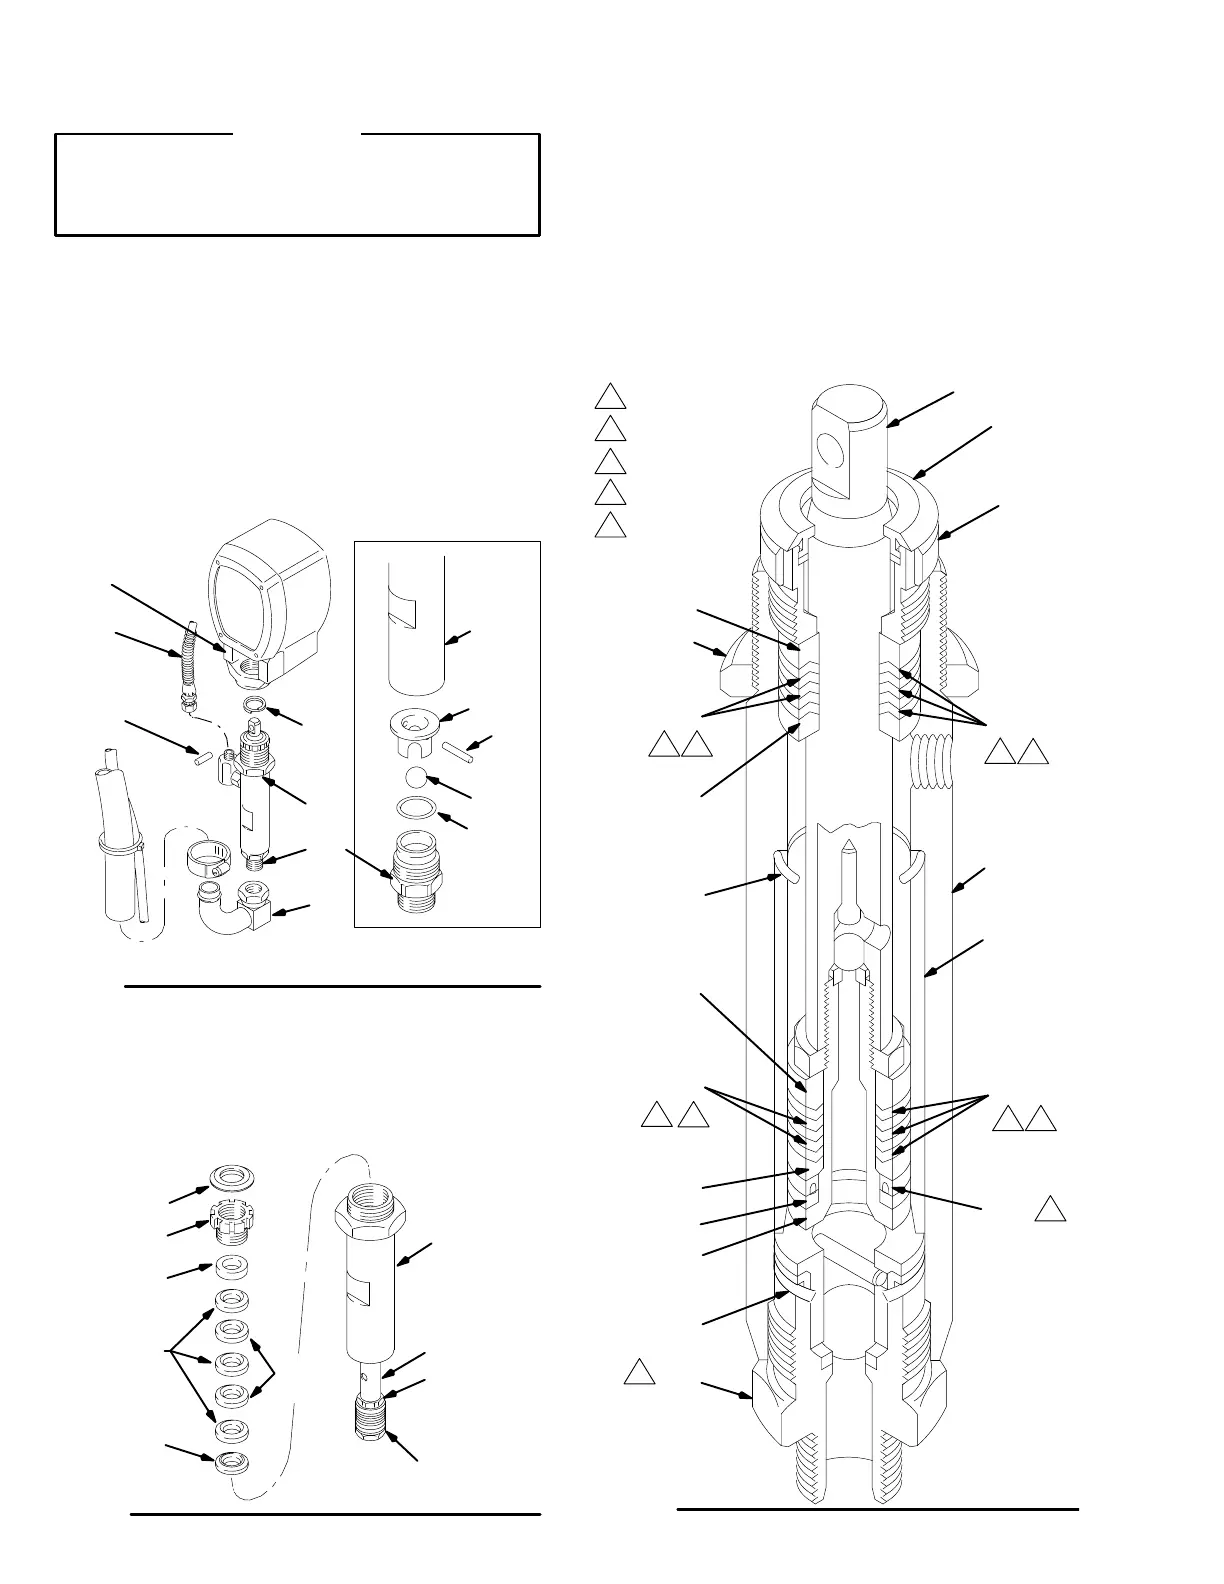
Removing the Pump See
Fig. 21
.
1.
Flush the pump. Relieve pressure.
2. Hold the intake valve (223) with a wrench and un-
screw the suction tube swivel union (53). Unscrew
the
hose (133).
3.
Push the retaining spring (75) up. Push the pin (71)
out the rear
.
4.
Loosen the locknut (137). Unscrew the pump.
76
75
71
137
133
223
204*
219
220
221*
202*
53
Fig. 21
Disassembling the Pump
1. Unscrew
the
intake valve (223) and remove all parts.
See
Fig. 21
.
2. Remove the plug (205). Unscrew the packing nut
(216).
See Fig. 22
.
*213
*209
216
205
*208
222
211
219
224
207*
Fig. 22
3. Tap
the piston rod (224) down and then pull it out the
bottom
of the cylinder (219). See Fig. 22
.
4. Remove the glands (209*, 208*) and v–packings
(207*,
213*) from the throat. See Fig. 22
.
5. Clamp
the flats of the piston rod (224) in a vise. Loos
-
en the piston (222). Unscrew the nut (211) from the
piston. Remove the glands (210*, 214*) and pack-
ings
(212*, 206*, 203*) from the piston. See Fig.
23
.
219
212*
213*
*210
205
*206
203*
*202
*208
*207
*209
218
216
*215
*214
224
137
*217
223
222
Fig.
23
1
3
4
2
Leather
Lips
must face down
1 3
Poly
Lips must face up
2
3
1
4
2 4
3
5
T
orque to
67 ft–lb
(90 N.m)
5
 Loading...