Installation
312394C 13
Installation
Polyethylene Tank Lid with
Agitator
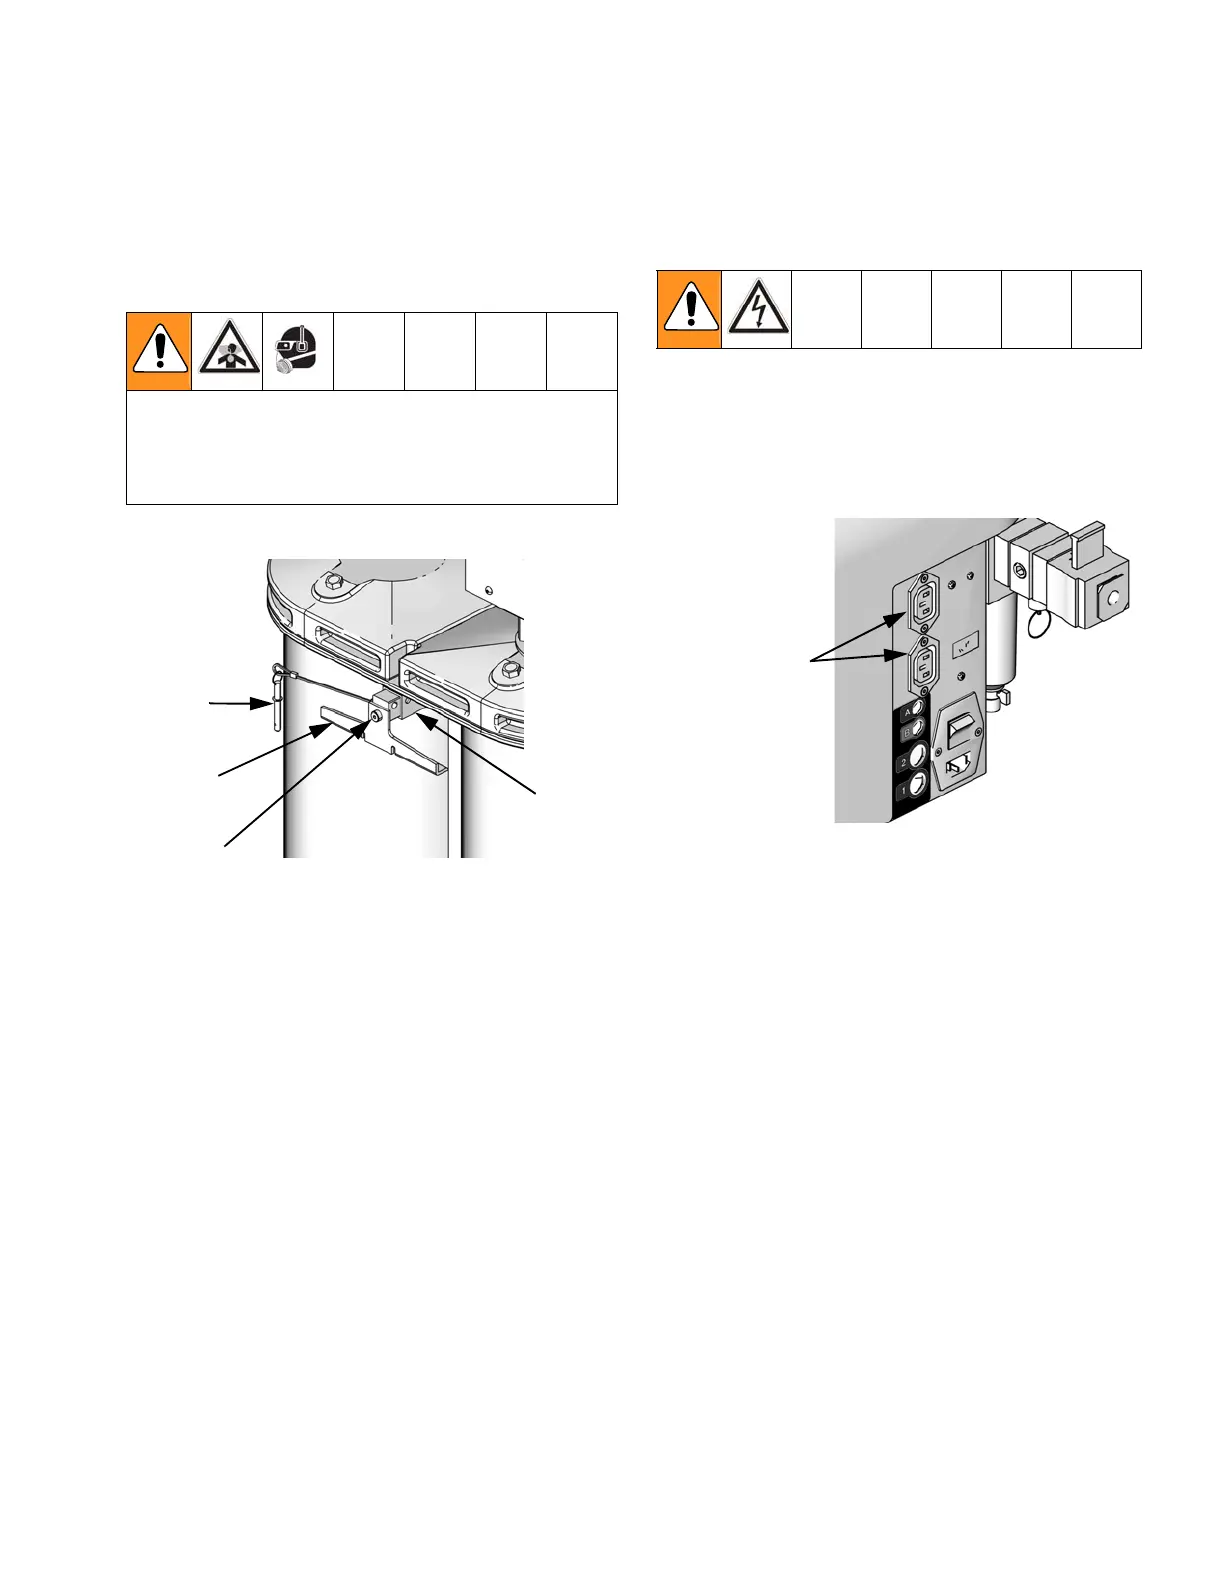
1. Remove tethered quick-release pin (213) from both
sides of tank support beam (224).
2. Slide the clamp (222) out of each side of the sup-
port beam (224) until it hits the stop.
3. Rotate the clamp (222) 180 degrees about the
shoulder screw (214) so it is hanging freely.
4. The tank lid assembly can now be removed or
installed as required. Install tank lid assembly onto
tank body.
5. Rotate the clamp (222) 180 degrees about the
shoulder screw (214) so it is in position to secure
the tank lids.
6. With the clamps in position, slide the tethered
quick-release pin (213) into place.
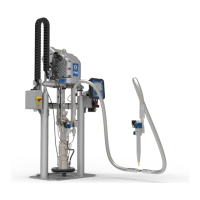
7. Attach appropriate hoses and cables.
• For electric agitator models, plug the agitator
power cable into one of the outlets in the incom-
ing power bracket then turn on the power switch
located on the agitator.
• For pneumatic agitators, connect the agitator
incoming pressurized air line to shop air.
The polyethylene tank lid o-ring is installed with Kry-
tox. Contact with Krytox can lead to flu-like symp-
toms. The MSDS for this material is available upon
request.
222
213
224
214
ti12558a
Power Outlets
to Electric Agi-
tator
ti12583a