2-1
CHAPTER 2 Checks and Preparation
CHAPTER 2 Checks and Preparation
This chapter explains how to check the GL840's external casing and accessories, and how to prepare the
GL840 for operation.
PRODUCT SUMMARY
2.1 Checking the Outer Casing
2.2 Checking the Accessories
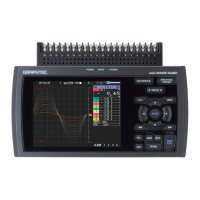
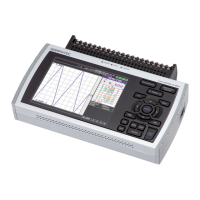
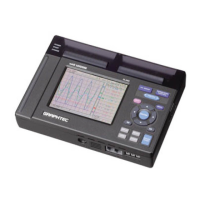
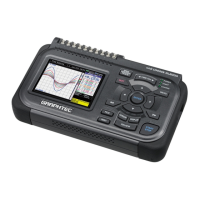
2.3 Nomenclature and Functions
2.4
Connecting the Power Cable and Turning on the Power
2.5 Connecting the Signal Input Cables
2.6 Logic Alarm Cable Connection and Functions
2.7 Mounting the SD CARD
2.8 Installing the Cover (B-578: Option)
2.9 Installing the Wireless Unit (B-568: Option)
2.10 Connecting to a PC
2.11 Using the Battery Pack (B-569: Option)
2.12 Connecting the Humidity Sensor (Optional)
2.13 Removing and mounting each terminal
2.14 Mounting the Extension Terminal Base (Optional)
and Extension Terminal Cable (Optional)
2.15
Precautions to Observe When Performing Measurement
2.16 Noise Countermeasures
2.17 Connecting the Temperature and Humidity Sensor
(GS-TH) (Optional)
2.18 Connecting the 3-axis Acceleration / Temperature
Sensor (GS-3AT) (Optional)
2.19 Connecting the 4ch Voltage / Temperature
Terminal (GS-4VT) (Optional)
2.20
Connecting the 4ch Thermistor Terminal (GS-4TSR) (Optional)
2.21 Connecting the Illumination / Ultraviolet Sensor
(GS-LXUV) (Optional)
2.22 Connecting the CO2 Sensor (GS-CO2) (Optional)
2.23 Connecting the Adapter for AC Current Sensor
(GS-DPA-AC) (Optional)
2.24 Connecting the Branch Adapter for GS (GS-DPA)
(Optional)
2.25 When Fixing the GL840 Body
2.26 Setting the Date and Time