Jaguar II User Manual
Installation and Operation of Sign Cutting Plotter 2-8
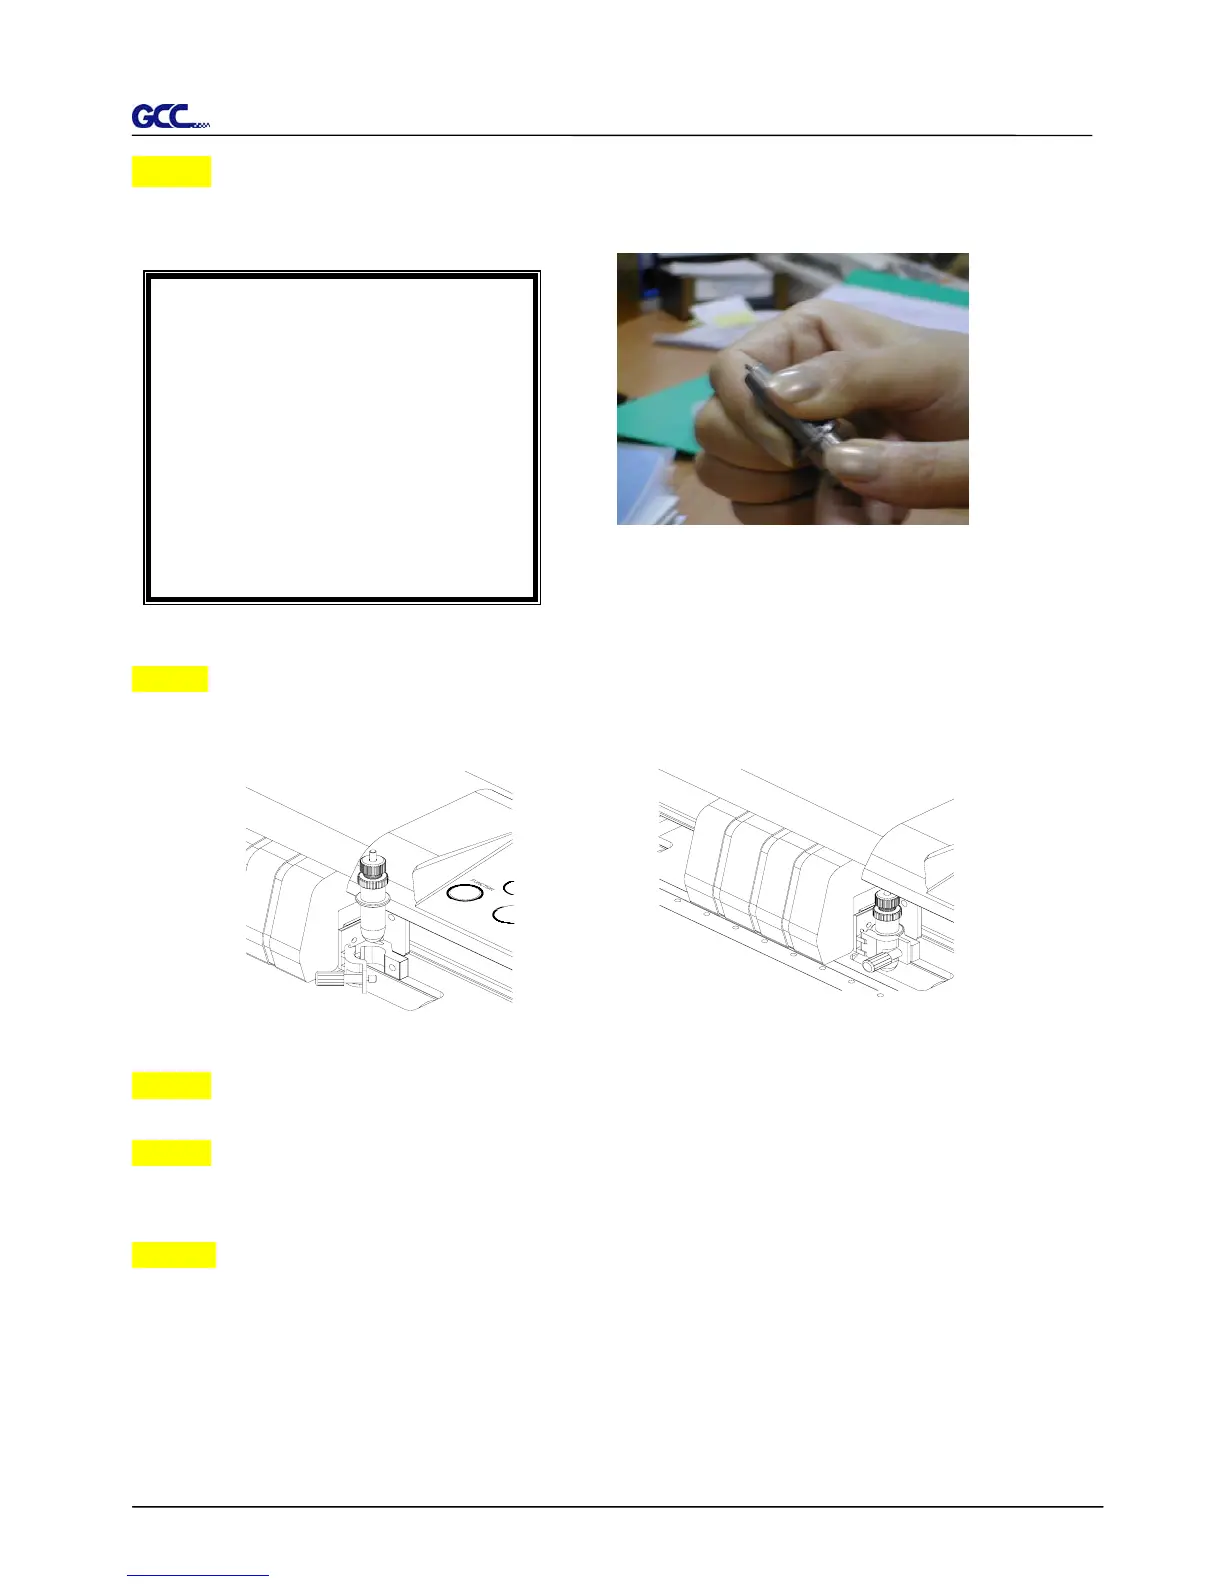
Step 3
Adjust the blade tip to suitable length by screwing “Blade tip adjustment screw” clockwise or
count-clockwise. (Figure 2-13).
Step 4
Insert the blade holder into tool carriage. Please note the outward ring of the holder must put
into the grooves of carriage firmly (see Figure 2-14), then fasten the case (Figure 2-15)
Step 5 Use the reversing steps to remove the blade holder.
Step 6 Eject the blade. Push “Blade eject pin” to eject blade when the blade needs to be
replaced.
Caution
The blade will lose its sharpness after a period of usage, the cutting quality might be affected.
By increasing the cutting force, it might do the trick. However, once the blade is worn out and no
longer provides a reliable cutting, you should replace a new one. The blade is consumable and
must be replaced as often as necessary to maintain the cutting quality. The quality of the blade
deeply affects cutting quality. So be sure to use a high quality blade to ensure good cutting
results.
Tips:
“The proper length” means the
blade’s length is adjusted 0.1mm
more than film’s thickness. That is, i