-64-
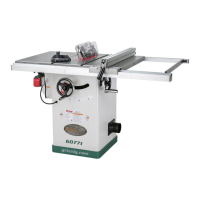
Model G0771 (Mfd. Since 8/15)
— If spreader is in alignment zone no adjust-
ments need to be made.
— If spreader/riving knife is not parallel
with blade and inside alignment zone,
then it needs to be adjusted. Proceed to
Adjusting Alignment instructions.
— If spreader/riving knife is not parallel with
blade at either top or bottom, it may be
bent. Remove spreader/riving knife, place
it on a flat surface and check to see if
spreader/riving knife lies evenly along its
length.
— If spreader/riving knife does not lie evenly,
proceed to Adjusting Bent Spreader/
Riving Knife procedure.
Adjusting Alignment
The spreader/riving knife mounting position can
be adjusted into alignment with the blade using
the cap screws on the spreader/riving knife "L"
bracket.
Possible Tools Needed Qty
Hex Wrench 4mm .............................................. 1
To adjust spreader/riving knife position:
1. DISCONNECT SAW FROM POWER!
2. Remove table insert, but leave Phillips head
screws mounted in table throat.
Note: Table insert is held in place by a
magnet.
Adjusting Bent Spreader/Riving Knife
1. DISCONNECT SAW FROM POWER!
2. Bend spreader/riving knife by hand while
installed, then follow Steps 1–3 in Checking
Alignment to determine if it is parallel with
blade and inside "Alignment Zone" (refer to
Checking Alignment).
— I f this does not work, remove spreader/riv-
ing knife to straighten.
— If you cannot straighten spreader/riving
knife properly, replace it.
4. Follow Checking Alignment, Steps 1–3.
— If spreader/riving knife is in alignment
zone, no additional steps are necessary.
— If spreader/riving knife is still not in align-
ment zone, continue adjusting position of
"L" bracket as necessary to correctly align
spreader/riving knife.
5. Tighten two cap screws on mounting block to
secure spreader/riving knife adjustment.
6. Replace table insert (refer to Page 66).
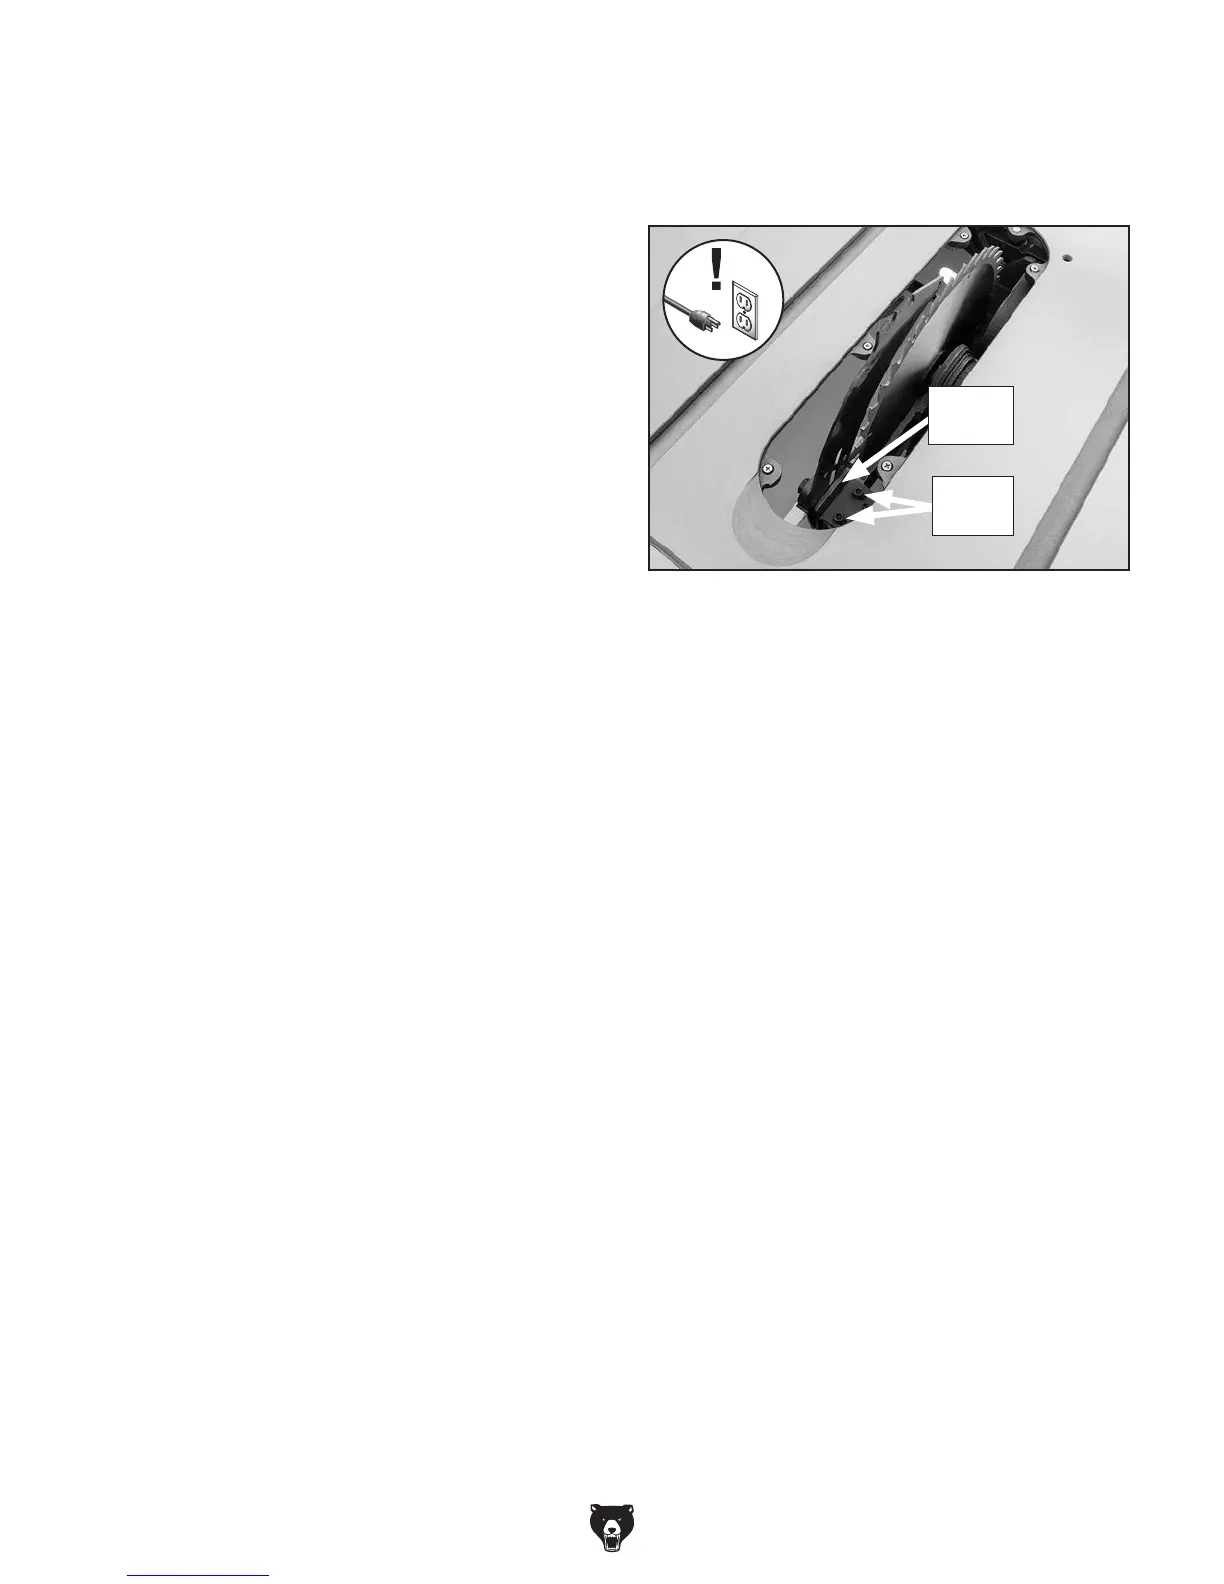
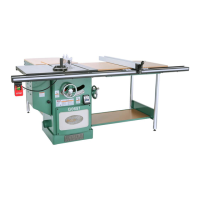
3. Loosen two cap screws on the "L" bracket
(see Figure 123), then slide spreader/riving
knife as needed to move it into alignment with
blade.
Figure 123. Cap screws for adjusting spreader/
riving knife position.
"L"
Bracket
Cap
Screws