Model G0948 (Mfd. Since 08/21)
-17-
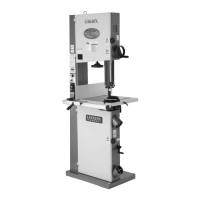
2. Attach (1) short brace to (2) stand legs with
(2) M8-1.25 x 16 carriage bolts, 8mm flat
washers, and M8-1.25 hex nuts, as shown in
Figure 12. Only finger tighten for now.
3.
Repeat Step 2 with remaining (1) short brace
and (2) stand legs.
4.
Attach (2) leg assemblies together with (2)
long braces using (4) M8-1.25 x 16 carriage
bolts, 8mm flat washers, and M8-1.25 hex
nuts, as shown in Figure 13. Only finger
tighten for now.
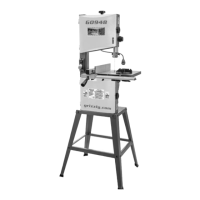
5.
Have an assistant position machine base
over top of stand (see Figure 14), and secure
with (8) M8-1.25 x 16 carriage bolts, 8mm flat
washers, and M8-1.25 hex nuts.
6.
Ensure machine is level, side to side and front
to back, then tighten all fasteners installed in
Steps 2–5.
7.
Remove (4) pre-installed M6-1 x 10 hex bolts
and 6mm flat washers from base of table, and
loosen (2) shoulder screws (see Figure 15)
securing trunnions to trunnion bracket.
Note: For operations requiring a high degree
of accuracy, tighten shoulder screws secur-
ing trunnions to trunnion bracket to increase
table rigidity.
8.
Slide table past saw blade through table slot,
and secure table to trunnions with fasteners
removed in Step 7 (see Figure 15).
Figure 14. Machine attached to stand.
x 8
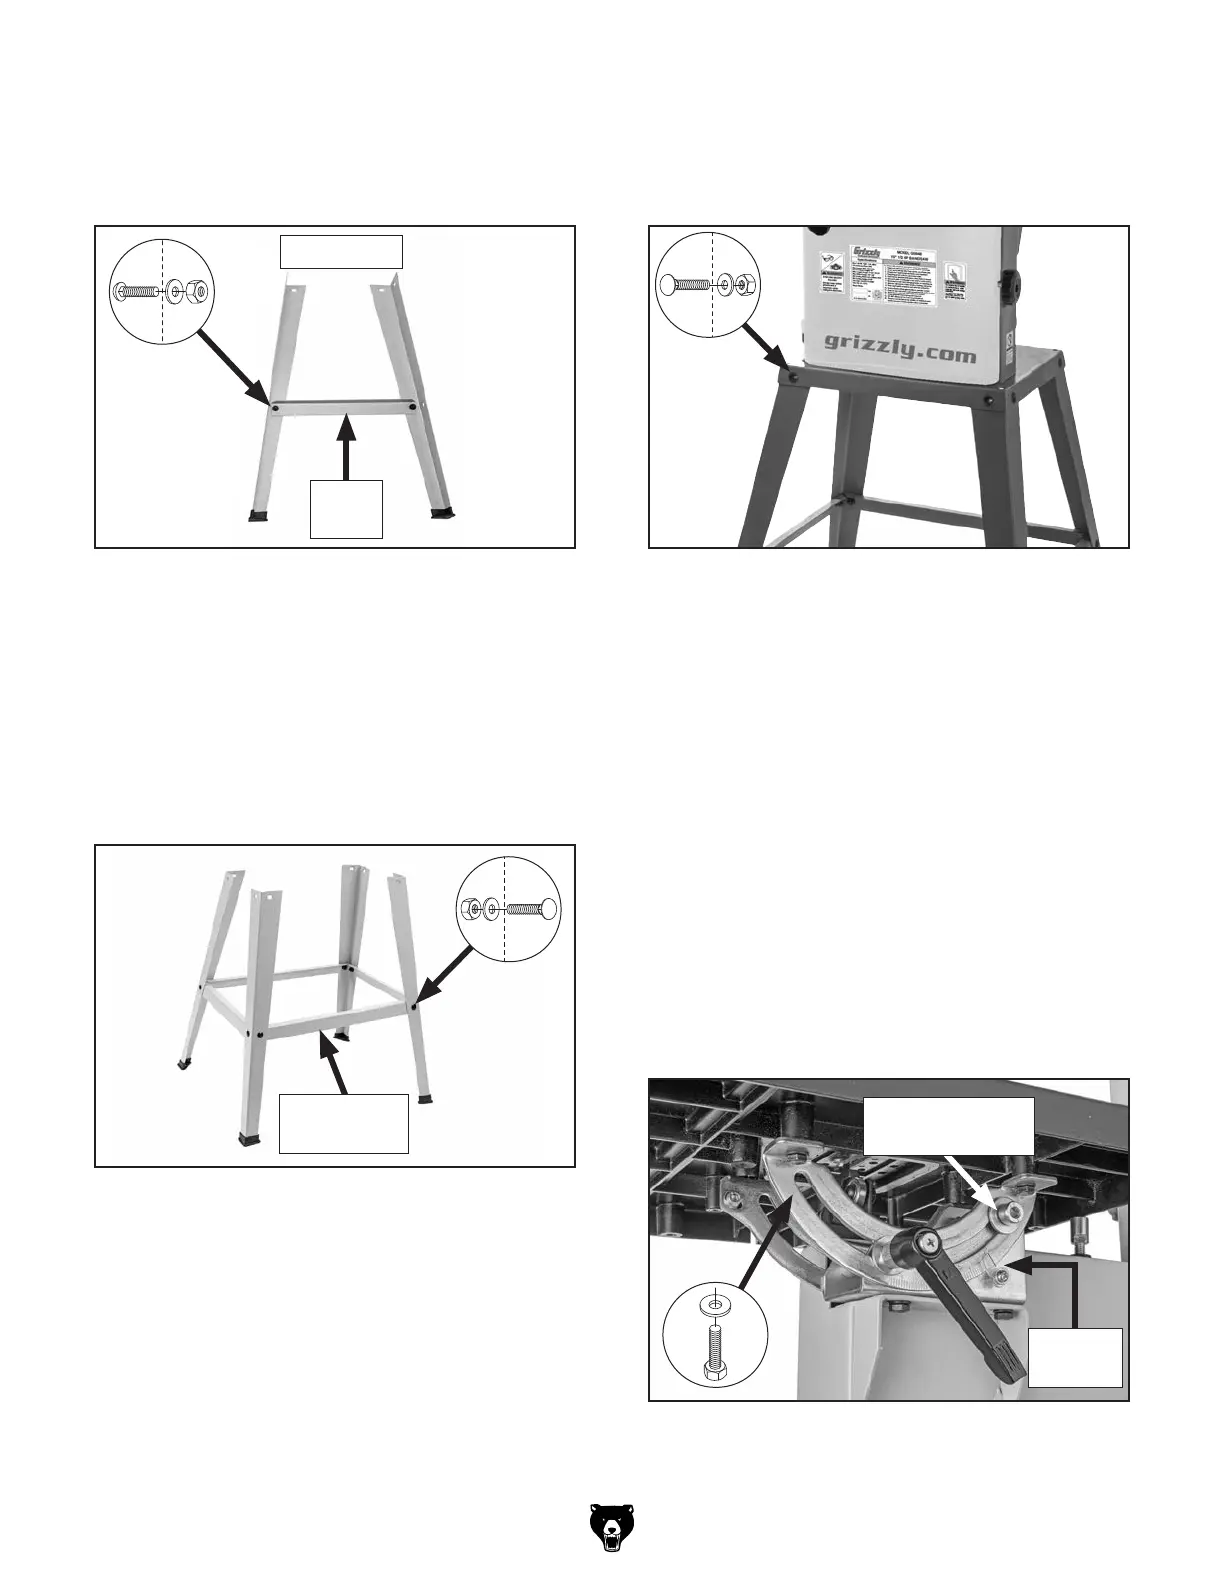
Figure 13. Leg assemblies attached with long
braces.
x 4
Long Brace
(1 of 2)
Figure 15. Table attached to trunnions.
x 4
Shoulder Screw
(1 of 2)
Scale
Indicator
Page reference 16
Figure 12. Stand legs attached to short braces.
Stand Legs
Short
Brace
x 2
 Loading...