-4-
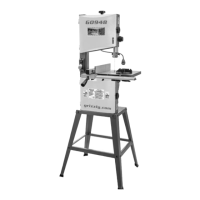
Model G0948 (Mfd. Since 08/21)
Controls &
Components
Refer to Figures 1–6 and the following descrip-
tions to become familiar with the basic controls
and components of this machine. Understanding
these items and how they work will help you
understand the rest of the manual and stay safe
when operating this machine.
To reduce your risk of
serious injury, read this
entire manual BEFORE
using machine.
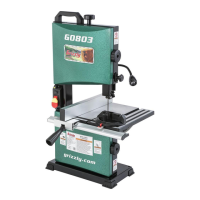
Fence & Miter Gauge
Power Controls
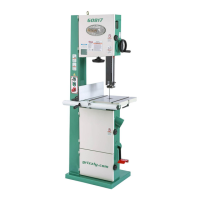
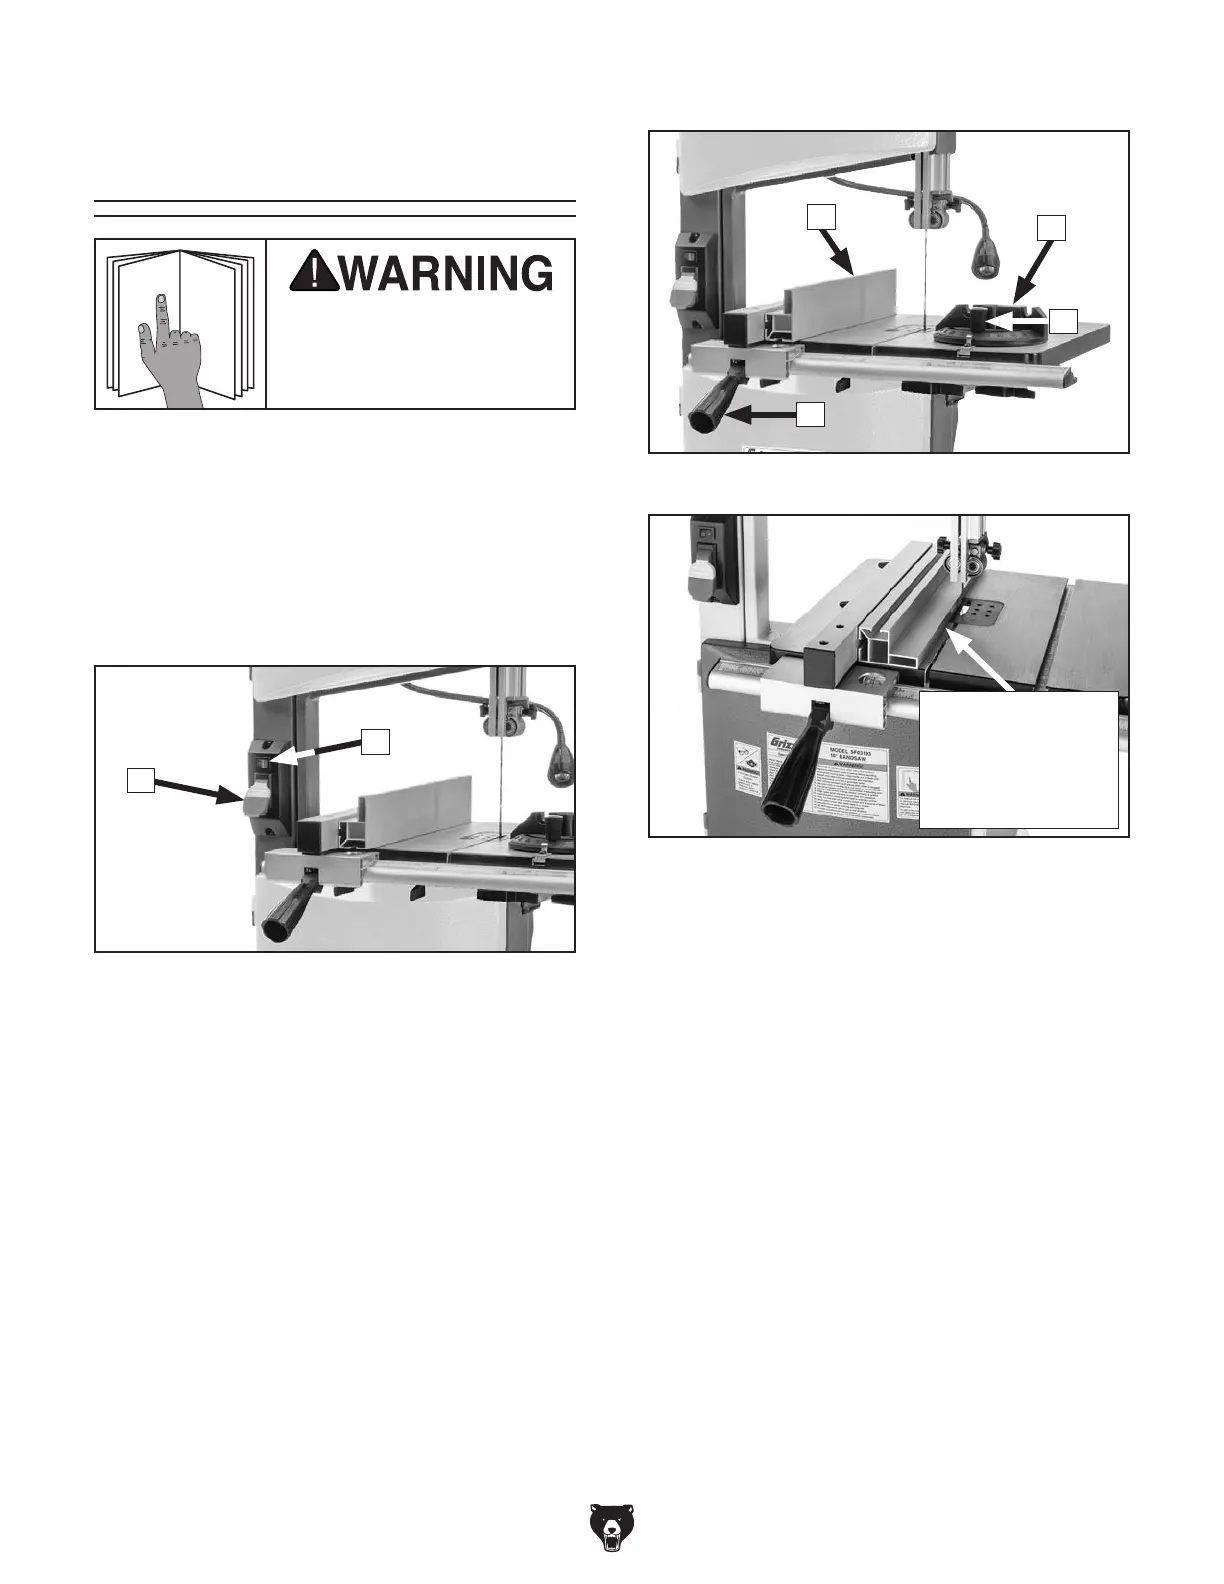
A. ON/OFF Paddle Switch w/Removable Key:
Turns machine ON and OFF. Remove key to
disable machine.
B.
LED Work Light ON/OFF Switch: Turns
light ON and OFF. Illuminates cutting area for
better visibility.
Figure 3. Fence mounted in horizontal position.
Horizontal Position
Allows Upper
Blade Guide to Be
Adjusted Closer to
Thin Workpieces
C. Fence: Used for ripping or resawing. Distance
from blade determines width of cut. Can be
used in vertical position (as shown in Figure
2) for normal workpieces, or in horizontal
position (as shown in Figure 3) for thin
workpieces.
D. Miter Gauge: Typically used for cross cuts.
Can be adjusted from 0°–60° left or right.
E. Miter Gauge Lock Knob: Secures angle
position of miter gauge.
F. Fence Lock Handle: Secures fence position.
Figure 1. Power controls.
A
B
Figure 2. Fence and miter gauge controls.
D
F
C
E
 Loading...