11
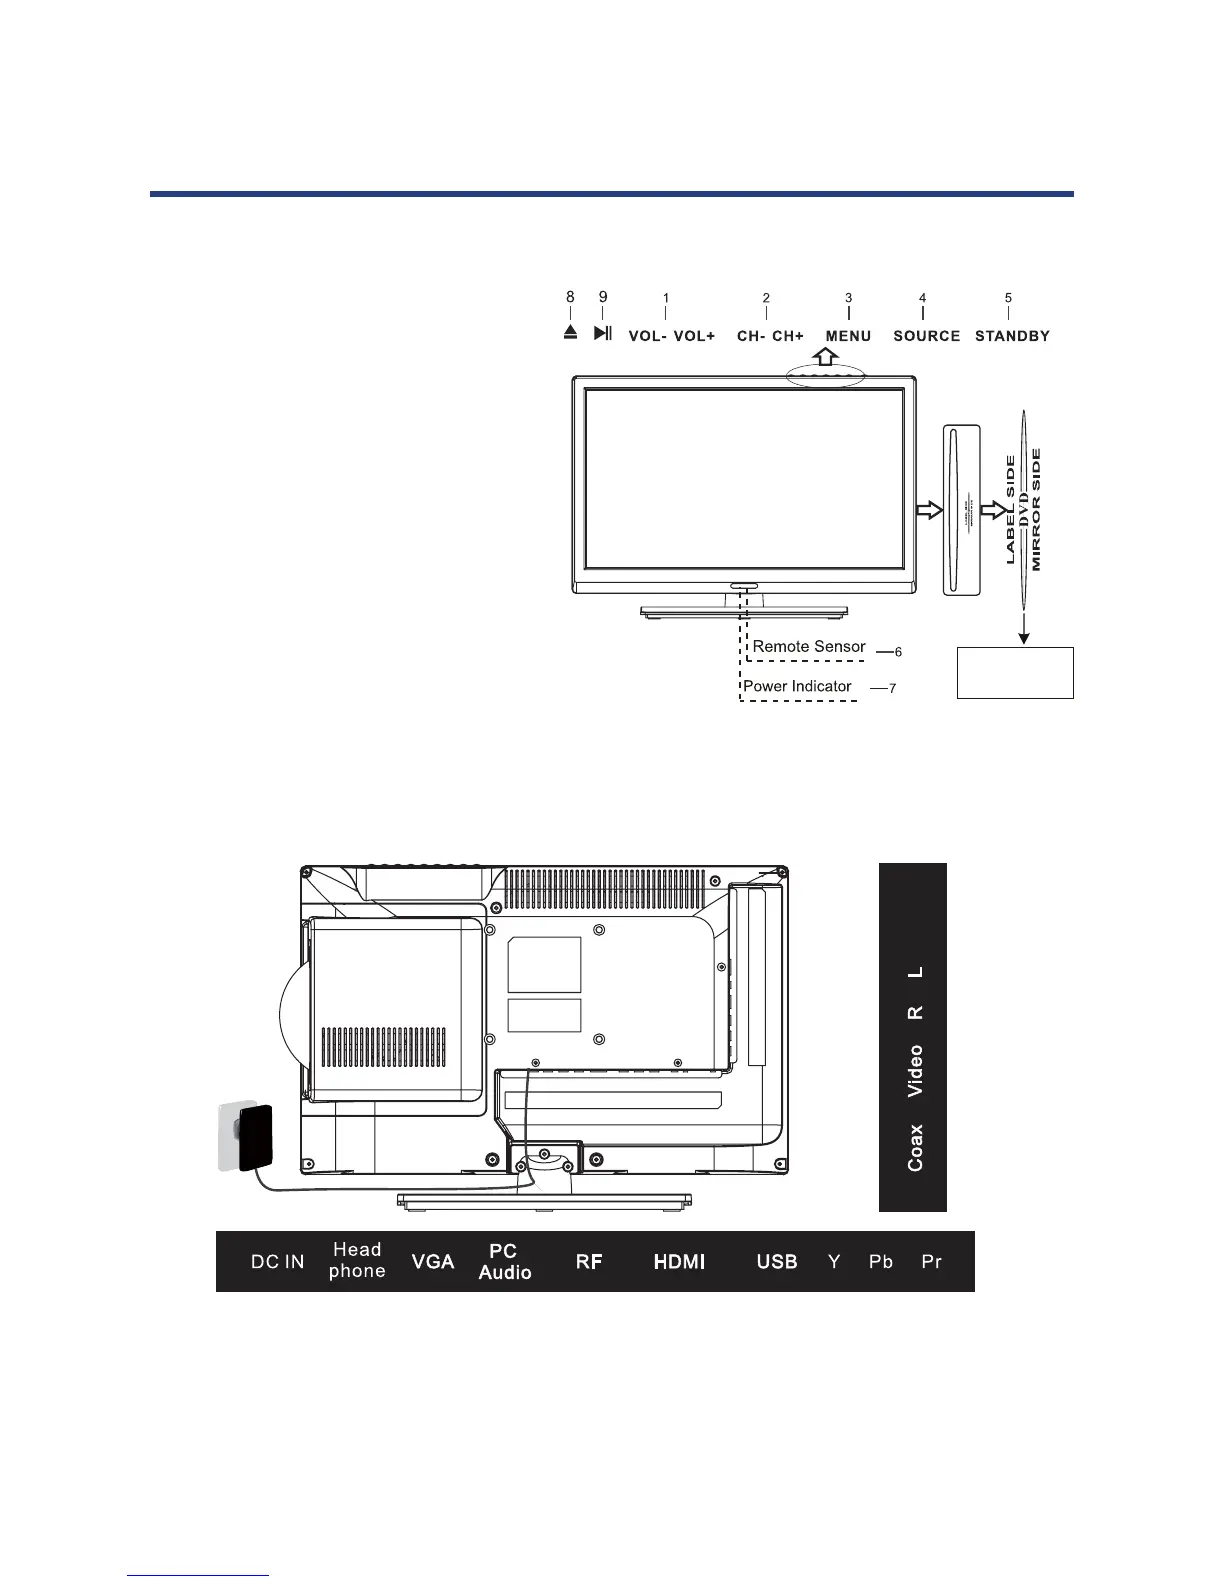
Connections and Functions
1. DC IN: Main power input.
2. Headphone: Connect the earphone.
3. VGA: Connect to a PC’s PC-RGB output socket.
4. PC Audio: Connect to a PC’s Audio output socket.
5. RF: Connection for the antenna plug.
6. HDMI: Connect to the HDMI output socket of a
DVD player.
7. USB: Connect to portable USB storage device.
8. YPbPr: Connect to the (Component) output socket
of a DVD Player.
9. Coax: Connect to an external digital audio device.
10. Video: Connect to a DVD player’s VIDEO output
socket.
11. R/L: Connect the R/L AUDIO output socket of DVD.
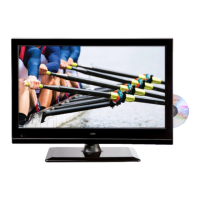
Front and Back Connection of LED TV
Back View and Control Connections
Play
11
Connections and Functions
1. DC IN: Main power input.
2. Headphone: Connect earphones.
3. VGA: Connect to a PC’s PC-RGB output socket.
4. PC Audio: Connect to a PC’s Audio output socket.
5. RF: Connection for the antenna plug.
6. HDMI: Connect to the HDMI output socket of a
DVD player.
7. USB: Connect to a portable USB storage device.
8. YPbPr: connect to the (component) output
sockets of a DVD player.
9. Coax: Connect to an external digital audio device.
10. Video: Connect to a DVD player’s VIDEO output
socket.
11. R/L: Connect to the R/L AUDIO output socket of a
DVD player.
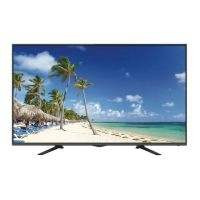
Front and Back Connection of LED LCD TV
Back View and Control Connections
Insert the disc with
the label side
facing yourself
Play
11
Connections and Functions
1. DC IN: Main power input.
2. Headphone: Connect earphones.
3. VGA: Connect to a PC’s PC-RGB output socket.
4. PC Audio: Connect to a PC’s Audio output socket.
5. RF: Connection for the antenna plug.
6. HDMI: Connect to the HDMI output socket of a
DVD player.
7. USB: Connect to a portable USB storage device.
8. YPbPr: connect to the (component) output
sockets of a DVD player.
9. Coax: Connect to an external digital audio device.
10. Video: Connect to a DVD player’s VIDEO output
socket.
11. R/L: Connect to the R/L AUDIO output socket of a
DVD player.
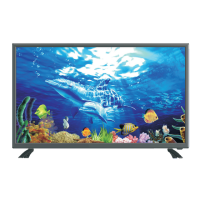
Front and Back Connection of LED LCD TV
Back View and Control Connections
Insert the disc with
the label side
facing yourself
1. Press “STANDBY” button to turn
standby mode on or o.
2. Press “SOURCE” to select the
input source.
3. Press “MENU” to bring up the
main menu on the screen.
4. Press “CH+” or “CH-” to scan
through channels.
5. Press “VOL+” or “VOL-” to increase
or decrease the volume.
6. POWER INDICATOR: Show red
in standby mode, show green
when your TV is switched on.
7. REMOTE SENSOR: Infrared sensor
for the remote control.
8. Play / Pause program.
9. Load / eject DVD disc.