Polish the electrode tip
Polish the flat tip of the electrode with the special abrasive paper
provided.
Note: If calibration is impossible due to unstable sensor readings or too low
calibration slope, replace the electrolyte and membrane cap. Only polish the
electrode tip if replacing the electrolyte and membrane cap do not correct the
problem.
1. Disconnect the cable from the sensor.
2. Remove the sensor from the flow cell.
3. Read the precautions in Sensor assembly on page 7.
4. Lift up the rubber band that covers the vent hole marked “M48” on
the membrane cap and slide the rubber band over so it does not
cover the vent hole.
5. Turn the membrane cap counter-clockwise and remove the
membrane cap from the sensor.
6. Clean the electrode with a clean, dry paper towel.
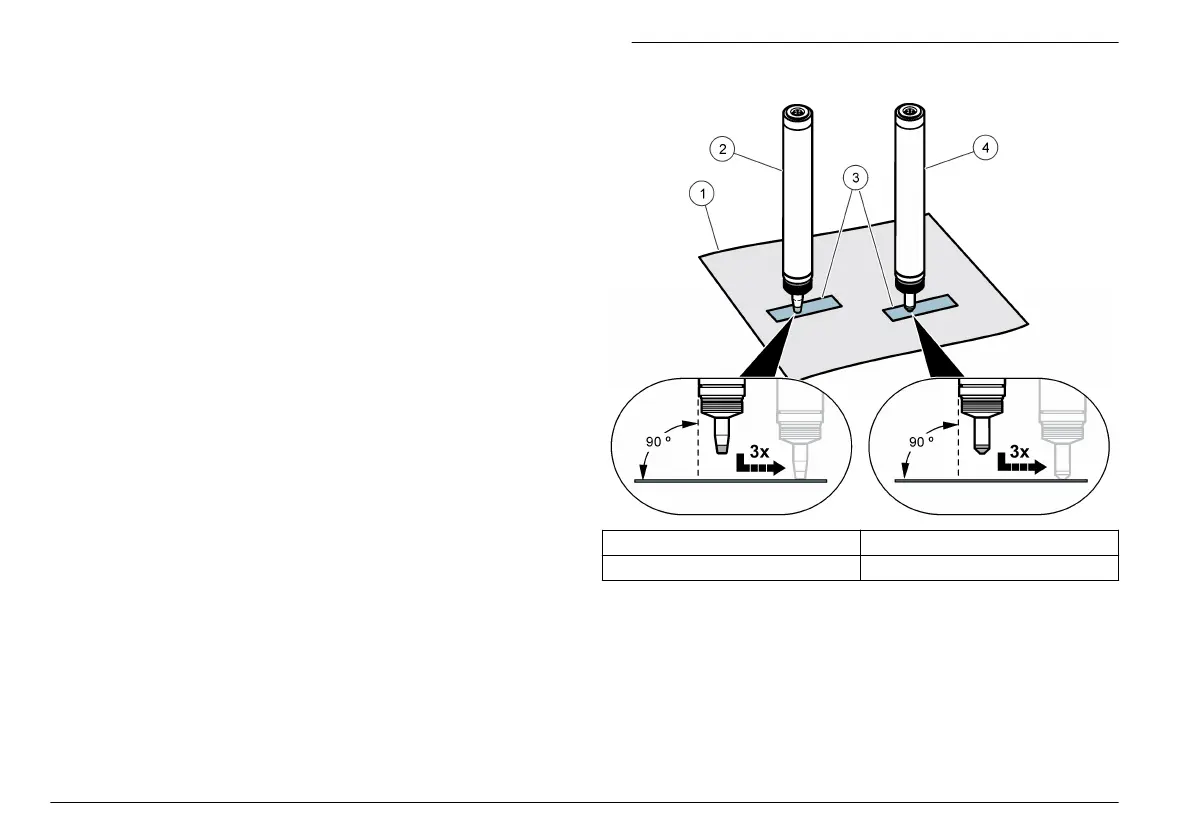
7. Polish the dry electrode tip (Figure 3). Hold one corner of the special
abrasive paper while doing procedure.
Note: No additional force should be applied downward other than the sensor
weight.
8. Assemble the sensor with the old membrane cap.
9. Install the sensor in the flow cell and connect the sensor cable.
10. Condition the sensor by operating it for 6 to 12 hours. The sensor is
conditioned when the sensor readings stabilize. Refer to Diagnostic
and test menu on page 20 for information about viewing sensor
readings.
11. Calibrate the sensor.
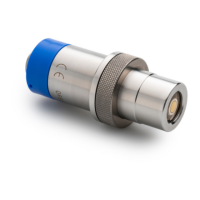
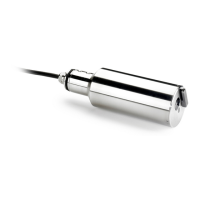
Figure 3 Polish the electrode with the special abrasive
paper
1 Dry, clean paper towel 3 Special abrasive paper
2 Free chlorine sensor 4 Total chlorine sensor
Replace the membrane cap
1. Disconnect the cable from the sensor.
2. Remove the sensor from the flow cell.
3. Read the precautions in Sensor assembly on page 7.
4. Turn the membrane cap counter-clockwise and remove the
membrane cap from the sensor.
5. Dispose of the old membrane cap.
18
English